
Crochet High Waisted Shorts Tutorial – Free Pattern + Tutorial
Step up your summer wardrobe game by making high waisted shorts with this free crochet pattern that’s chic, easy, and made for sunny adventures.
Think about having something stylish and comfortable to wear on a warm, sunny day. Julsmara Crochet, a much-loved YouTube channel, guides viewers with simple and clear steps to create stunning handmade high-waisted shorts. Her tutorials are known for being easy to follow, even for beginners, and she shares designs that stand out with their beauty and practicality.
Free Crochet High Waisted Shorts Pattern for Summer Style
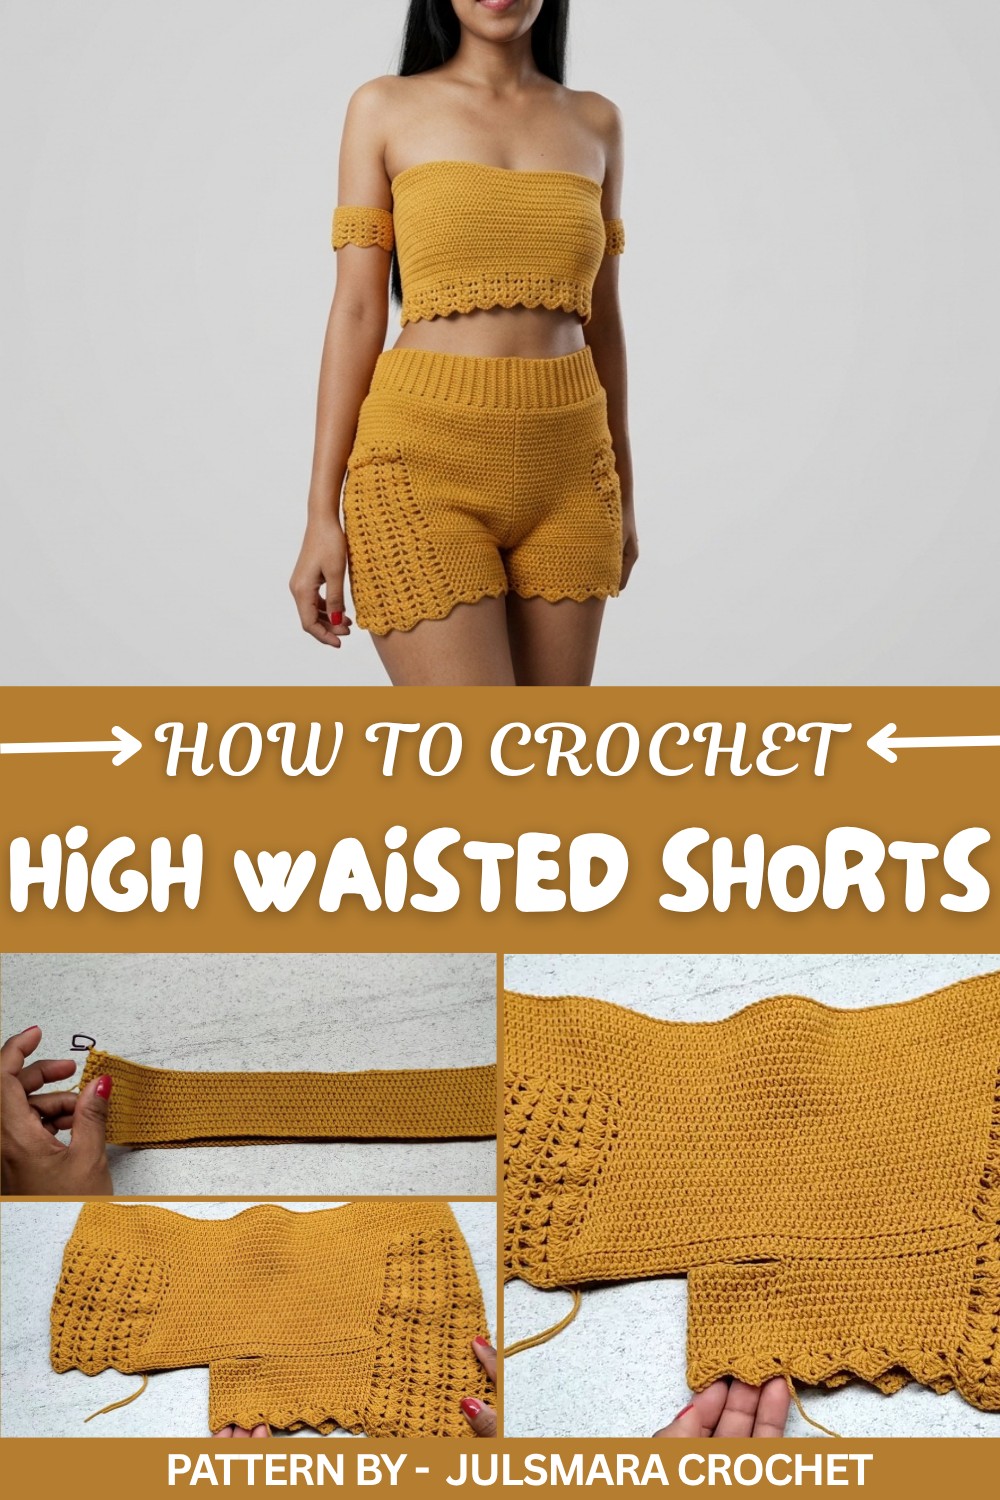
These high-waisted crochet shorts are both fashionable and wearable. The waistband fits snugly and stretches just right, giving a comfortable yet secure fit on the waist. Designed with half-double crochet and double crochet stitches, the fabric is lightweight, soft, and flexible, perfect for feeling at ease while looking great.
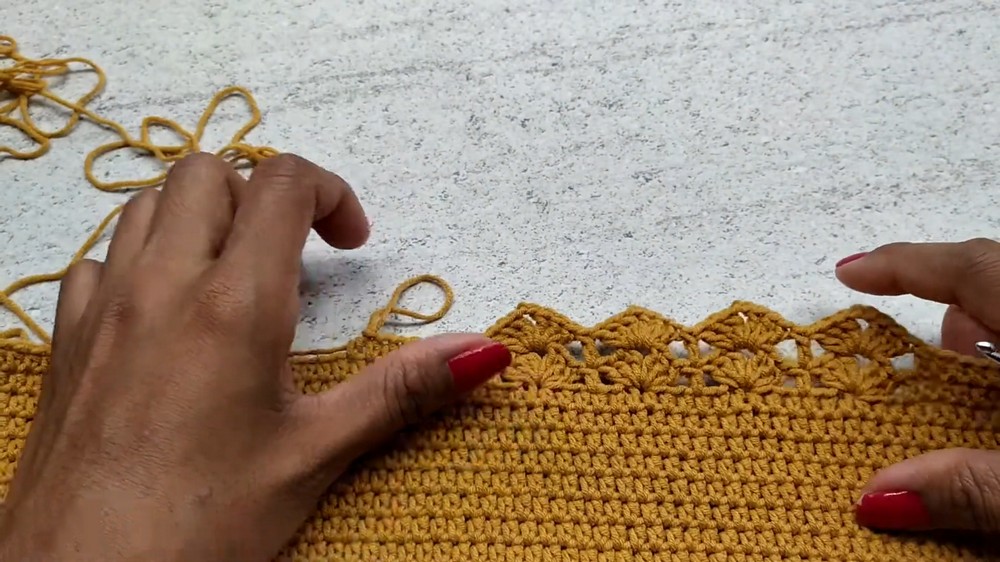
One of the standout details is the delicate shell edge at the hems, which brings a unique charm and adds elegance to the design. The high-waist style not only looks trendy but also flatters all body types. Whether you prefer a shorter length or want them a bit longer, the design can be includes helpful sizing tips throughout her tutorial.
Crochet Shorts Pattern
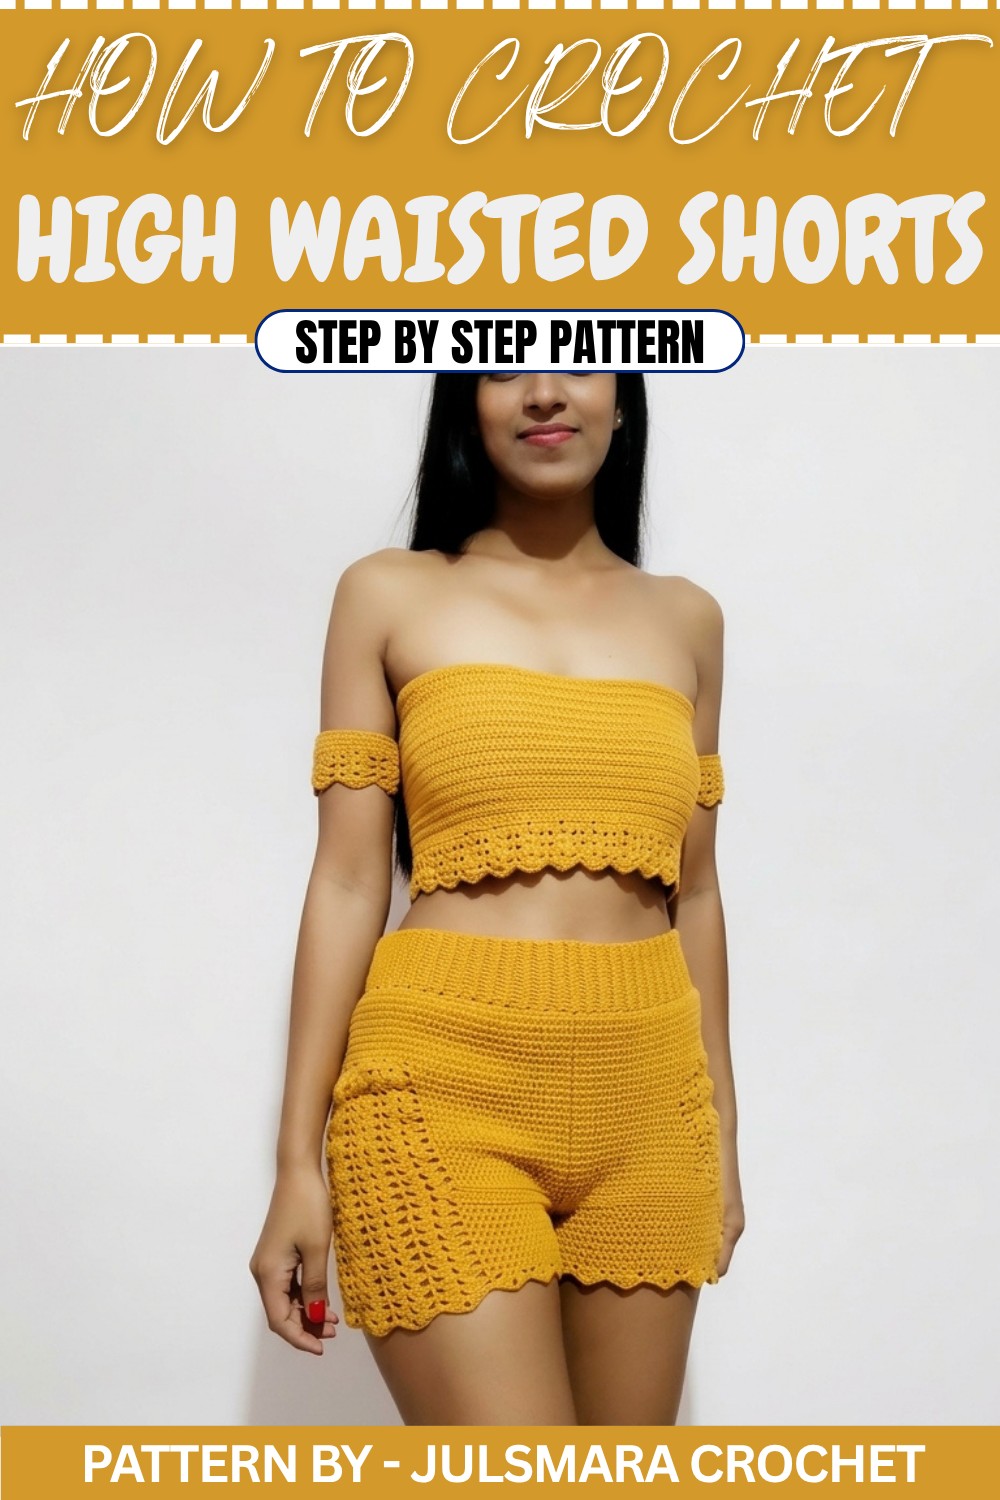
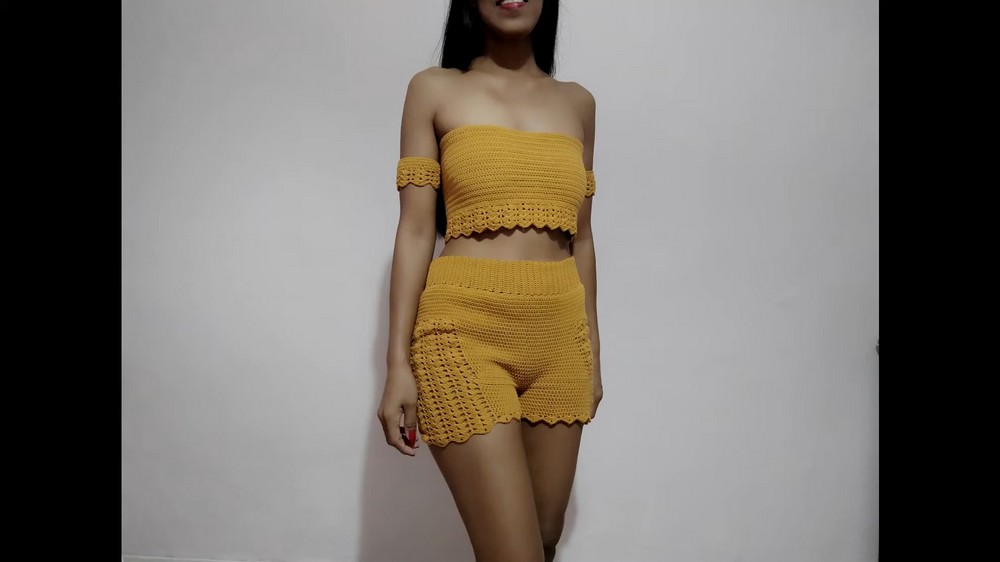
This crochet shorts pattern is a stylish and functional design that pairs beautifully with a crop top or summer outfit. The shorts feature a combination of half double crochet and decorative double crochet stitches, making them breathable and comfortable. With detailed instructions for customization, this pattern allows you to create the perfect fit for sizes small to extra-large.
Skill Level
Intermediate
This project involves foundational crochet skills, such as half double crochet, double crochet, working in the round, and ribbing techniques, making it suitable for crocheters looking to refine their skills.
Materials
- Yarn:
- Alize Cotton Gold yarn, color series 2 (lightweight cotton blend).
- Hook Size:
- 3 mm crochet hook.
- Additional Tools:
- Tape measure.
- Scissors or yarn cutter.
- Stitch markers (recommended for keeping track of sections).
Special Stitches
1. Half Double Crochet (HDC):
Yarn over, insert hook into the stitch, yarn over again and pull through (3 loops on the hook). Yarn over and pull through all 3 loops on the hook to complete the stitch.
2. Double Crochet (DC):
Yarn over, insert hook into the stitch, yarn over again and pull through (3 loops on the hook). Yarn over and pull through 2 loops, yarn over again and pull through the remaining 2 loops.
3. Shell Stitch (Fan):
The shell stitch consists of 3 DC, chain 2, 3 DC worked into the same stitch or space, creating a decorative fan-like pattern.
4. Single Crochet (SC):
Insert hook into the stitch, yarn over, and pull through (2 loops on the hook). Yarn over again and pull through both loops to complete the stitch.
Stitch Abbreviations
- HDC: Half Double Crochet
- DC: Double Crochet
- SC: Single Crochet
- CH: Chain
- SL ST: Slip Stitch
Useful Tips
- Foundation Chain: Adjust the foundation chain to match your hip measurement using the provided chart. Ensure the chain is not twisted when joining into a loop.
- Even Distribution: Use stitch markers to ensure symmetry when dividing the front, back, and leg sections.
- Adjustments: For a tighter fit, make additional HDC rows at the waist. Add or reduce rows to achieve your desired short length.
- Ribbed Waistband: Use stitches in the back loops only to create a ribbed pattern for the waistband. Make sure to stretch the waistband while working to achieve a snug fit.
- Custom Sizes: Follow the foundation chain chart to adjust for different sizes:
- Small (35" hips): CH 186
- Medium (37" hips): CH 198
- Large (41" hips): CH 222
- Extra-large (46" hips): CH 252
Pattern Instructions
Foundation Chain:
- Measure your hips. For a 35-inch hip size (size small), chain 174, plus 1 additional chain for the foundation chain (175 total). Adjust the number of chains according to your size as indicated in the chart above.
- Release the hook from the last chain and ensure the chain is not twisted. Insert the hook into the first chain, grab the end of the chain, and pull through to form a loop. Chain 1 to secure.
Main Body of Shorts
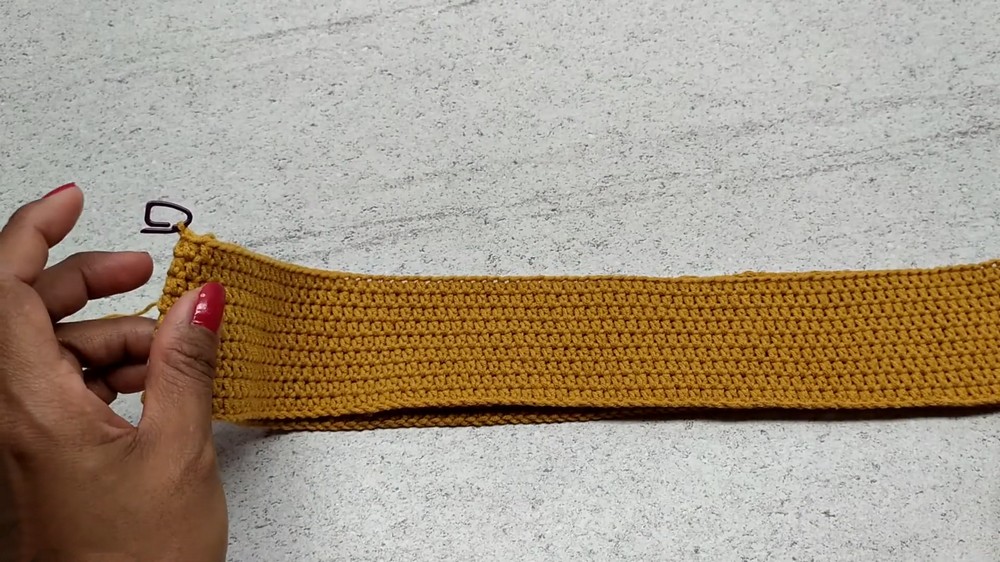
Ribs:
- Work 9 rows of HDC in joined rounds. Ensure each row begins with a chain 1 and ends with a slip stitch into the first stitch of the row.
Adding Shell Stitches
Front Section Design:
- Use stitch markers to divide the front section into two equal parts. Start with one half of the front.
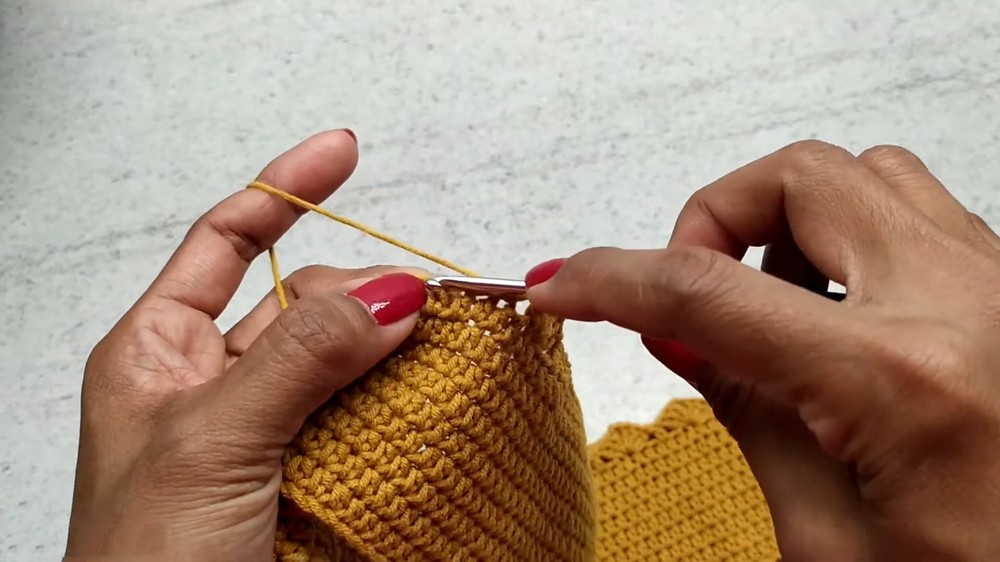
- CH 1. Work 38 HDC starting from the first stitch of this front section.
- At the 39th stitch, begin the decorative pattern:
- Work 1 DC, skip 2 stitches, and in the 3rd stitch, make the shell stitch (3 DC, CH 2, 3 DC in the same stitch).
- Skip 2 stitches, then work 1 DC in the next stitch.
- Repeat the pattern (1 DC, skip 2 stitches, shell stitch, skip 2 stitches, 1 DC) for 4 segments.
Remaining Front Section:
- After completing the decorative repeats, fill the remaining front stitches with HDC.
Back Section:
- Similar to the front, but with 47 HDC before starting the pattern.
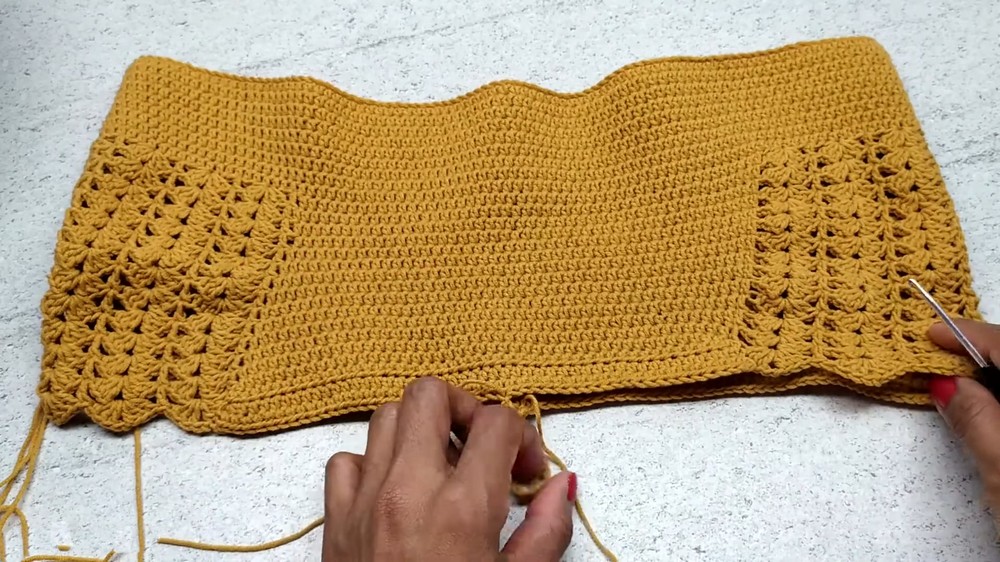
- On the next stitch, work 1 DC, followed by the shell pattern (as described above). Include 4 pattern segments using skip 2 stitches, shell pattern, skip 2 stitches, 1 DC.
- Complete the back section with HDC in the remaining stitches.
Height of Shorts
- Continue repeating the shell pattern rows, ensuring that shell stitches and double crochets align with similar stitches in previous rows. Work HDC over HDC stitches to maintain symmetry.
- Add rows until the desired height is reached. For the sample, 13 rows were completed: 9 rows of HDC followed by 4 rows with the decorative shell design.
Front and Back Rounding Adjustments:
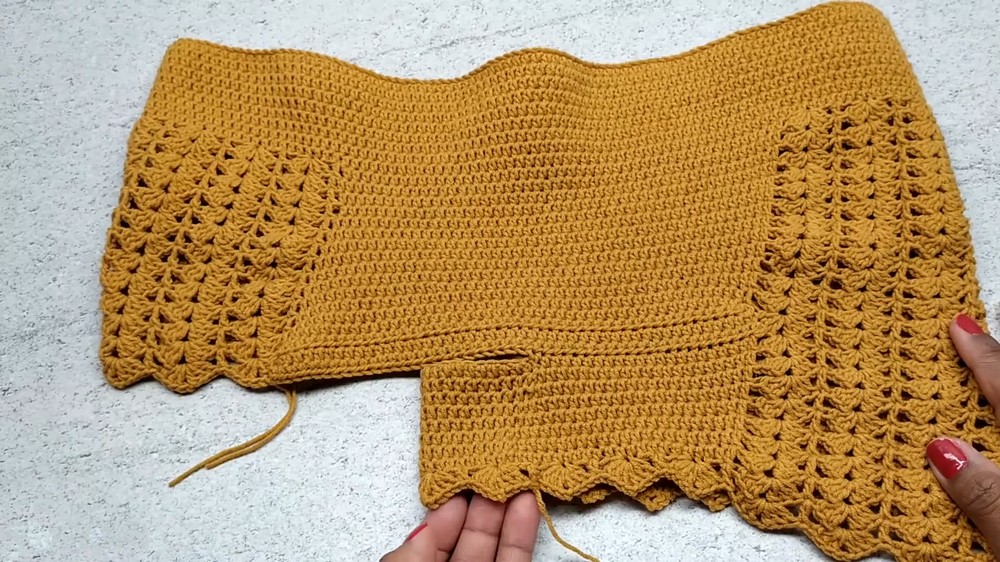
- To elevate the back and ensure a comfortable, well-fitted design, crochet 4 additional rows of HDC in the back section.
- After finishing both the front and back sections, place a stitch marker at the middle of the shorts (front and back).
Leg Holes and Crotch Area
Joining the Crotch Opening:
- At the crotch area, connect the two sides by removing the stitch marker and CH 20. Reattach to the opposite side of the stitch marker with a slip stitch to create the leg hole.
Leg Holes:
- For each leg hole, work in joined rounds to add the length and design.
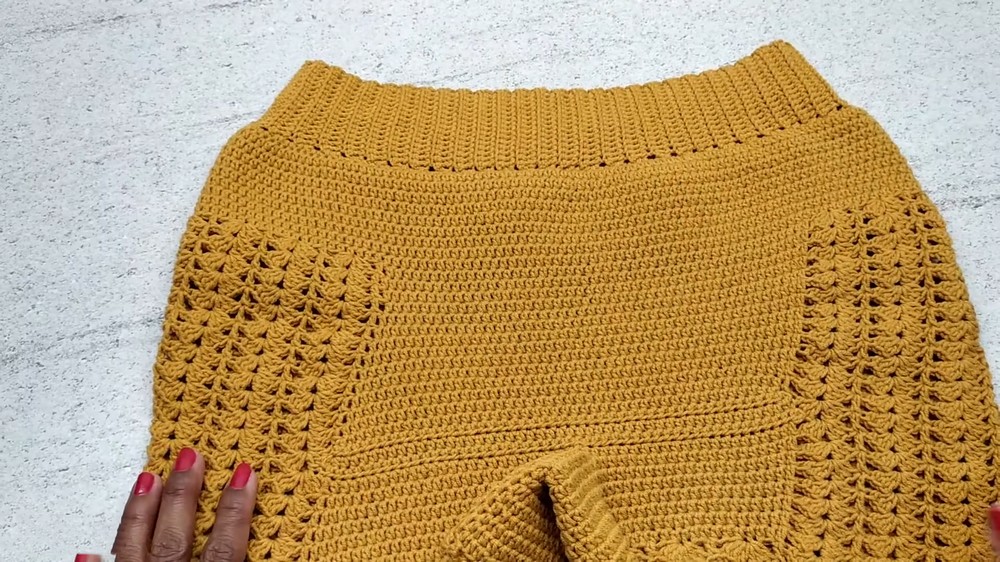
Step-by-Step for 1 Leg Hole:
- Start by joining the yarn with a slip stitch at any point of the leg hole. CH 1.
- Work HDC in each stitch around the leg hole, including the chains at the crotch area.
- When you reach the decorative section:
- Work DC on DC stitches from the previous design rows.
- Continue the shell stitch pattern (3 DC, CH 2, 3 DC) into chain spaces, following the established pattern.
- Work 8 rows of HDC for the leg area, and finish the 9th row with the decorative design.
- Join each round with a SL ST, chain 1, and proceed to the next round. When the desired length is achieved, fasten off.
- Repeat this process for the second leg hole, ensuring symmetry between both legs.
Waistband Ribbing
- For the ribbing, CH 16.
- Start in the 15th chain and work a row of SC.
- At the end of the row, CH 1, turn your work, and work SC back across in the back loops only.
- Repeat this process until the ribbing reaches the length of your waist measurement when slightly stretched.
- Use SL ST to join both sides of the ribbing together to form a band.
Assembly and Sizing
- Attach the Waistband:
- Flip the shorts inside out.
- Position the waistband over the top edge, ensuring it is evenly stretched.
- Use single crochet to carefully attach the waistband to the shorts, ensuring the stitches are evenly distributed for a smooth finish.
- Weaving in Ends:
- Use a tapestry needle to weave in loose ends securely.
Conclusion
This pair of crochet shorts is a perfect wardrobe addition for casual or beach outings. The combination of half double crochet and shell stitches creates a comfortable and unique look. The pattern’s customizable nature allows for versatile sizing and design adjustments, ensuring that the finished product fits perfectly and matches your personal style. Add your preferred embellishments, and enjoy wearing your handmade creation!