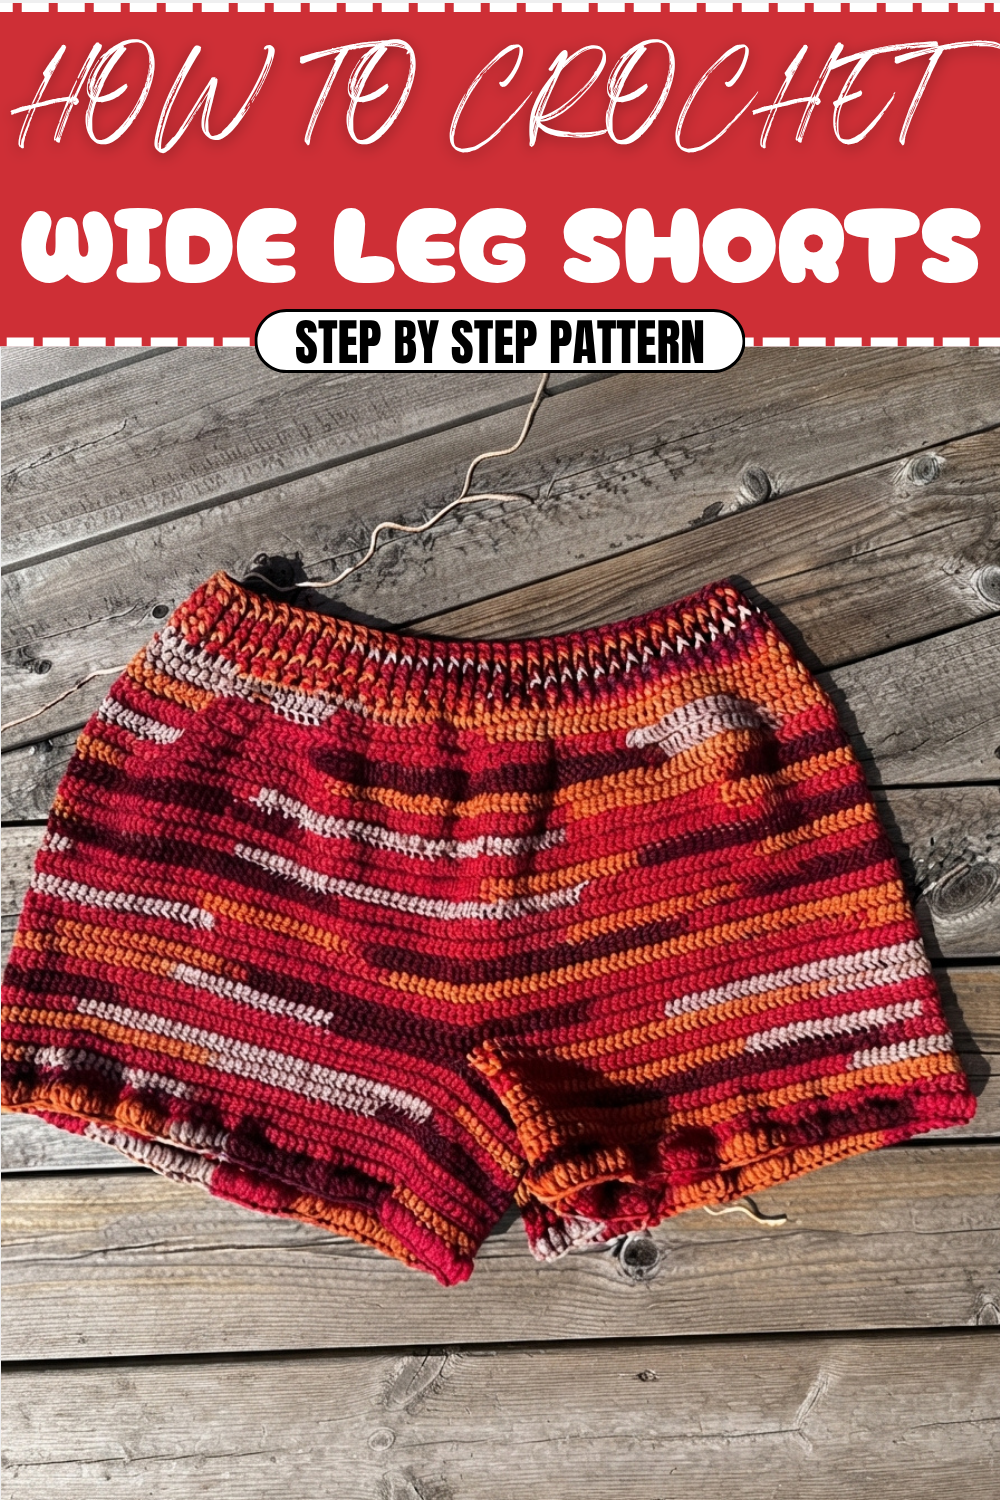
Free Crochet Wide Leg Shorts Pattern for Handmade Fashion
Refresh warm weather style with Free Crochet Wide Leg Shorts Pattern featuring relaxed comfort and modern look perfect for sunny days outdoors.
What’s better than a pair of shorts that combine effortless style with all-day comfort? This free crochet wide leg shorts pattern delivers exactly that—a fun and modern take on warm-weather wear that’s perfect for crocheters eager to expand beyond scarves and blankets. Creating this shorts brings a satisfying mix of practicality and creativity, resulting in a garment that’s both breathable and beautifully unique.
Free Crochet Lightweight Wide Leg Shorts for Summer
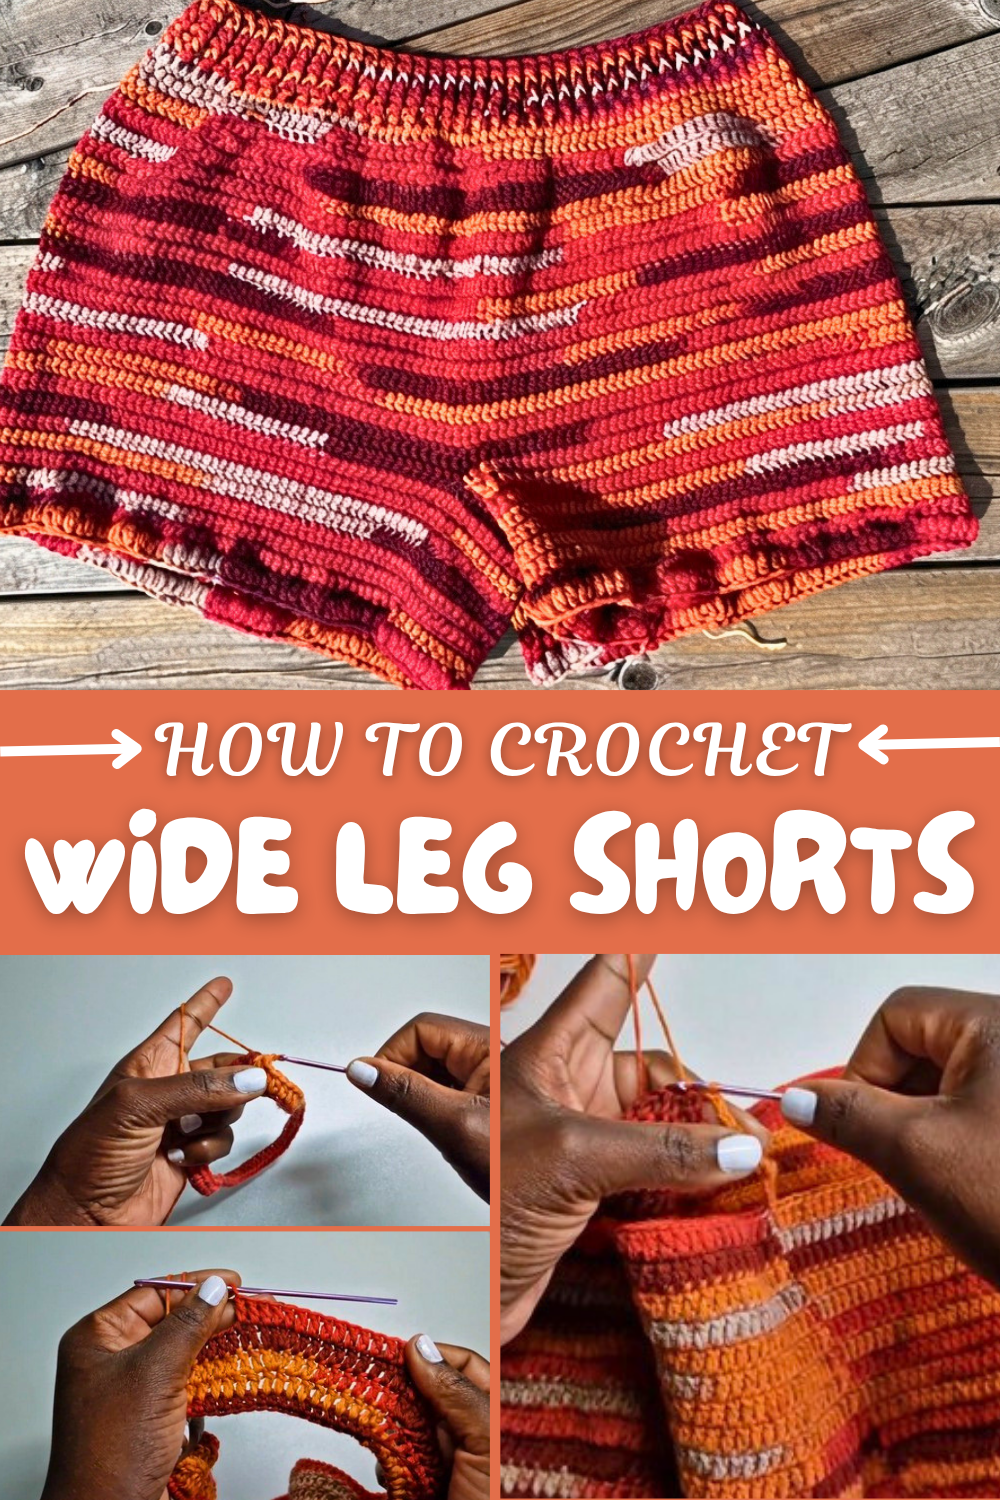
The wide leg design offers generous movement and airflow, making the shorts ideal for lounging or casual outings. The textured stitches often feature openwork or light patterns that add a delicate, airy feel to the fabric. An adjustable waistband—whether elastic or drawstring—ensures a cozy, customized fit no matter your shape or size. These details make the shorts as comfortable as they are chic.
Customization really shines here. Choose soft cotton yarns for breathable comfort or experiment with various hues to match your personal style. From muted neutrals to vivid colors, the pattern welcomes all preferences. While well-suited for intermediate crocheters comfortable with garment shaping and stitch counting, dedicated beginners who enjoy a challenge can also find joy in making this shorts.
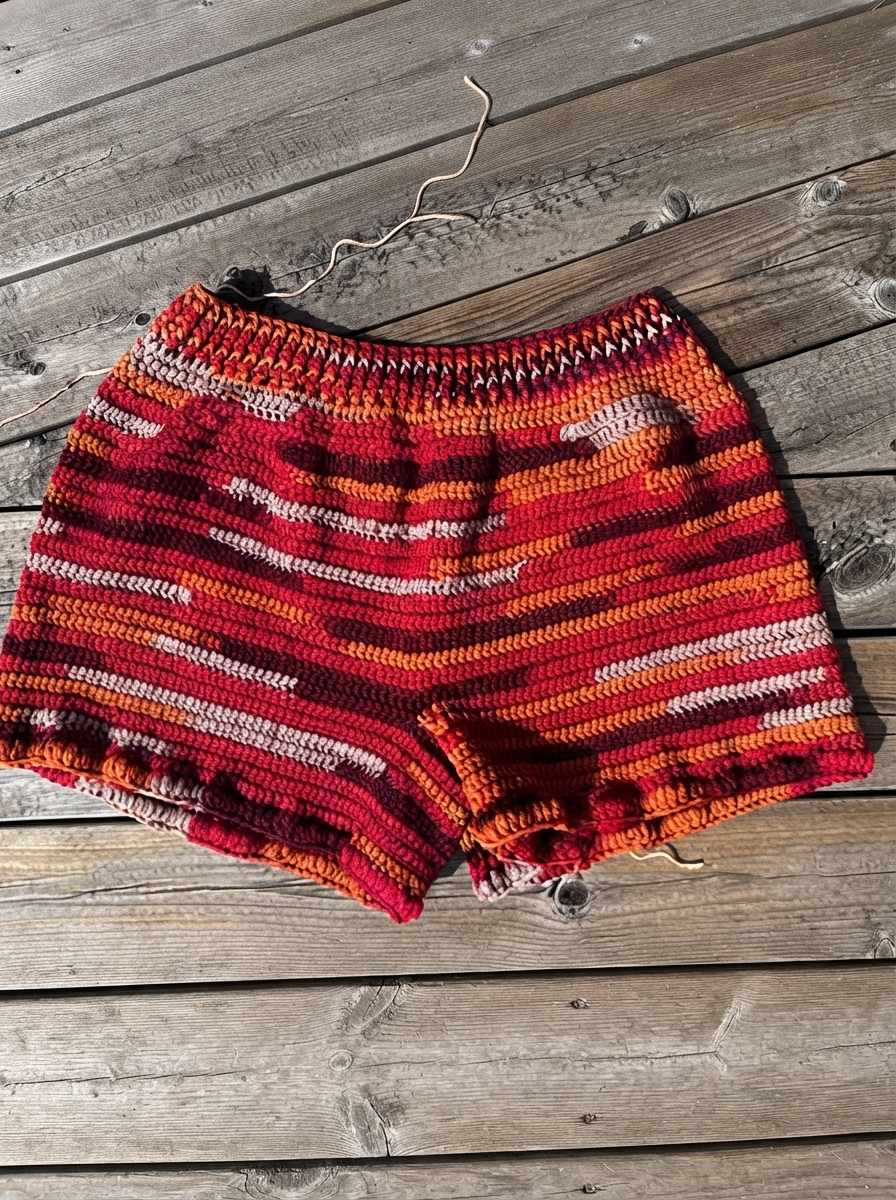
Through this project, you’ll build skills in garment construction, working with stitch patterns in rounds, and finishing techniques like waistbands and hems. It offers a wonderful opportunity to create not just a crochet item, but a stylish, wearable piece you’ll be proud to rock all season long.
Crochet Wide-Leg Summer Shorts – Beginner-Friendly Step-by-Step Pattern
This comfortable and stylish pair of wide-leg summer shorts is made with a 3mm crochet hook and sport weight yarn. The shorts are designed to be loose-fitting with shaping at the hips, wide legs separated by a chain bridge, and a stretchy ribbed waistband for comfort. This easy-to-follow pattern breaks down every step with detailed instructions and highlights all important stitches to make crocheting enjoyable for beginners.
Pattern Highlights
- Uses 3mm hook and sport weight yarn for lightweight, breathable fabric.
- Shaped to fit hips with added ease for comfort.
- Worked mostly in double crochet (dc) stitches.
- Leg openings created by chaining across to separate legs.
- Finishing includes textured hem stitch on legs and elastic-friendly ribbing at waist.
- Flexible waistband options: elastic or drawstring.
Materials Needed
- Sport weight yarn (approx. 300–400g depending on size)
- 3mm crochet hook
- Stitch markers
- Measuring tape
- Scissors
- Tapestry needle for weaving in ends
- Optional: Elastic band or yarn for drawstring
Abbreviations
| Abbreviation | Meaning |
|---|---|
| ch | chain |
| dc | double crochet |
| hdc | half double crochet |
| sl st | slip stitch |
| fpdc | front post double crochet |
| bpdc | back post double crochet |
| st(s) | stitch(es) |
Special Techniques
- Front Post Double Crochet (fpdc): Yarn over, insert hook from front to back around post of stitch below, yarn over, pull through, complete double crochet.
- Back Post Double Crochet (bpdc): Yarn over, insert hook from back to front around post of stitch below, yarn over, pull through, complete double crochet.
- Hemline special stitch: Wrap yarn around hook multiple times, pull through the same loop multiple times for a textured finish, then complete with regular double crochets.
Step-by-Step Pattern
Step 1: Foundation and Base Rows
Measure and Chain
- Using a measuring tape, measure your hip circumference.
- Add 5–10 cm (2–4 inches) for comfort and ease.
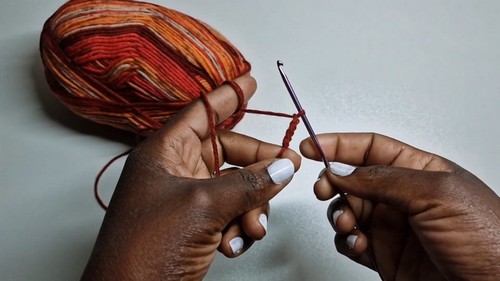
- Using your 3mm hook and sport weight yarn, chain until your chain length matches your total measurement.
Join and First Row
- Join the chain into a round by making a slip stitch (sl st) into the first chain, being careful not to twist the chain.
- Chain 2 (this counts as your first half double crochet (hdc)).
- Work half double crochet (hdc) stitches evenly around the chain.
- Join with a slip stitch (sl st) to close the round.
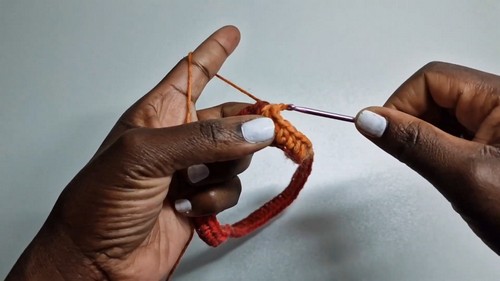
Double Crochet Row
- Chain 2.
- Work double crochets (dc) in each space between stitches of the previous round, going all the way around.
- Join with a slip stitch (sl st).
Step 2: Increasing for Shape
Increase Row (Row 3)
- Chain 2.
- Work 9 double crochets (dc).
- In the 10th stitch, make 3 double crochets (dc) into the same stitch to add width and shape.
- Repeat 9 dc + 3 dc cluster all around the row.
- Join with a slip stitch (sl st).
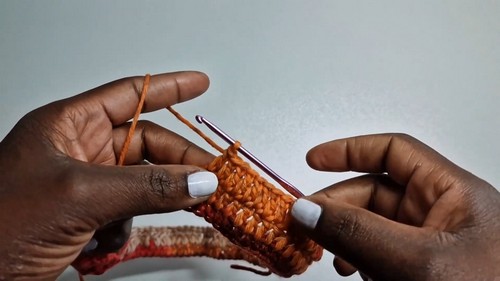
Cluster Row
- Work double crochets (dc) around as usual.
- When you reach the center stitch of the previous 3-stitch cluster, work 3 double crochets (dc) into that stitch.
- Continue working regular double crochets (dc) to complete the round.
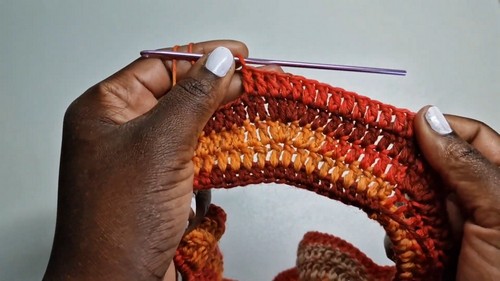
Step 3: Body of the Shorts
Standard Rows
- Work 15 more rows of double crochet (dc) stitches evenly with no increases.
- This gives a total of 18 rows including the first rows.
- Join each round with a slip stitch (sl st) and chain 2 to begin the next.
Step 4: Leg Separation
Dividing the Shorts
- Use stitch markers to mark the halfway point on your shorts.
- At this point, chain 20 to create a bridge that will separate the legs.
Joining Across Legs
- Turn your work to ensure stitches face the right direction.
- Join the chain to the opposite side using a slip stitch (sl st) or double crochet (dc) for a neat join.
- Work double crochet (dc) stitches evenly across the first leg opening, across the chain bridge, and then across the second leg opening.
- Join with a slip stitch (sl st).
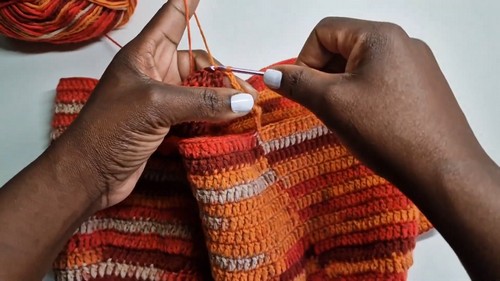
Leg Length
- For each leg, work 8 rows of double crochet (dc) stitches evenly around.
- Join each round with a slip stitch (sl st).
Leg Hem Detail (Final Row of Each Leg)
- Work the special hem stitch as follows:
- Yarn over your hook three times.
- Insert your hook into the same stitch.
- Pull yarn through the loop three times, creating multiple loops on hook.
- Yarn over and pull through two loops at a time until one loop remains.
- Finish the row with regular double crochets (dc).
- This stitch gives your shorts a neat and durable hem.
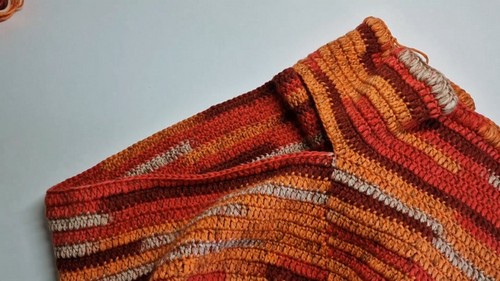
Step 5: Waistline Ribbing
Work Double Crochet Row
- Work one complete row of double crochet (dc) stitches evenly around the waist.
Ribbing with Post Stitches
- Work 5 rows alternating between:
- Front post double crochet (fpdc)
- Back post double crochet (bpdc)
- This ribbing pattern creates a stretchy, elastic-like waistband.
Finishing the Waistband
- Choose your preferred waistband finish:
- Insert an elastic band inside the ribbing for a snug fit.
- Alternatively, crochet a drawstring and weave it through the ribbing.
- Secure all ends and weave in any loose yarns.
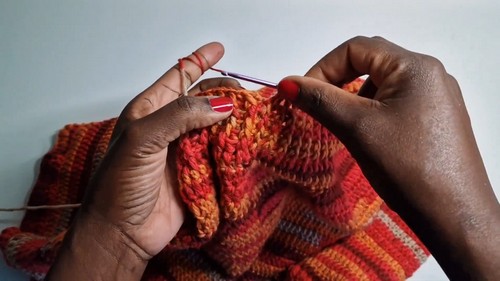
Assembly & Finished Size
- The piece is essentially worked in the round with cleverly placed increases and leg separation chains.
- The finished shorts will depend on your initial measurements and yarn tension but expect a loose, comfortable fit.
- Ribbed waistband provides a flexible fit.
- The leg hems and waistband ribbing give clean, professional edges to the garment.
Conclusion
You have successfully created a fashionable pair of crochet wide-leg summer shorts using simple stitches and thoughtful construction techniques. The pattern offers a great balance of comfort and style by shaping the hips, separating the legs with a chain bridge, and adding a stretchy ribbed waistband. The special textured hem completes the look and increases durability.
This project helps you develop skills such as working in rounds, increasing, using stitch markers, and creating post stitches—all valuable techniques for many crochet garments. Enjoy wearing your handmade shorts during warm days, or gift them to someone special!