
Crochet Baby Granny Style Sweater Pattern That Warms Cold Walks
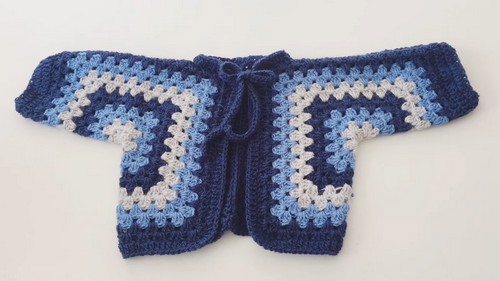
Upgrade your newborn photo shoot with a Free Crochet Baby Granny Style Sweater Pattern that help you make a soft vintage jumper that looks adorable on camera.
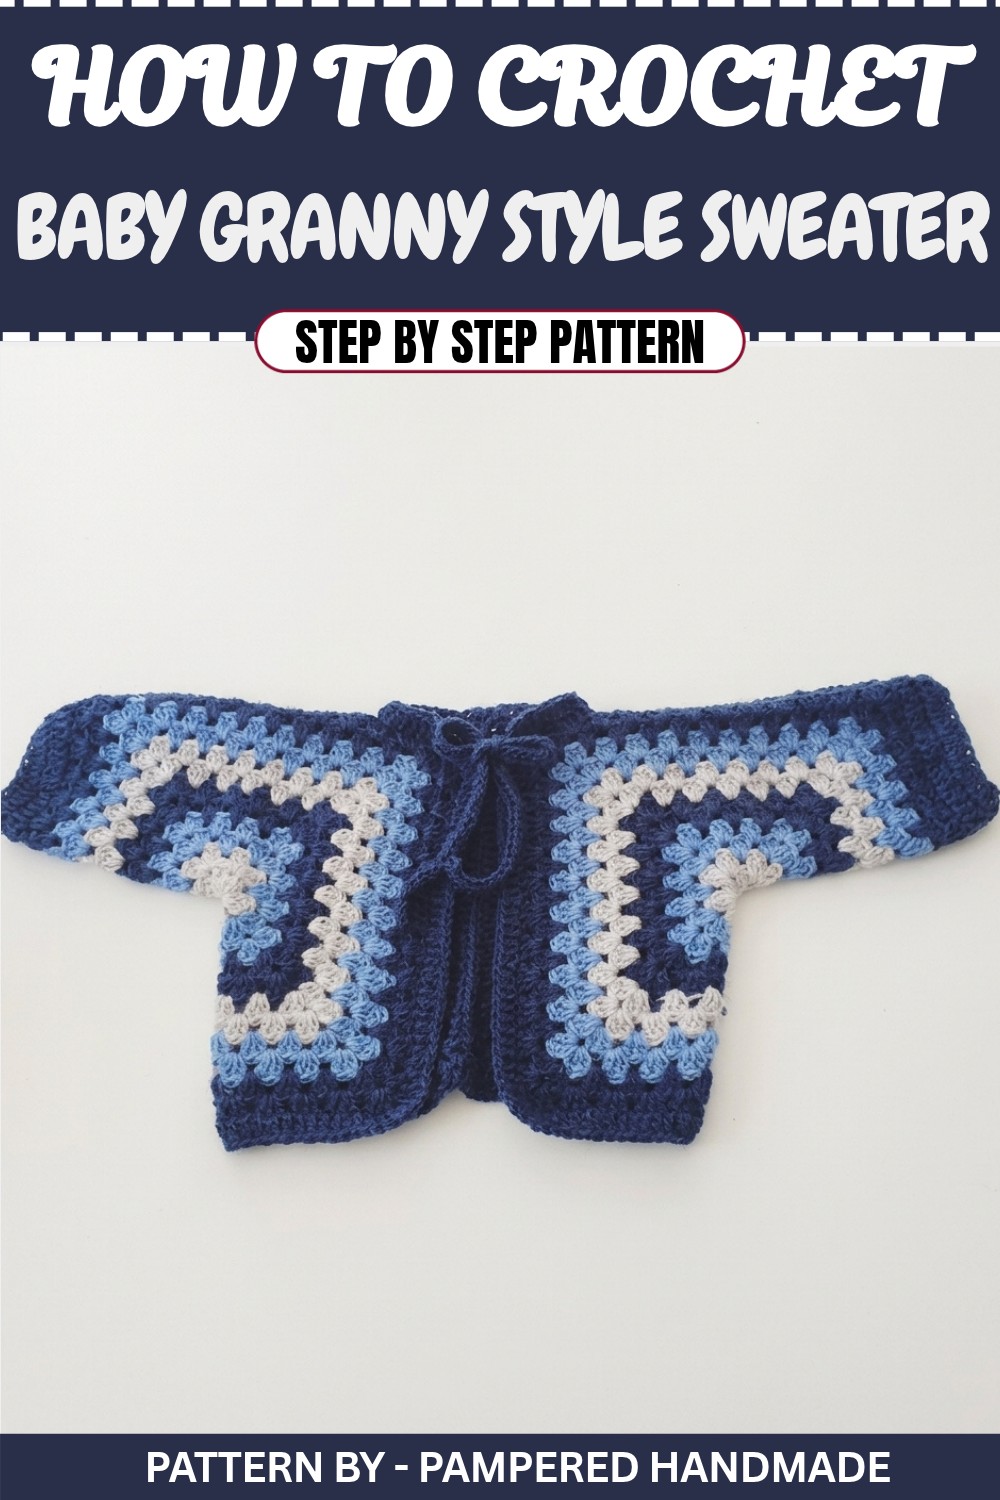
This baby sweater is nothing short of adorable and is bound to make a sweet addition to your little one’s wardrobe or a thoughtful handmade gift for new parents. Its charming granny square inspired design offers timeless beauty, blending intricate details with a vintage touch. Suitable for babies aged six months, it delivers both style and comfort, making it a perfect choice for your baby’s everyday wear or a cozy layer on cooler days.
Stitch a Baby Granny Style Sweater Pattern as a warm coat layer
The sweater is made with two separate hexagonal pieces that are worked from the center outward, creating a captivating six sided design. What sets this project apart is the ability to customize it with a variety of colors, you can stick with a single color or go creative by switching shades every round for a colorful, vibrant effect. The detailed step-by-step instructions provided by Jaime from the MIMADOS HANDMADE YouTube channel make this sweater surprisingly simple to create, even for beginners.
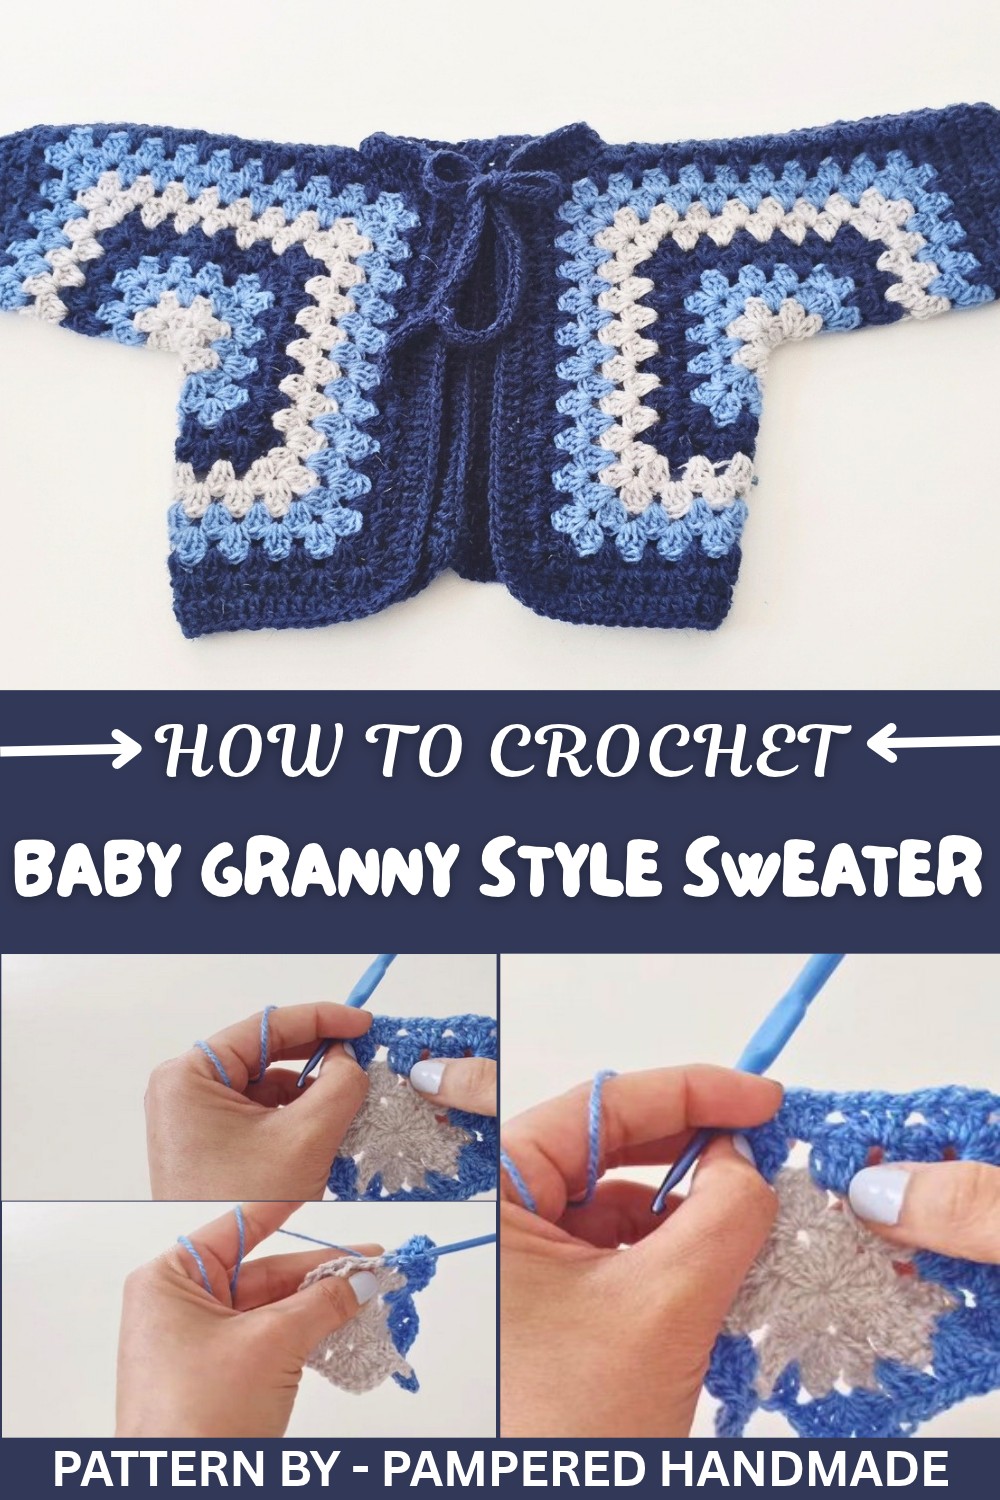
One of the highlights of this sweater is its delicate border, ties, and cuff detailing, all crocheted with double and half double crochet stitches to enhance its overall polished look. The design prioritizes comfort, leaving a soft neckline and snug cuffs that won’t irritate your baby’s skin. Whether you’re creating this piece in neutral tones or going bold with contrasting shades, the result is a lightweight sweater vest with a vintage vibe that’s sure to stand out.
The MIMADOS HANDMADE channel doesn’t just inspire, it equips crocheters with the skills needed to make beautiful and practical pieces like this. You’ll not only finish the sweater but also gain new techniques, empowering you to create more stunning crochet garments for loved ones.
Crochet Baby Vest / Sweater Pattern
Quick Overview Of Pattern
- Pattern Type: Baby vest/sweater
- Target Size: 6 months
- Design: Two identical hexagonal panels joined for the body and arms
- Customizable Elements: Color selection and edging
Notes
- The vest/sweater is made from two identical hexagons, which are folded and stitched together to form the body and arms.
- You can switch yarn colors every two rounds, stick to one solid color, or alternate colors for each round, depending on your design preference.
- Stitch tension should remain consistent throughout for even hexagon shaping.
- It is normal for the hexagon to wrinkle slightly during creation; it will flatten when assembled.
Skill Level
Intermediate – Familiarity with basic crochet stitches, including slip stitches, double crochet, and simple seam assembly, is necessary.
Materials
- Yarn:
- Brand: Orquídea
- Colors: Silver, Jacinto (light blue), and Navy
- Fiber: Acrylic or light wool blend
- Crochet Hook: 3.5 mm hook
- Scissors
- Yarn Needle: To weave in ends
- Optional: Stitch markers (to help with folding and assembly)
Measurements / Sizing
- Size: 6 months
- Each hexagonal panel will consist of 12 rounds, with the dimensions adjusted as needed to achieve a proper fit.
Gauge
Gauge is not specified, but stitch consistency is crucial for the hexagonal pieces to align properly.
Stitch Abbreviations
- ch: Chain
- dc: Double crochet (punto alto / vareta)
- sl st: Slip stitch
- st(s): Stitch(es)
- sp: Space
Special Stitches
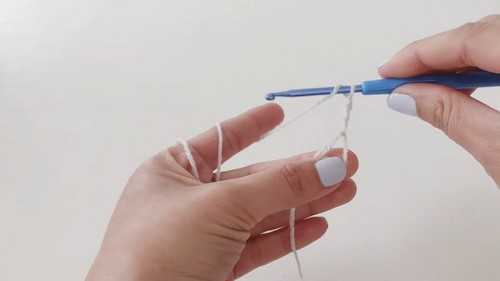
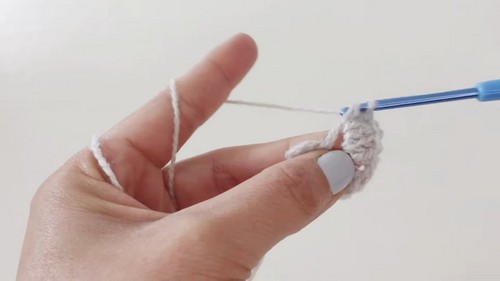
Magic Ring (MR): Begin by creating a loop, insert the hook into the loop, yarn over, and pull through. Work all stitches into the loop and pull the tail to close securely.
Double Crochet Two Together (dc2tog): For decreasing: (Yarn over, insert the hook into the first stitch, pull through, yarn over, pull through two loops), repeat in the next stitch, yarn over, and pull through all loops on the hook.
The Crochet Pattern
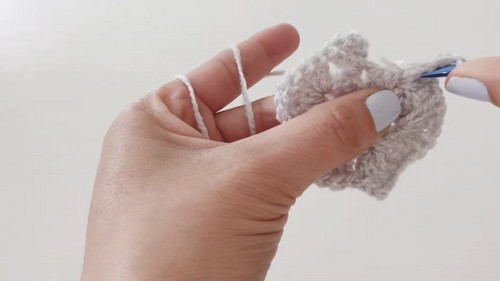
Hexagon Creation
We will make two identical hexagons that will be folded and stitched to form the shape of the sweater.
- Round 1:
- Begin with a magic ring.
- Chain 3 (counts as 1 dc), and make 2 dc into the ring.
- Chain 1 (for separation), then work 3 dc into the ring. Repeat [3 dc, ch 1] until there are 6 groups of 3 dc total.
- Chain 1 and join to the third chain from the beginning with a slip stitch.
- Pull the ring tight to close the center.
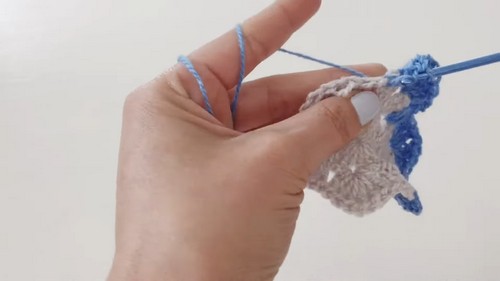
- Round 2:
- Chain 3 (counts as 1 dc), and work 2 dc into the same space.
- In the next ch 1 space, work: [3 dc, ch 1, 3 dc] (this creates a corner).
- Continue working [3 dc, ch 1, 3 dc] in every ch 1 space around.
- Slip stitch to the third chain to close the round.
- Round 3:
- (Optional) Change color if desired. Join yarn in a ch 1 corner space.
- Chain 3, work 2 dc in the same space.
- Work 3 dc into the next space between groups, and [3 dc, ch 1, 3 dc] in each corner space.
- Repeat this sequence to complete the round, slip stitch to join.
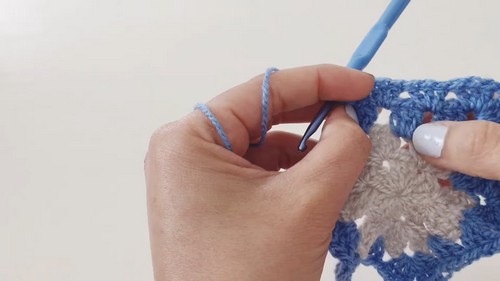
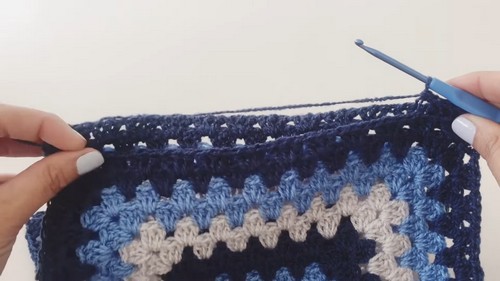
- Rounds 4–12:
- Continue increasing the hexagon by repeating Round 3, adding more groups of 3 dc between corner spaces as the hexagon grows.
- For every corner, always work [3 dc, ch 1, 3 dc].
- Ensure the color changes occur evenly if you’re using multiple yarn shades.
Assembly
- Fold and Join Hexagons:
- Lay both hexagons flat. Fold each one in half so two corners meet to form a triangular shape.
- Place the two folded hexagons together, aligning the back edges (straight edges that form the back of the sweater).
- Back Seam:
- Use a yarn needle or crochet hook to join the back edges with slip stitches or single crochet. Insert the hook through the outer loops of the edges to avoid bulk visible on the right side.
- Work evenly across the straight edge and ensure the seam lies flat.
- Shoulder Seams:
- Start joining from the corners of the hexagon "arms" but leave some space at the top edges to create a neckline.
- Stop joining where the third group of stitches starts from the corners, leaving an opening for the neck area. Tie off and weave in ends.
Adding Edging
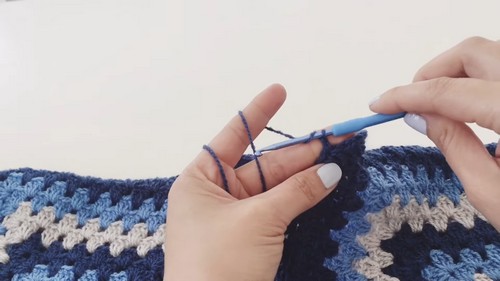
- Neckline, Arms, and Hem Edging:
- Attach yarn at any point along the neckline.
- Work one round of double crochet stitches evenly around the neckline. In each corner or sharp curve, work 3 dc in one space to keep the curve smooth.
- Repeat the same method for the armholes and the bottom hem.
- Optional: For a cleaner and tighter fit at the wrists, add an additional round of dc2tog decreases in the armhole edges.
Adding Ties
- Attach yarn just below the neckline on one side.
- Chain 40 (or desired length), turn, and work back along the chain using single crochets to reinforce it.
- Repeat for the other side.
Conclusion and Finished Size
After completing the edging and ties, your baby vest/sweater is ready. The finished garment has a snug but flexible fit for a 6 month old, thanks to the forgiving hexagon design. Remember, you can adjust the size by adding or subtracting rounds in the hexagon pattern.