
Free Crochet Coin Purse Pattern for Your Everyday Look
Style your accessory game with this free crochet coin purse pattern that’s simple, creative, and perfect for storing your coins in a cute little pouch.
Crochet often feels like a small adventure in your hands. You start with plain yarn and a hook, sit down for a quiet moment, and soon a tiny, useful object begins to grow row by row. A coin purse is one of those sweet little projects that makes you smile every time you open it. It fits in the palm of your hand, slips easily into any bag, and keeps loose coins, lip balm, hair tie , or small keepsakes from getting lost.
Patterned by yarnish_love
The purse shown by yarnish_love uses soft cotton yarn and neat stitches for a tidy and modern look. The top starts with a magic ring, giving a smooth circular base, and then builds up into petal like sections, which look very pretty as the opening of the bag. The body of the purse uses simple double crochet in rows, so once you learn the first few steps, your hands move almost on their own. The shape is small and slightly rectangular with a gentle curve, making it practical while still cute and stylish.
Free Crochet Coin Purse Pattern to Keep Coins Organized
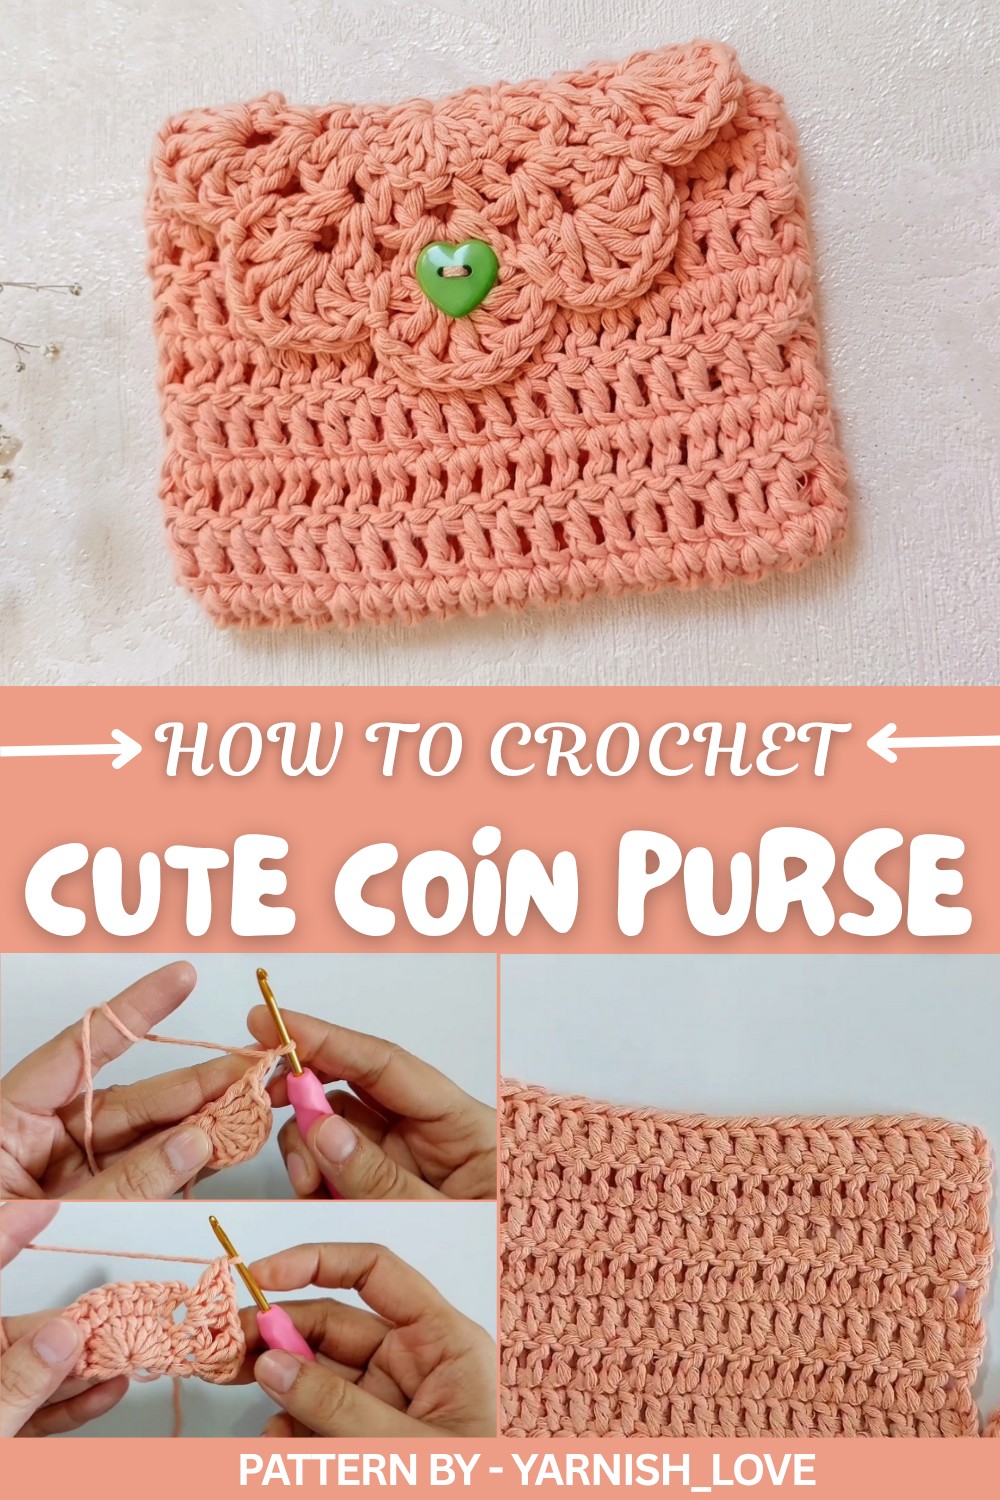
This Free Crochet Coin Purse Pattern is useful for everyday life: drop in your coins, tuck in your earbuds, or keep tiny jewelry safe. The working style suits beginners who know basic stitches, but still feels satisfying for more experienced crocheters who enjoy a quick, neat project.
You can finish it in a short time, add a button or a snap at the top, and choose colors that match your bag or your mood. In the end, you hold a little purse that shows patience, skill, and love in every stitch.
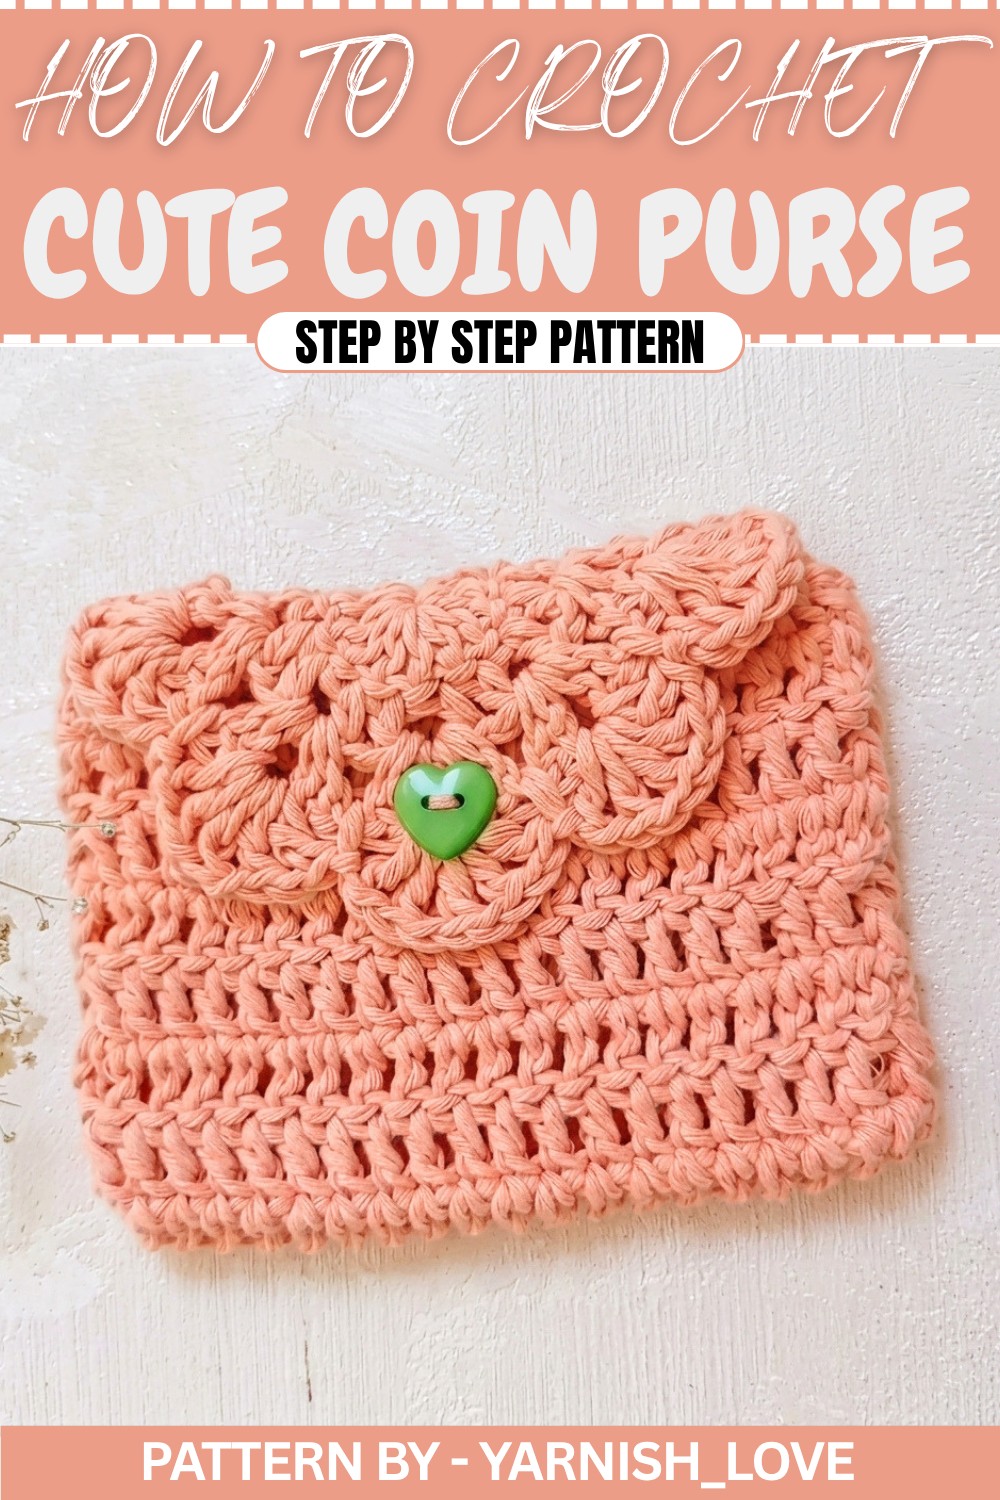
Crochet Coin Purse Pattern
Learn how to make this adorable Crochet Coin Purse Pattern with natural cotton yarn and simple stitch techniques. The pattern combines a cute top and a sleek body joined together seamlessly for a charming result. Let’s begin and create this versatile project – perfect for small essential items.
Quick Overview of Pattern
- Create a rounded top using a magic ring and crochet stitches.
- Make the bag body with simple rows of double crochet.
- Seamlessly attach the top to the body for secure assembly.
- Fold and join the bag sides for a neat and finished look.
Notes
- Always ensure you maintain the correct stitch counts to avoid alignment issues.
- Focus on the "front loops" during the sewing part for a cleaner finish.
- Adjust the number of rows in the Purse body for a longer or shorter Purse.
Skill Level
Beginner to Intermediate – Requires knowledge of basic stitches, working in rounds, and construction techniques.
Materials
- Yarn: Natural cotton yarn.
- Hook: 3mm crochet hook.
- Scissors: For cutting the yarn.
- Wool Needle: For sewing and weaving in the ends.
Measurements / Sizing
- Approximate size: 4 inches width x 5 inches height (modifiable).
Gauge
Gauge is not critical for this project, but aim for tight and consistent stitches to provide structure.
Stitch Abbreviations
- Ch: Chain
- Sl St: Slip Stitch
- SC: Single Crochet
- HDC: Half Double Crochet
- DC: Double Crochet
Special Stitches
- Magic Ring: Create a loop, insert hook into the loop, yarn over, pull through, and secure the loop to begin your work.
- Half Double Crochet: Yarn over, insert hook, yarn over, pull up a loop (3 loops on hook), yarn over, pull through all loops.
The Crochet Pattern
Purse Top
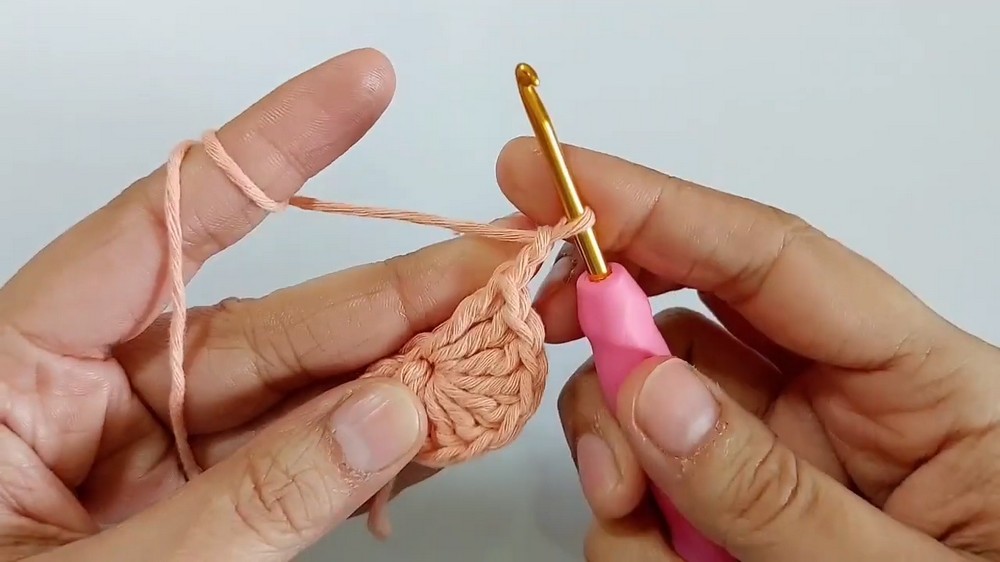
Round 1
- Start with a magic ring.
- Ch 2 (not counted as a stitch).
- Crochet 10 DCs into the magic ring.
- Pull the ring tightly to close, and join with a Sl St to the top of the first DC.
Round 2
- Ch 2 (not counted as a stitch), turn your work.
- Crochet 1 HDC into the first stitch, followed by Ch 1.
- Alternate 1 HDC, Ch 1, in each stitch across the row.
- At the end of the row, you should have 10 HDCs and 9 chain spaces.
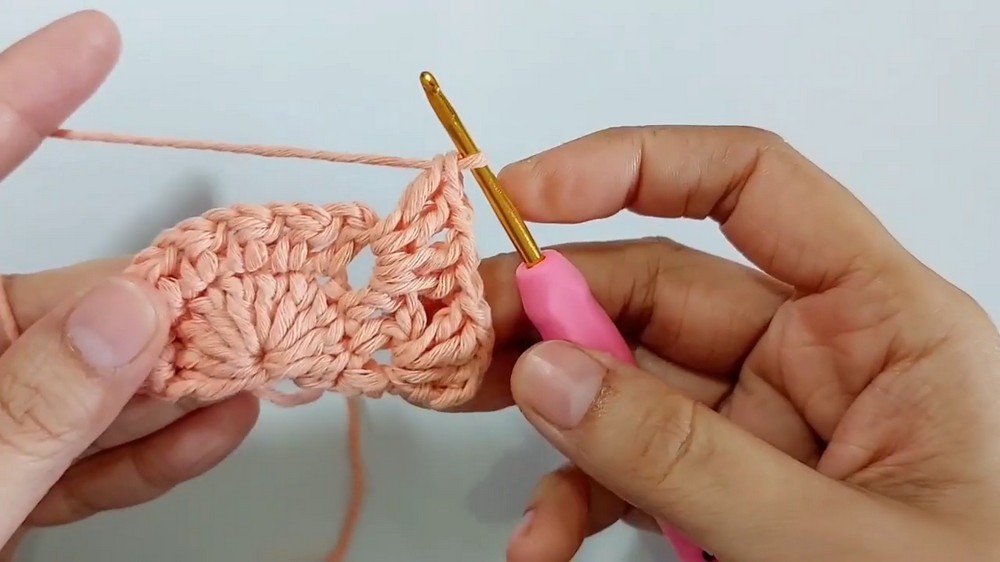
Round 3
- Turn the work. Start in the first chain space by making a Sl St.
- Ch 2 (counts as 1 HDC). Into the same space, work:
- 2 DCs, Ch 1, 2 DCs (making a V-stitch cluster).
- Skip the next space, and repeat the V-stitch cluster (2 DCs, Ch 1, 2 DCs) in the next chain space.
- Continue this pattern until the last space of the row.
- In the last stitch, make 1 HDC to finish the row.
Round 4
- Turn the work and skip the stitches. Start in the first chain space.
- In this space, crochet:
- 1 DC, Ch 1, 1 DC, Ch 1, 1 DC, Ch 1, 1 DC, Ch 1, 1 DC (5 DCs with 1 chain between each).
- In the middle of the next V-stitch cluster, make a Sl St.
- Repeat the 5 DCs with 1 chain in the next space.
- Alternate this pattern until the end of the row.
- In the final space, create 5 petals as described, finishing with a final DC in the corner stitch.
- Fasten off the yarn and hide the excess ends.
Purse Body
- Make a slip knot and ch 23.
- Skip the first 3 chains and make 1 DC in the 4th chain. Work the stitches into the back bumps of the chain for a neater edge.
- Continue working 1 DC in each back bump across the row (20 DCs total).
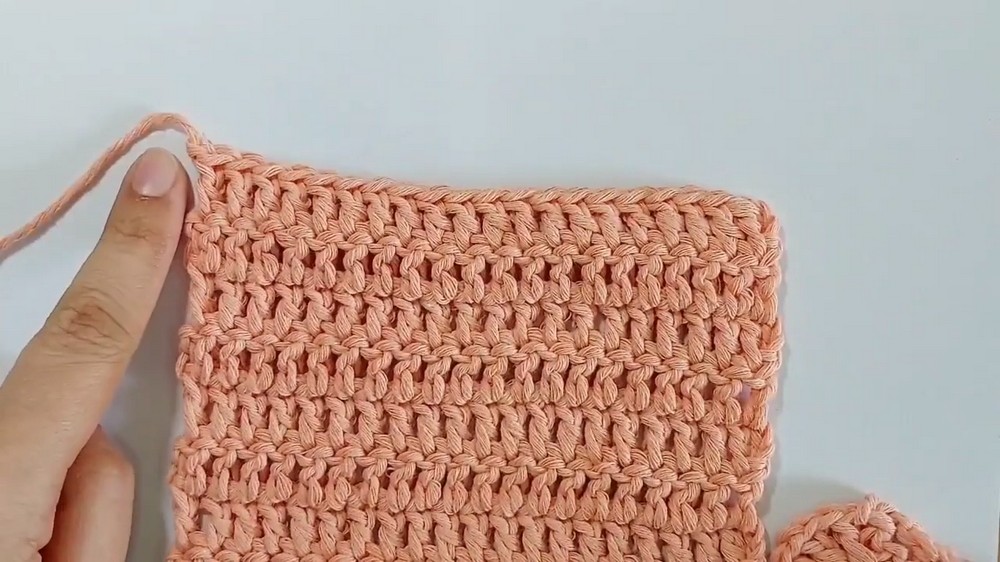
Rows 2–16
- Ch 3 to turn (not counted as a stitch).
- Begin with 1 DC in the first stitch and work DCs across for a total of 20 stitches.
- Repeat this step for each row until you complete 16 rows (or adjust based on your desired Purse length).
Assembly
Attaching the Purse Top
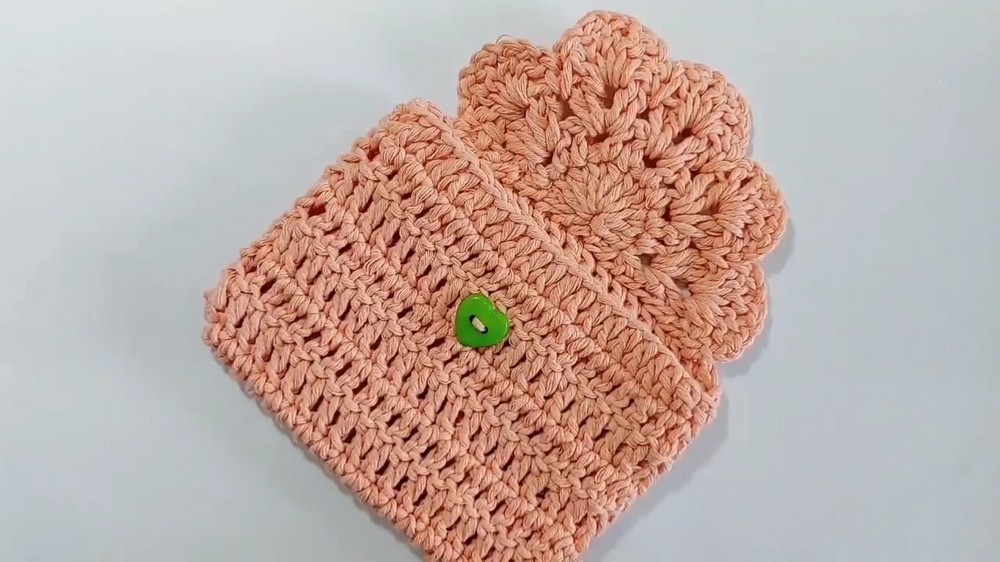
- Align the top part onto the bag body.
- Using remaining yarn, sew the top to the front loops only of the last row of stitches on the bag body.
Seaming the Sides
- Fold the bag body in half, creating the sides to be joined.
- Using yarn and a wool needle (or slip stitches with a hook), seam the sides together by grabbing 1 loop from each side of the stitches.
- Ensure tight and secure stitches for durability.
Assembly & Finished Size
- After sewing, your Coin Purse will measure approximately 4 inches wide by 5 inches tall.
- Use the bag for lightweight items, or add embellishments for a personal touch.
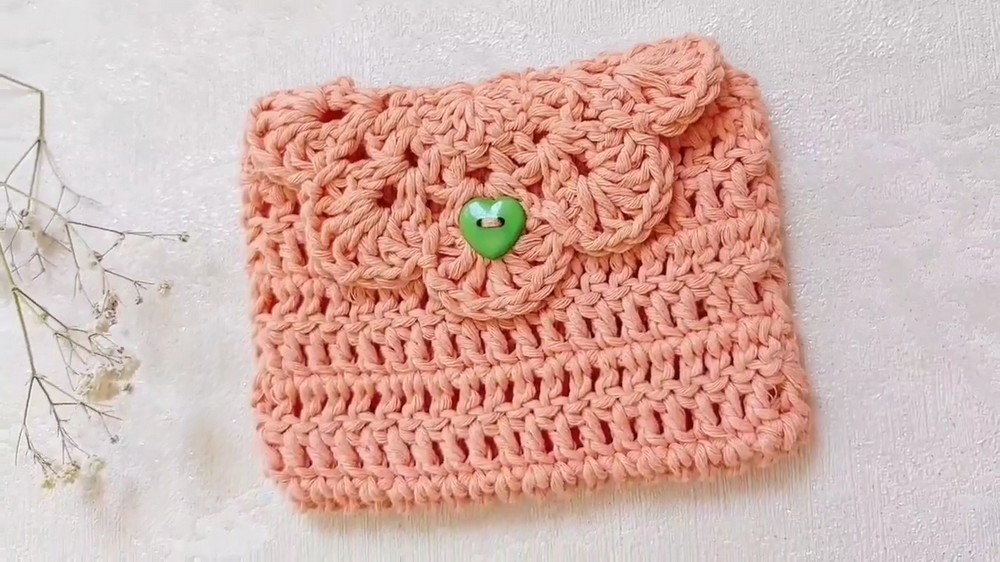
Conclusion
Your Crochet Coin Purse Pattern is complete. With its adorable design and practicality, this project makes a perfect gift or accessory.