
Free Crochet Heart Granny Pouch Pattern to Keep Things Safe
Grow your crochet skills and have fun creating a cute heart granny pouch with this free pattern that’s simple, quick, and perfect for all skill levels.
Featured By yarnish_love
Who doesn’t love a heartfelt gift that’s as practical as it is charming? This crochet heart pouch combines utility with tenderness, making it ideal for gifting or using yourself. Whether you need a place to store small treasures like jewelry, keys, or coins, or simply want to work on your crochet skills, this project is perfect for beginners and seasoned crocheters alike.
Free Crochet Heart Granny Pouch Pattern for Handmade Gifts
The pouch begins with two heart granny squares that are brought together using simple and sturdy single crochet stitches. These stitches don’t just serve to join the pieces but also add a delicate touch to the edges. If you’re learning, it’s a good opportunity to practice consistency in your stitches, it’s a forgiving technique, making it accessible even for someone new to crochet.
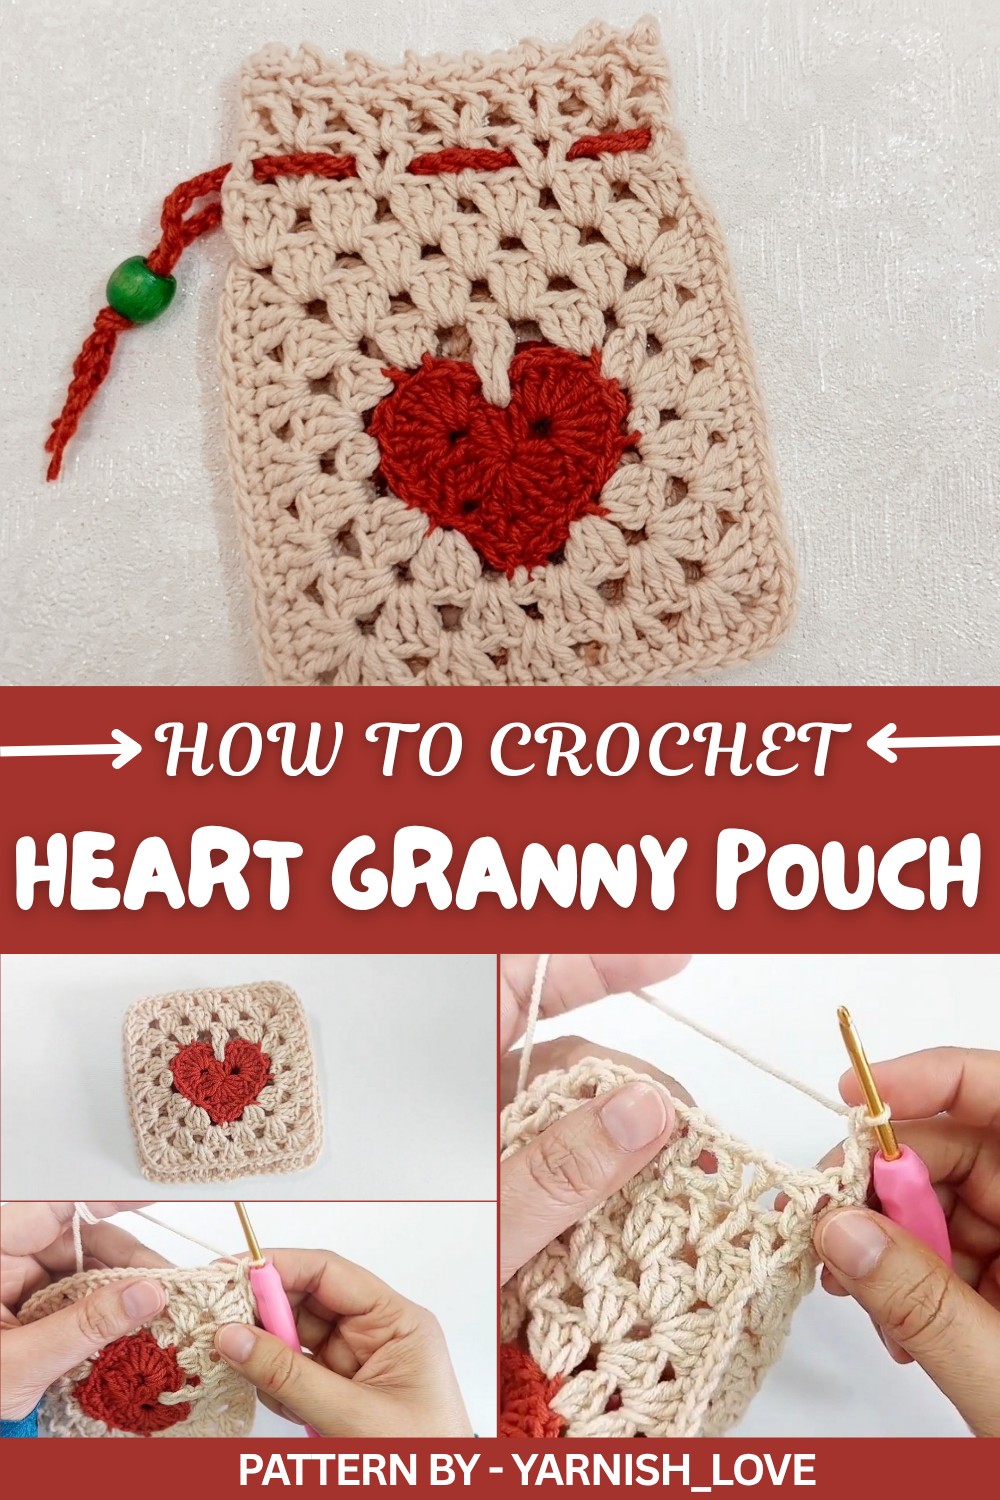
What makes this pouch truly special is how the top gets a fancy finish with V stitches and clusters of double crochets. These stitches are easy to learn and look amazing when worked together. Plus, they can be used in other fun projects like scarves, coasters, or dainty table runners. To complete the pouch, a string of chains turns it into a practical little bag you can carry or gift, a thoughtful keepsake for birthdays, holidays, or simply to light up someone’s day.
With its charming heart motif and a little strap for convenience, this pouch is a wonderful way to practice your skills while making something useful. Whether you’re relaxing after school or passing the time on a cozy day, this soft yarn project is fun and rewarding.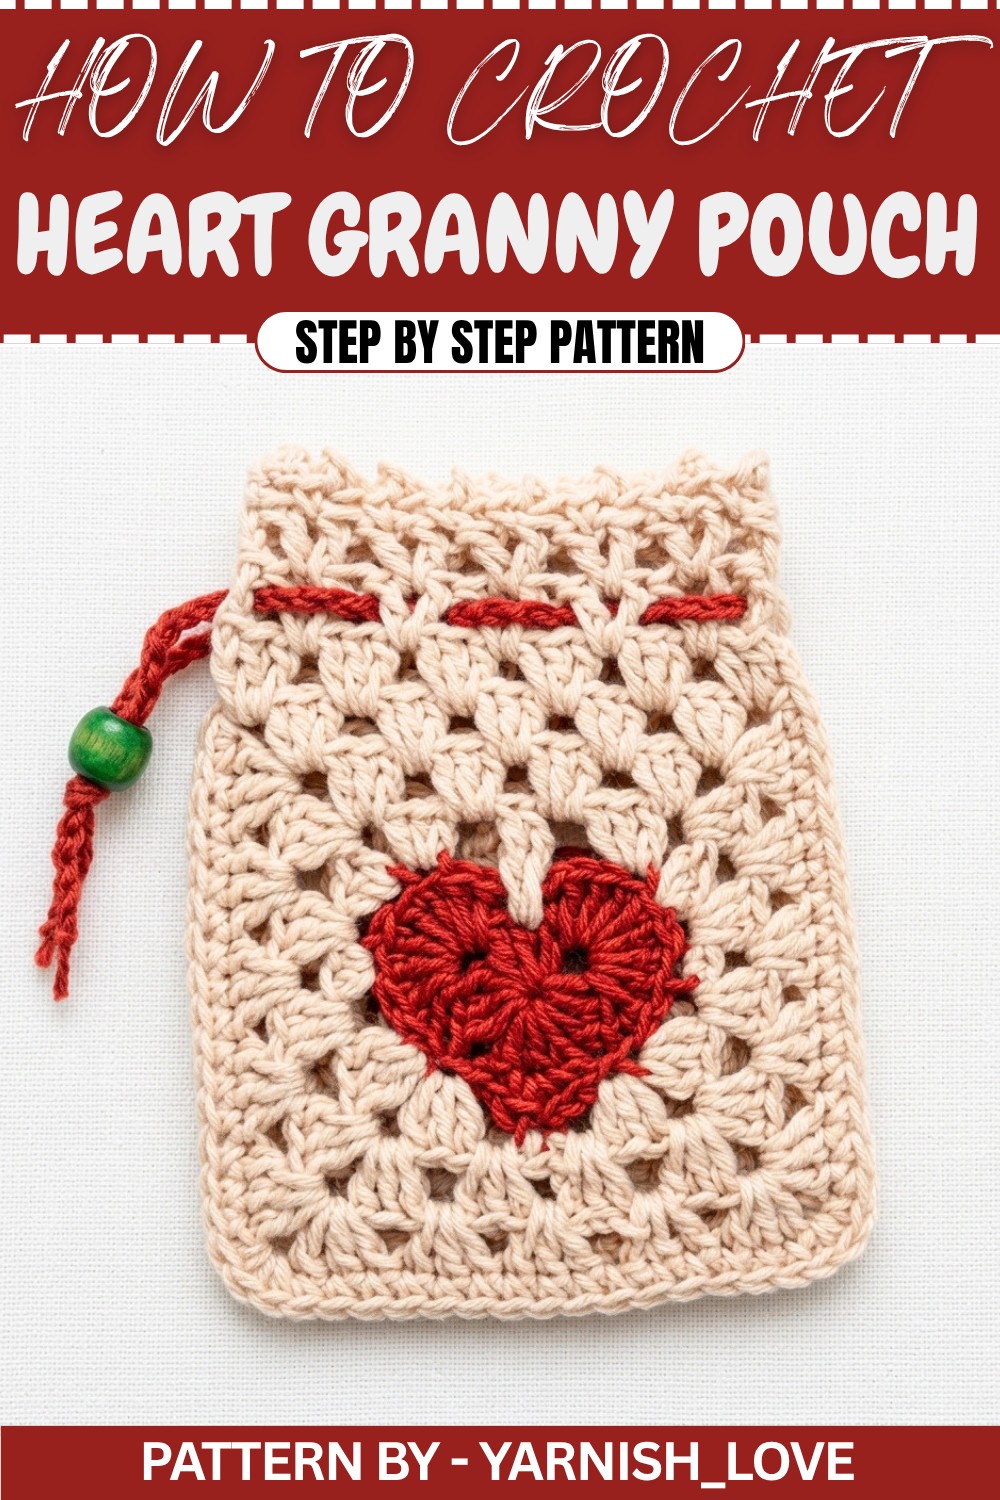
Amazing Crochet Pouch Pattern
In this pattern, we’re making a beautiful Valentine pouch using two heart granny squares. These squares were created in a previous tutorial (link mentioned in the video). For this project, we’ll use Alize Cotton Gold yarn and a 3mm crochet hook. Let’s get started and make something lovely.
Quick Overview of Pattern
- Join two heart granny squares together to form the pouch base.
- Crochet the top part of the pouch in several rounds, adding decorative edges.
- Create a crochet strap with chains for the final touch.
- Add finishing details to enhance the pouch and create a polished result.
Notes
- When joining the squares, ensure the front sides face outward and the back sides are aligned together.
- Single crochet stitches are used for joining the squares neatly.
- Adjust the strap’s length based on your preference, and ensure it’s sturdy.
Skill Level
Intermediate – Requires basic crochet knowledge and familiarity with granny squares, single crochet, double crochet, and slip stitches.
Materials
- Yarn: Alize Cotton Gold yarn (or any light cotton yarn).
- Hook: 3mm crochet hook.
- Scissors: For cutting the yarn.
- Wool Needle: To weave in ends and complete the sewing.
Measurements / Sizing
- Approximate finished pouch size: 6 inches wide x 8 inches tall.
- Strap length customizable.
Gauge
Gauge is not critical for this pattern, but ensure your stitches are consistent for a polished look.
Stitch Abbreviations
- Ch: Chain
- Sl St: Slip Stitch
- SC: Single Crochet
- DC: Double Crochet
Special Stitches
- Single Crochet: Insert hook into stitch, yarn over, pull up loop, yarn over, pull through two loops.
- V Stitch: (DC, Ch 1, DC) worked into same space.
- Picot: (SC, Ch 3, Sl St back into the first Ch) creates a bump.
The Crochet Pattern
Step 1: Joining Two Heart Granny Squares
- Arrange the two squares with the front sides outward and the back sides facing each other.
- Create a slip knot and start stitching from one corner.
Joining Process:
- Insert the hook into the corner of both squares.
- Pull up yarn and make a SC to join the corners.
- For the next stitch, insert the hook into the first stitch of the front square and the corresponding stitch on the back square. Work a SC through both loops.
- Continue making SCs across the side until you reach the next corner.
- At the corner, make 3 SCs into the corner spaces of both squares to give a polished edge.
- Move to the next side and continue joining with SCs.
- Repeat this process for three sides, leaving one side open for the pouch opening.
- Once joined, fasten off and weave in the ends.
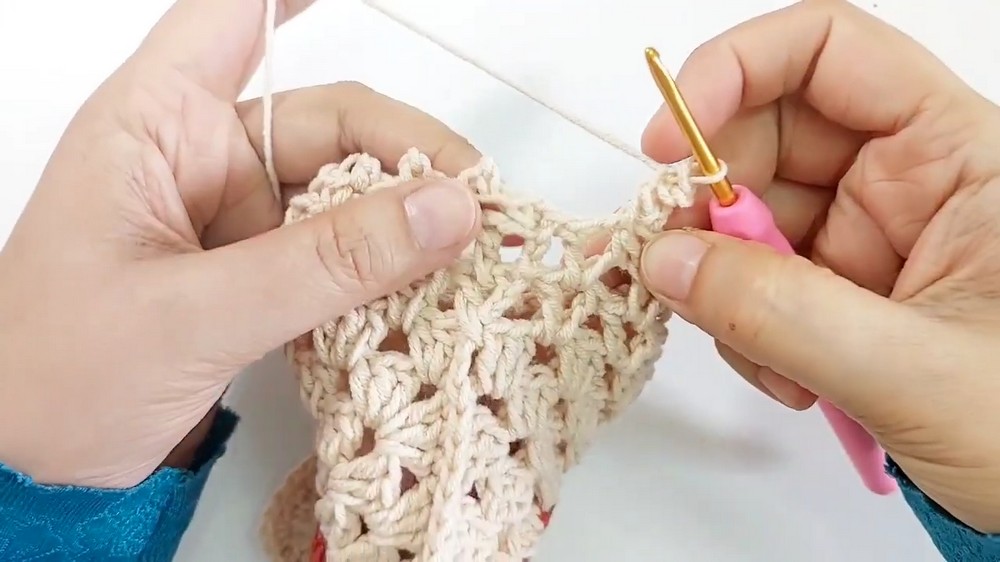
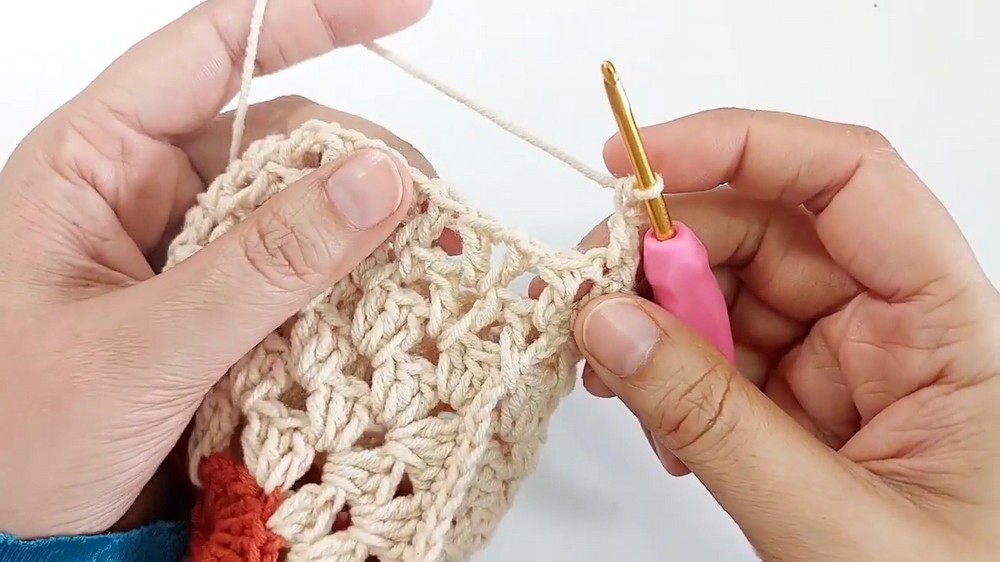
Step 2: Creating the Top Part
Round 1:
- Start at the open top corner of the pouch.
- Ch 3 (counts as the first DC).
- Into the first corner, work 2 DCs.
- In the next space, work 3 DCs.
- Continue working 3 DCs into each space across the top edge.
- Move to the back side of the pouch and repeat the same pattern across this edge.
- Slip stitch to the top of the third Ch to complete the round.
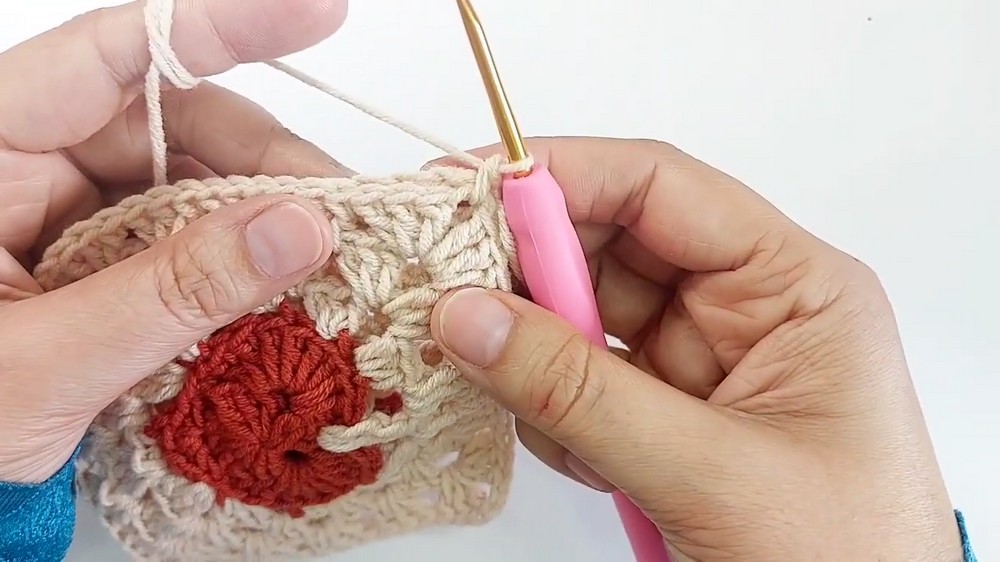
Round 2:
- Ch 4 (counts as DC and Ch 1).
- Skip the first 3 DCs. Into the space between the DC groups, work:
- 1 DC, Ch 1, 1 DC (forms a V stitch).
- Continue working V stitches in all spaces between the clusters across the round.
- Slip stitch to the third Ch to complete the round.
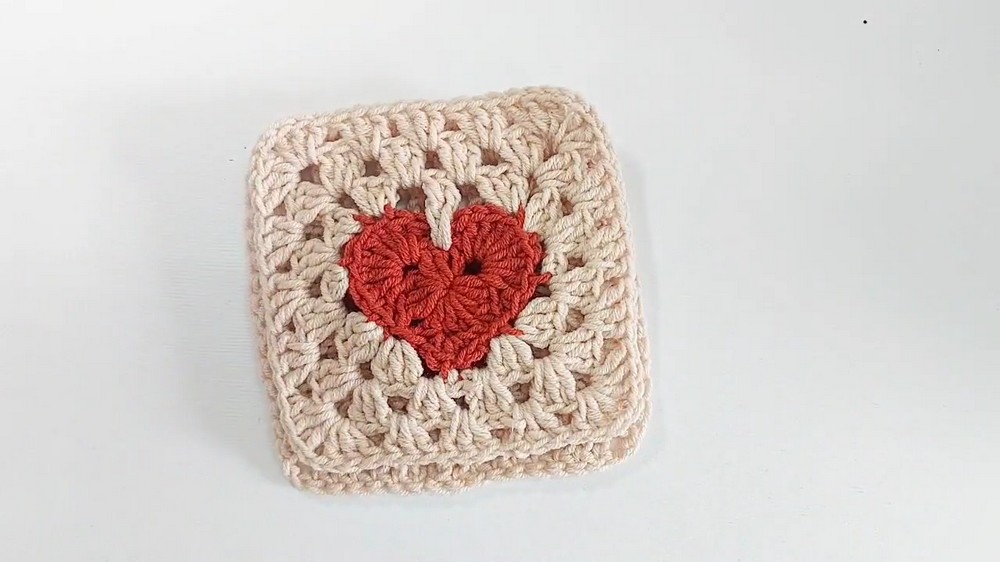
Round 3:
- Ch 4 (counts as DC and Ch 1).
- Into the middle of each V stitch from Round 2, work:
- 1 DC, Ch 1, 1 DC (forms a V stitch in the earlier V stitch).
- Continue working V stitches into each space from the previous round.
- Slip stitch to the third Ch to end the round.
Round 4: (Final Edging)
- Ch 1 to start.
- Into the top of each stitch, work:
- 1 SC, Ch 3, Sl St back into the first Ch (creates a picot).
- Skip the next stitch and work another picot in the following stitch.
- Repeat this pattern across the round to create decorative bumps (picots) at the edge.
- Slip stitch into the first SC to finish. Fasten off and weave in the remaining ends.
Step 3: Crochet Strap
- Create a slip knot and crochet the desired number of chains for the strap length.
- Short strap (e.g., 50 chains).
- Long shoulder strap (e.g., 120 chains).
- Fasten off and securely attach the strap to the pouch’s sides using a wool needle.
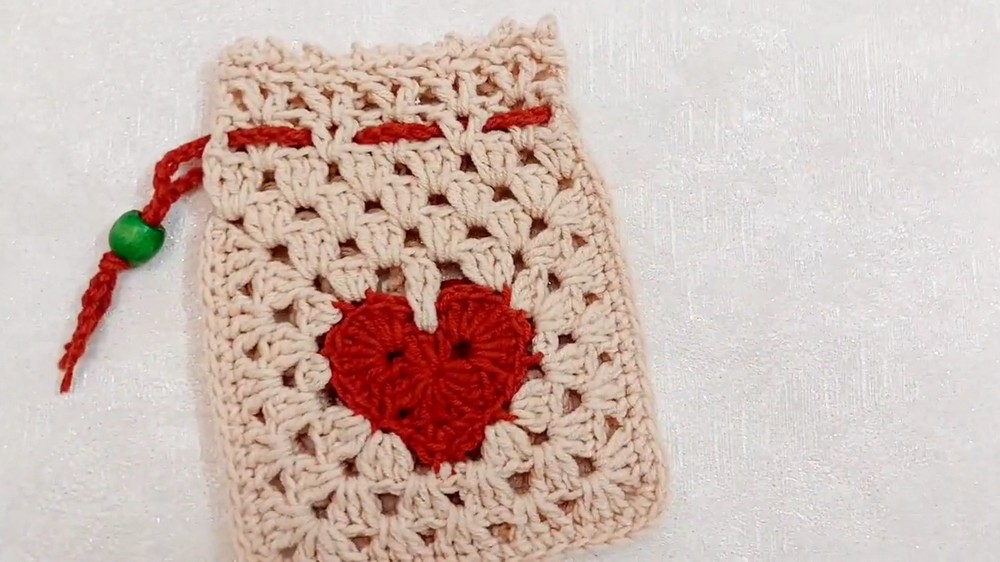
Assembly & Finished Size
- After completing the crochet and attaching the strap, the pouch will measure approximately 6 inches by 8 inches.
- The strap length will vary based on your preference, making it versatile as a handheld or shoulder pouch.
Conclusion
Your beautiful Valentine pouch is complete. This project is perfect for gifting or keeping your treasures safe. The intricate details, like picots and granny hearts, make it extra special.