
Free Crochet Cat Bucket Hat Pattern Your Cat Will Love
Try this free and easy crochet pattern to make a cute bucket hat for your cat, a fun way to explore your creativity and spoil your pet.
Pattern By Krafty Station
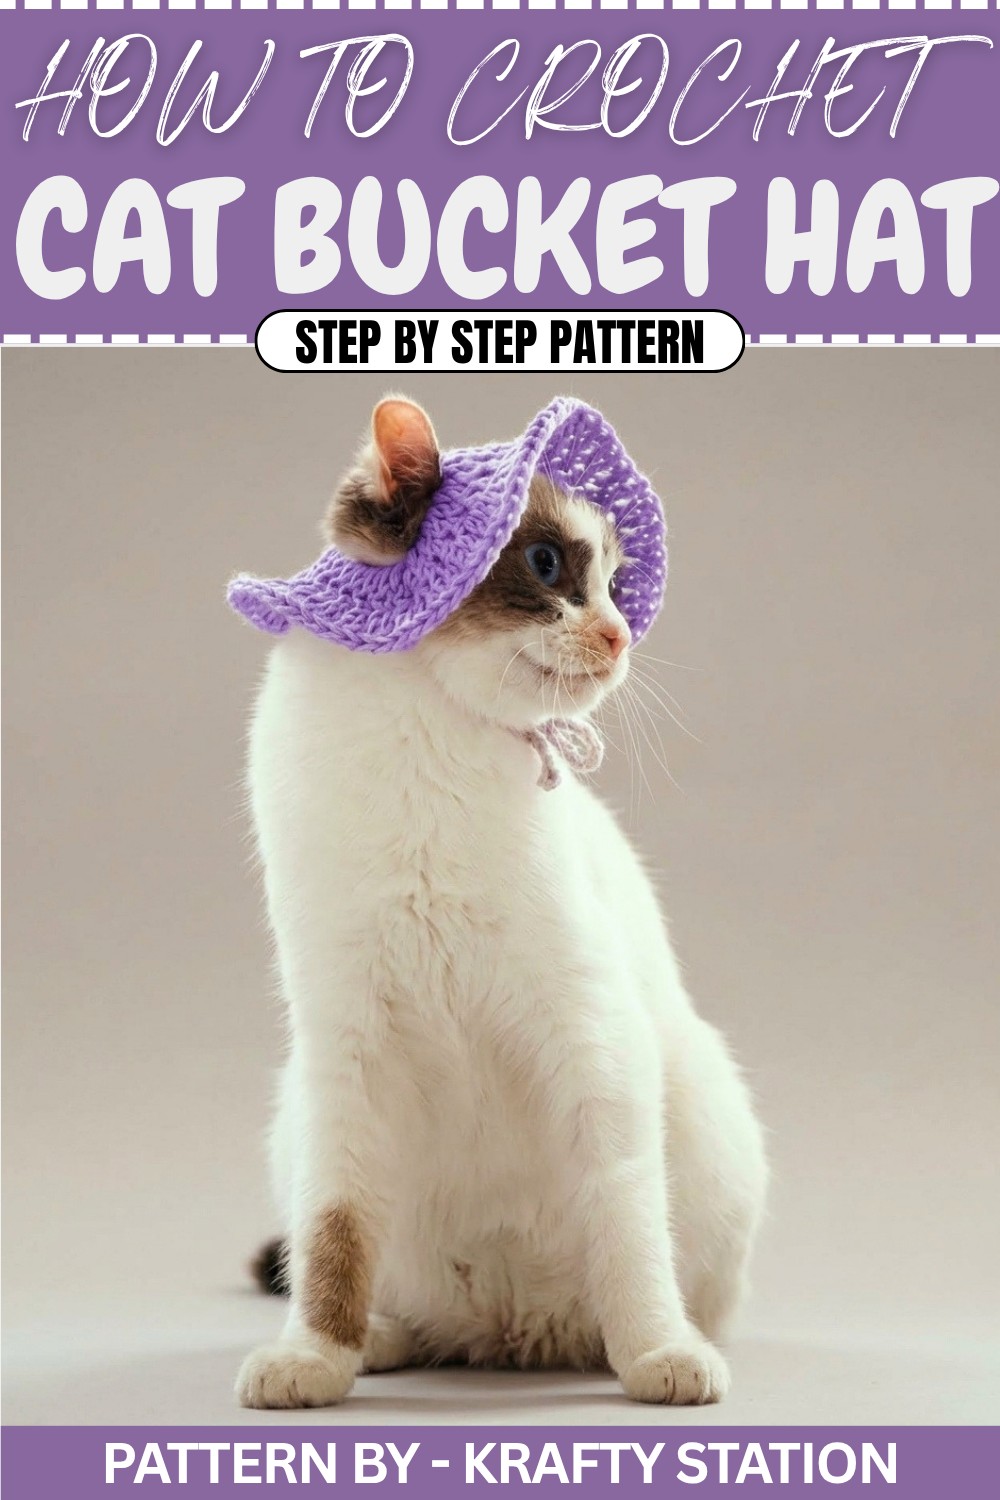
Your cat gazes at you, head tilted in that curious way that only cats can master, ready for their next big adventure. As a pet parent, you can’t help but think, “Why not make something special, just for them?” When that little spark of inspiration strikes, the result is something equal parts fun and practical: a crochet bucket hat with tiny ear holes, perfect for your beloved furry friend. Yes, a tiny hat that looks as adorable as it sounds, while offering shade and turning your kitty into the star of every photo shoot!
This project might look fancy, but it’s surprisingly easy to tackle. Starting with a simple series of double crochets and increases, you can build a neat little circle as the base of the hat. The secret lies in the magic circle—an easy trick that gives your work a clean and polished finish. From there, you’ll learn to add ear loops, a simple brim, and even some straps for a secure fit. And let’s be honest, what pet doesn’t look cuter in a personalized accessory made with love?
Free Crochet Cat Bucket Hat Pattern for Your Kitty
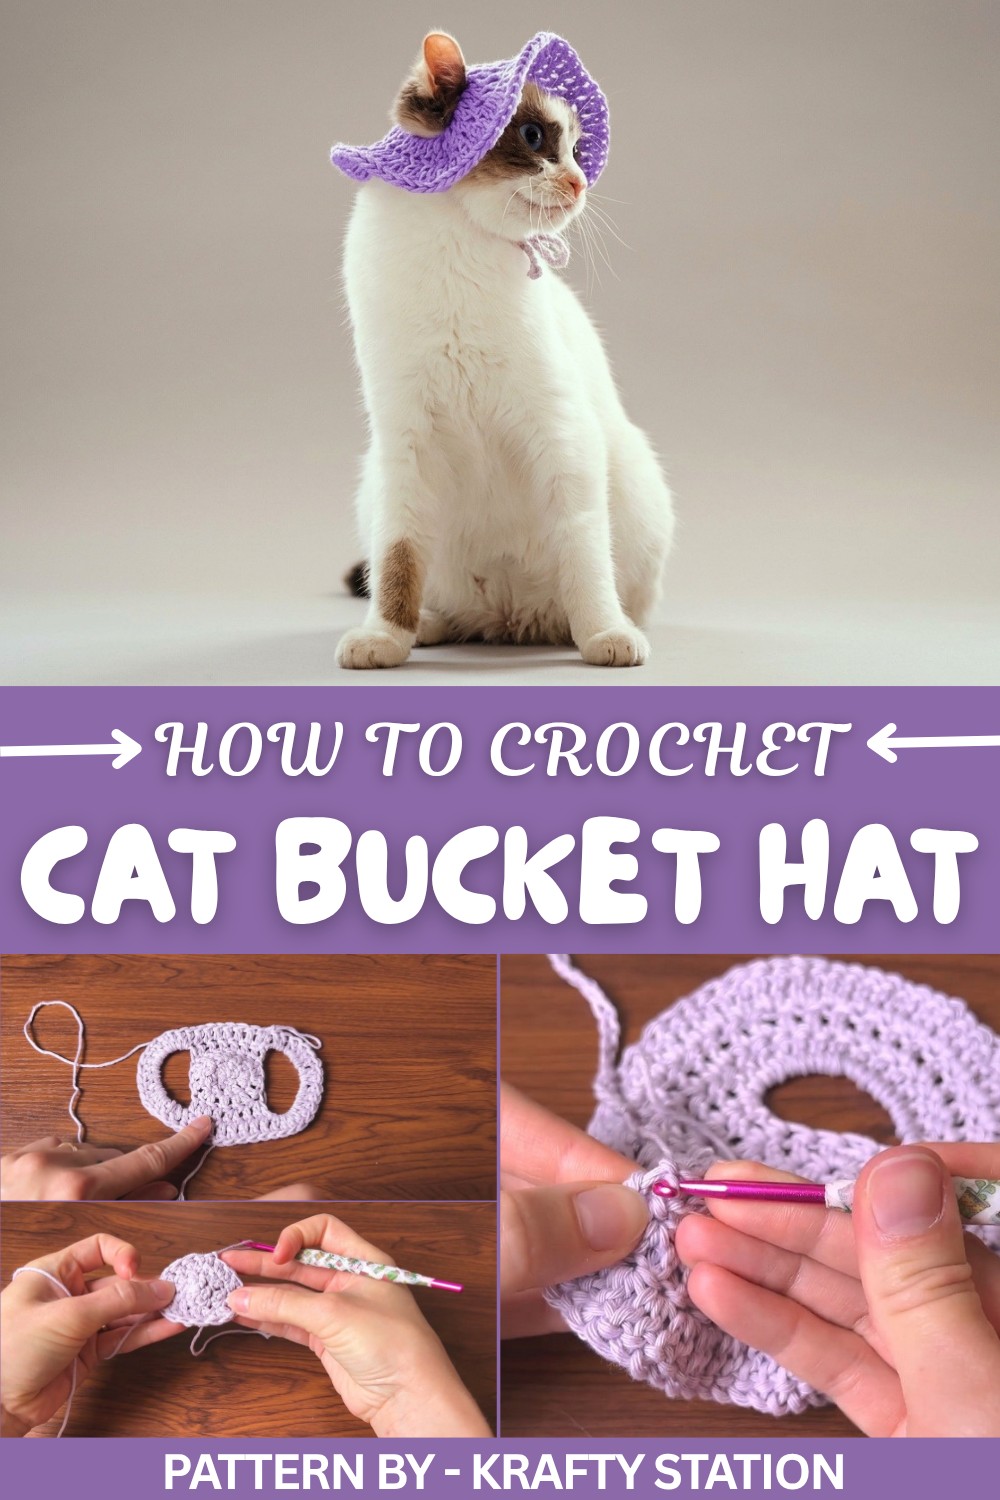
This pattern not only guides you in making a delightful hat, but it’ll also help you grasp key crochet concepts. You’ll learn how to work a magic circle, use increases to shape your piece, and master the art of joining stitches securely. These are skills you can apply to many future projects, leaving you with unlimited opportunities to keep learning and growing as a crochet enthusiast.
Other Things You Can Make From This Project
Once you've mastered the basics, the possibilities are endless. Use the same techniques to make all kinds of miniature hats for dolls, plush toys, or even decorative home accents like plant pot covers. With just a little imagination and creativity, you’ll be stitching your way to fun, personalized pieces in no time.
Bucket Hat for Cat Crochet Pattern
Quick Overview of Pattern
- Project Type: Bucket Hat for Cat
- Main Features: Wide brim, ear holes, and attachable straps
- Use Case: Sun protection for pets or simply a cute accessory
- Customization: You can modify the hat size based on the measurements of your cat’s head or use different yarn colors.
Notes
- Always measure your cat’s head to ensure the hat fits comfortably and securely.
- The ear holes will require skipping stitches, so make sure to count accurately for symmetry.
- The hat might not work for every cat, as some pets prefer not to wear accessories.
Skill Level
Beginner to Intermediate – Must know basic crochet techniques, including magic circle, double crochet (dc), chains, slip stitches, and increases.
Materials
- Yarn: Cotton yarn (Paintbox used in the video), lilac color
- Hook Size: 4.0 mm crochet hook (Adjust if necessary for your yarn)
- Other Tools:
- Scissors
- Darning needle
Measurements / Sizing
- Hat Diameter: Adjustable; the transcription uses 18 stitches in total for the main circle.
- Ear Holes: Positioned approximately midway, with chains and skipped stitches forming the holes.
- Strap Length: Recommended ~30 chains, depending on the size of the cat.
Gauge and Stitch Pattern
- Gauge: Not critical, but ensure that your stitch tension stays consistent through the project.
- Stitch Pattern: Primarily worked in double crochet (dc).
Stitch Abbreviations
- ch: Chain
- dc: Double Crochet
- sl st: Slip Stitch
- inc: Increase (two stitches worked into the same stitch)
Special Stitches
Magic Circle:
- Create a loop with your yarn.
- Insert your hook, yarn over, and pull through.
- Work the necessary stitches into the circle, then pull the loop tight to close.
Double Crochet (dc):
- Yarn over, insert your hook into the stitch or space, yarn over again, pull through (3 loops on hook).
- Yarn over, pull through the first two loops on your hook.
- Yarn over, pull through the remaining loops.
Increase (inc):
- Work two double crochet stitches into the same stitch.
The Crochet Pattern
Step 1: The Base Circle
- Magic Circle: Start by creating a magic circle.
- Round 1:
- Chain 2 (counts as the first dc).
- Work 5 additional dc stitches into the circle (6 dc total).
- Pull the circle tight to secure the stitches.
- Slip stitch into the first dc to close the round.
- Round 2:
- Chain 2.
- Work 2 dc stitches into each stitch around (inc in every stitch).
- At the end of the round, you should have 12 stitches total.
- Slip stitch into the first dc to close.
- Round 3:
- Chain 2.
- Work one increase (2 dc) in the first stitch.
- Work one normal dc in the second stitch.
- Repeat this pattern (inc, dc) all the way around.
- You should have 18 stitches total at the end of the round.
- Slip stitch to close the circle.
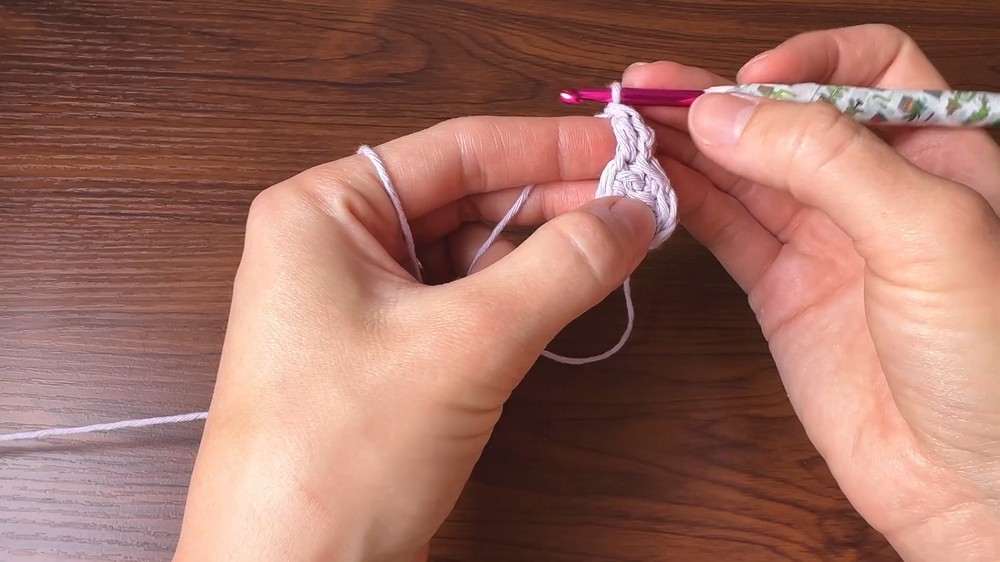
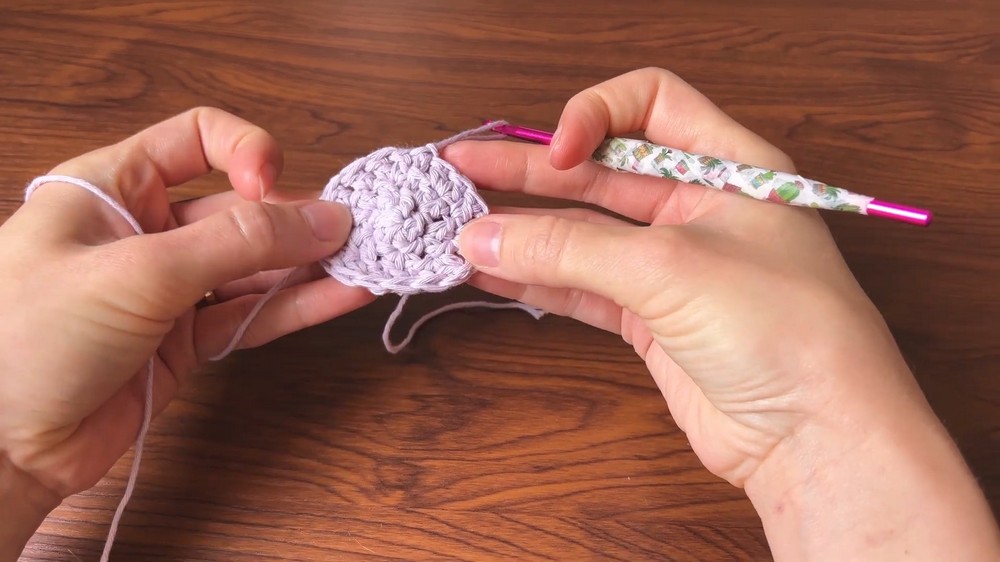
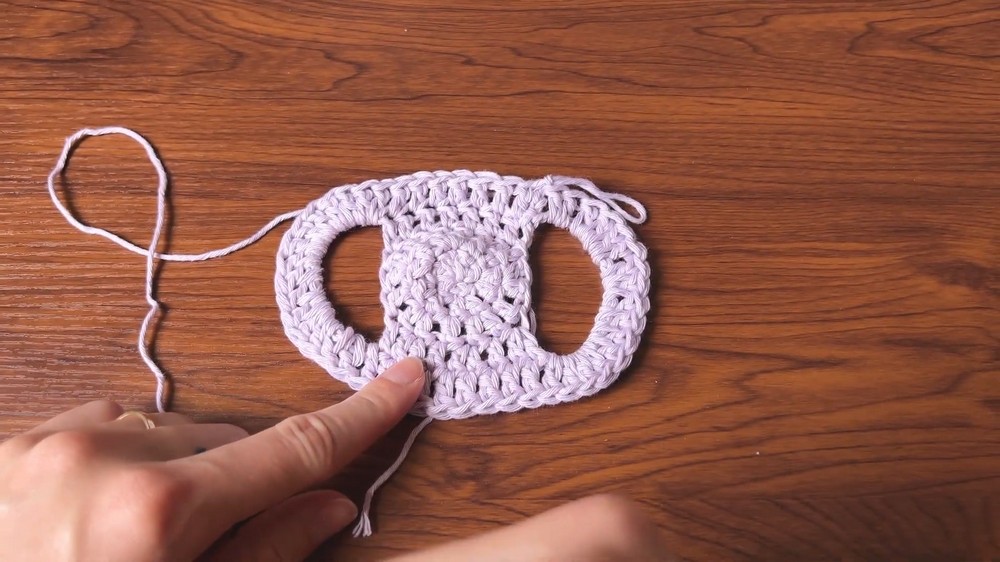
Step 2: Ear Loops
- Measuring: Measure the current base circle against your cat’s head. If the circle is large enough to sit comfortably, proceed to the ear loops.
- Creating Ear Holes:
- Chain 2.
- Work 7 dc stitches to form the brim nearest the ear.
- Chain 15 (ear loop). Skip 2 stitches and work 1 dc after the skipped stitches.
- Continue working dc stitches across the row. For symmetry:
- Skip 2 stitches again and use the same chain 15 method to create the second ear loop.
- Finalizing Ear Loops:
- Use slip stitches to join the chain loops back into the main structure. Ensure that the gaps (ear loops) are evenly spaced and symmetrical.
Step 3: Forming the Brim
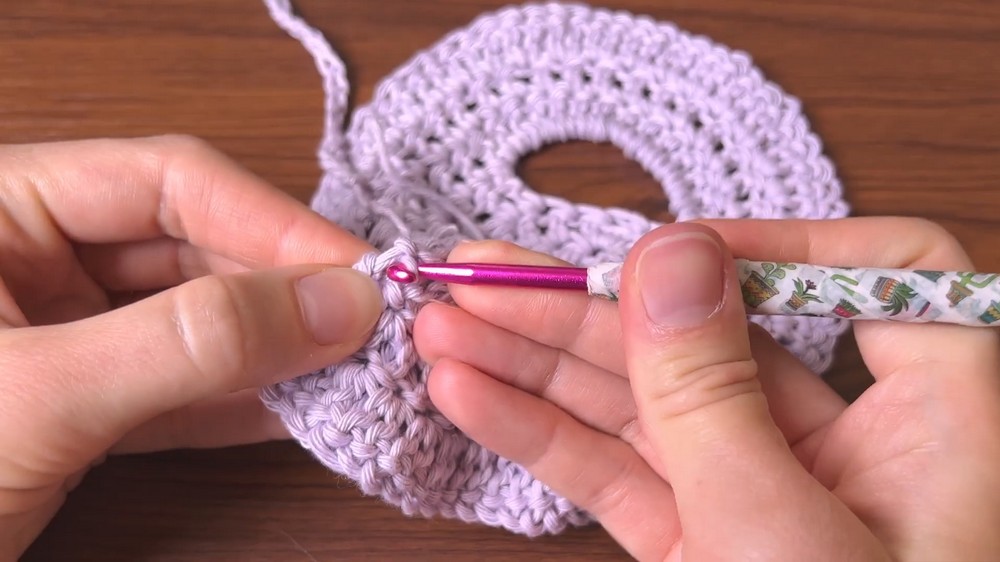
- Row 1:
- Chain 2.
- Work dc stitches all the way around, including 15 dc inside each ear loop.
- This row will shape the brim and wrap the ear holes seamlessly into the hat.
- Rows 2–3:
- For Row 2, work another round with dc in every stitch (no increases).
- For Row 3, work 1 increase (2 dc) in every stitch to create a wider brim.
- This will flare out the edge slightly for the classic bucket hat effect.
Step 4: Adding Straps
- Creating Straps:
- Chain 30 (or more depending on your cat’s size).
- Fasten off.
- Repeat the process to make a second strap.
- Attaching Straps:
- Use a simple knot or slip stitch to attach the straps midway between each ear hole.
Step 5: Assembly & Finishing Touches
- Final Adjustments:
- Cut off any excess yarn.
- Weave in all loose ends using the darning needle.
- Confirm the hat fits properly on your cat's head before securing the straps.
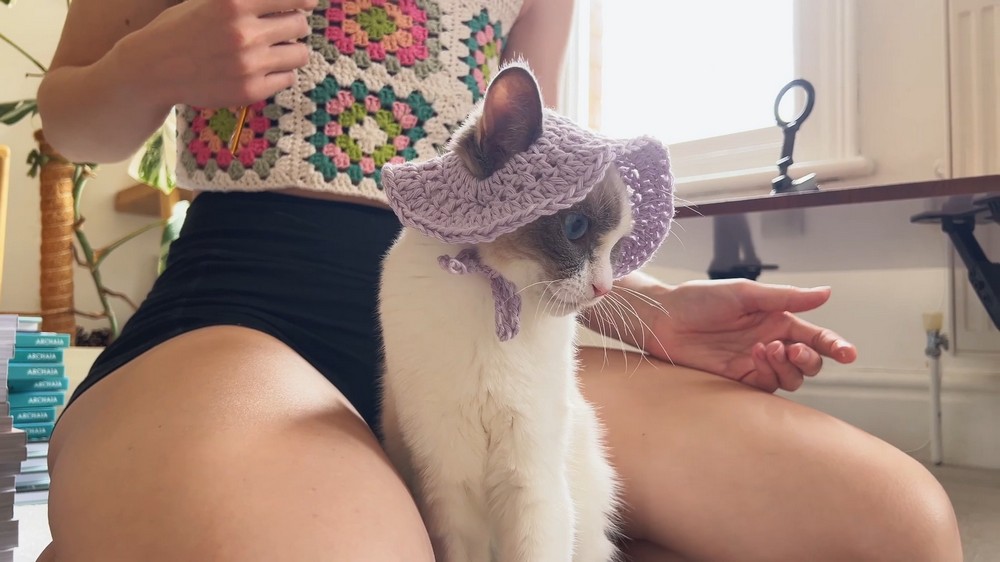
- Trying It On: Once finished, carefully test the hat on your cat. Ensure it’s snug but comfortable, and check if the straps hold the hat in place securely.
Conclusion and Ending Words
Congratulations—you’ve completed a fun and adorable bucket hat for your cat. While some pets may love wearing hats, others might prefer not to. Make sure your cat feels comfortable and happy with the design.