
Free Crochet Granny Square Bag Pattern with Style for Picnics countinue
Free Crochet Granny Square Bag Pattern with Space for Your Yarn
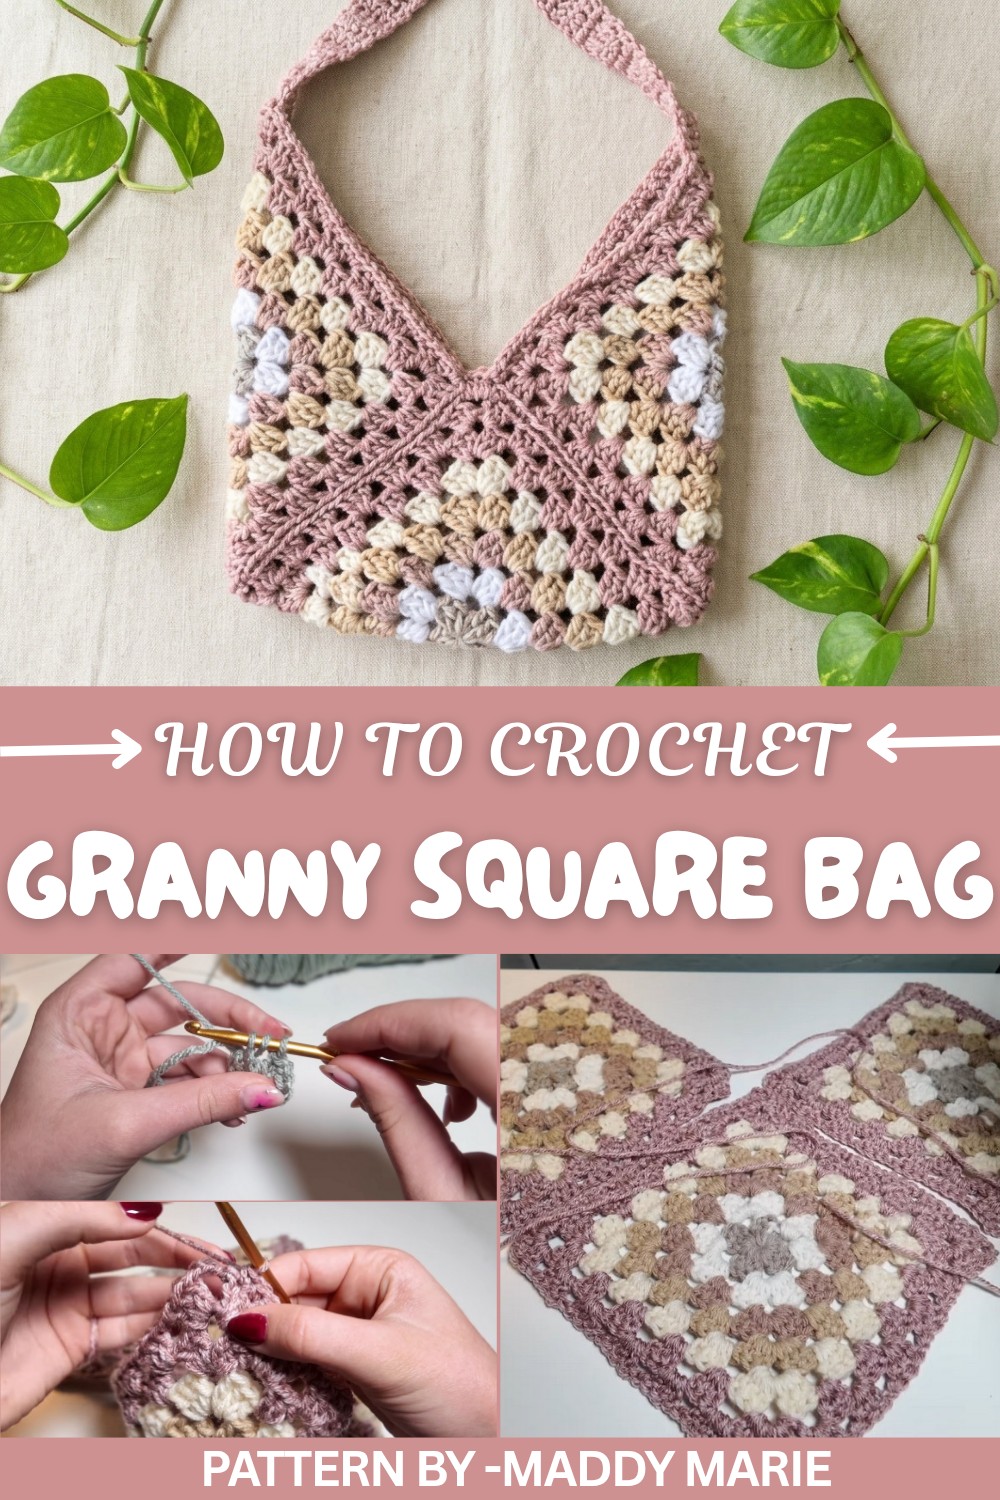
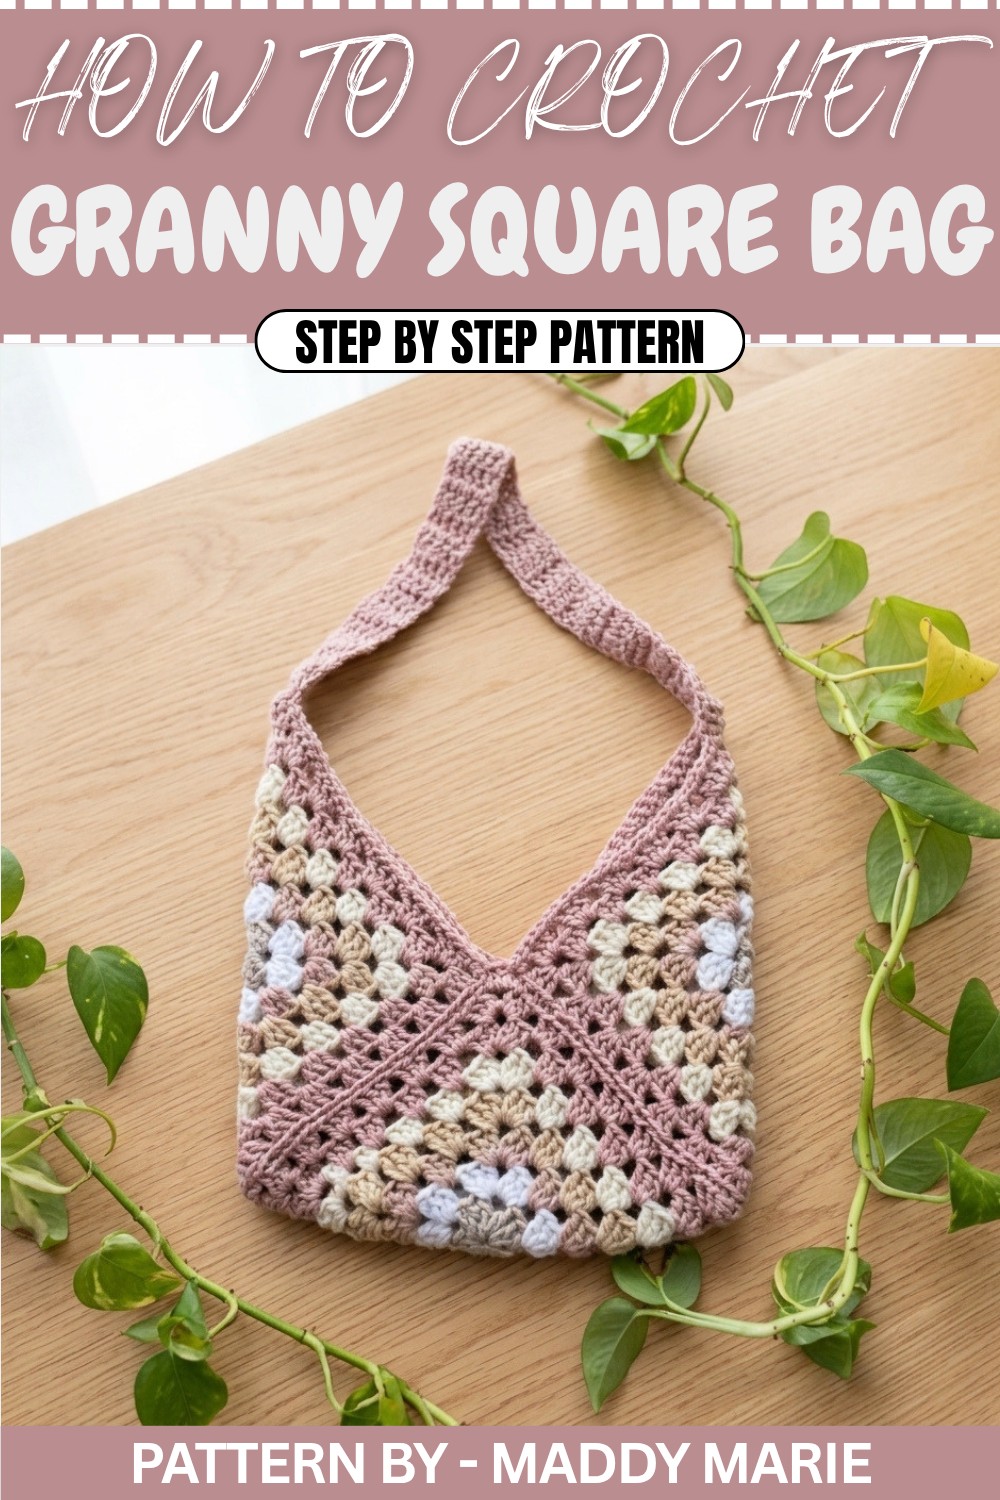
Granny Square Crochet Bag Pattern
Introduction
Welcome to this step-by-step tutorial where Maddie will guide us in crocheting a granny square bag that uses only three granny squares. This project is quick, beginner-friendly, and customizable in size. Let’s dive into the fun!
Quick Overview of the Pattern
- Type of Project: Granny Square Bag
- Structure: Three granny squares joined to form a bag with a strap.
- Purpose: Practical use or stylish accessory.
- Working Method: Crocheting in rounds and joining pieces with sewing or slip stitches.
Notes
- Use cotton yarn for a structured bag or acrylic yarn for a softer finish.
- Customize the bag size by adjusting the number of granny square rows.
- Strap length can be personalized based on usage (shoulder bag or crossbody).
Skill Level
Beginner to Intermediate
- Basic knowledge of stitches (slip stitch, chains, double crochet, single crochet) is required.
Materials
- Yarn: Medium-weight (Category 4) yarn – 2 or 3 colors recommended.
- Hook: 5 mm crochet hook.
- Additional Tools: Yarn needle and scissors.
Measurements/Sizing
Bag Dimensions: 2.5 inches wide by 6.5 inches high (adjustable by adding/removing rows).
Gauge
Gauge is not necessary for this project.
Stitch Abbreviations
- ch: Chain
- sl st: Slip Stitch
- sc: Single Crochet
- dc: Double Crochet
- yo: Yarn Over
Special Stitches
- Stacked Single Crochet: Counts as the first double crochet in strap rows.
Construction Steps
Part 1: Make the Granny Squares
Round 1: Foundation Ring
- Slip Knot: Create a slip knot and place it on your hook.
- Chain 5:
- Yarn over (yo) and pull through the loop on your hook.
- Repeat for a total of 5 chains.
- Form a Ring:
- Insert the hook into the first chain of the 5-chain sequence.
- Yo and pull through both loops on the hook (sl st).
- You now have a ring.
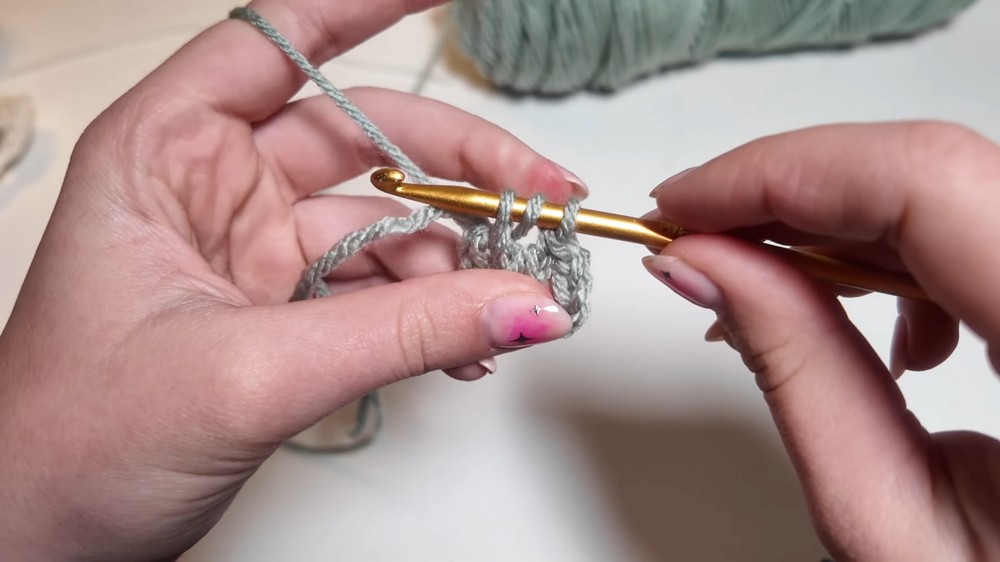
Round 2: First Cluster Row
- Chain 5:
- Counts as 1 dc + 2 ch.
- Cluster:
- Work 3 dc into the ring:
- Yo, insert hook into the ring, yo, pull up a loop (3 loops on hook).
- Yo, pull through 2 loops. Repeat twice more to complete 1 dc.
- Work total of 3 dc.
- Work 3 dc into the ring:
- Chain 3.
- Repeat Clusters:
- Work 3 more dc clusters into the ring, separated by 3 chains.
- Close Round:
- Sl st into the third chain of the initial Chain-5.
- Fasten off or continue with a new color.
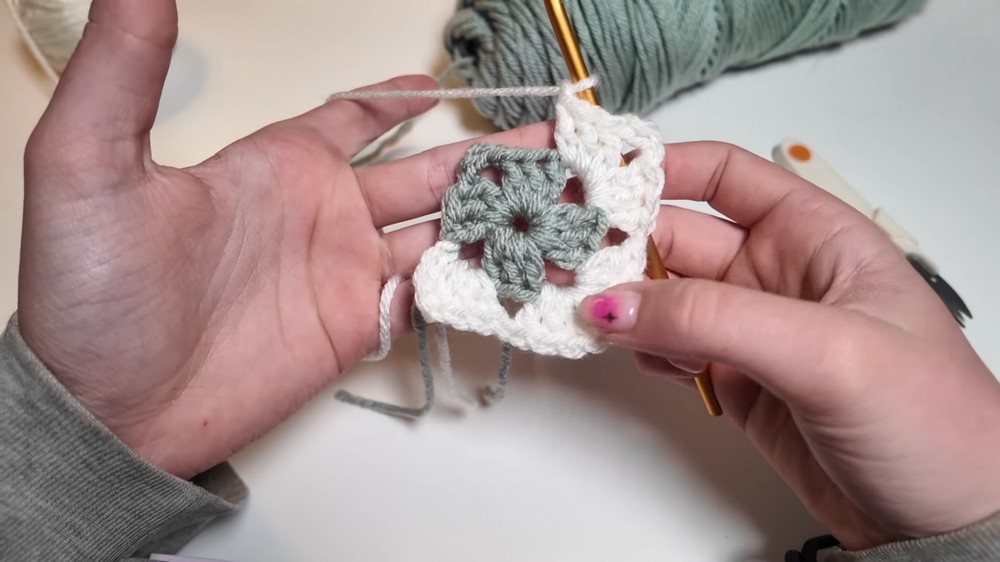
Round 3: Expanding the Square
- Join New Color: Attach yarn in any chain-3 space.
- Chain 5: Counts as the first dc + 2 ch.
- Cluster in Corners:
- Work 2 dc clusters in the chain-3 space (separated by 3 chains).
- Chain 1 Between Corners.
- Repeat Around: Add one cluster in side spaces as rows increase.
- Finish Round: Sl st into the third chain of the starting chain.
Additional Rounds (4–7):
- Follow the Pattern:
- Add one dc cluster to side spaces per row for progression.
- Work 2 dc clusters separated by 3 chains in corners.
- Repeat Steps Until You Have 7 Rows in Total.
Make Three Granny Squares:
Repeat the entire process to make 3 identical granny squares.
Part 2: Joining the Granny Squares
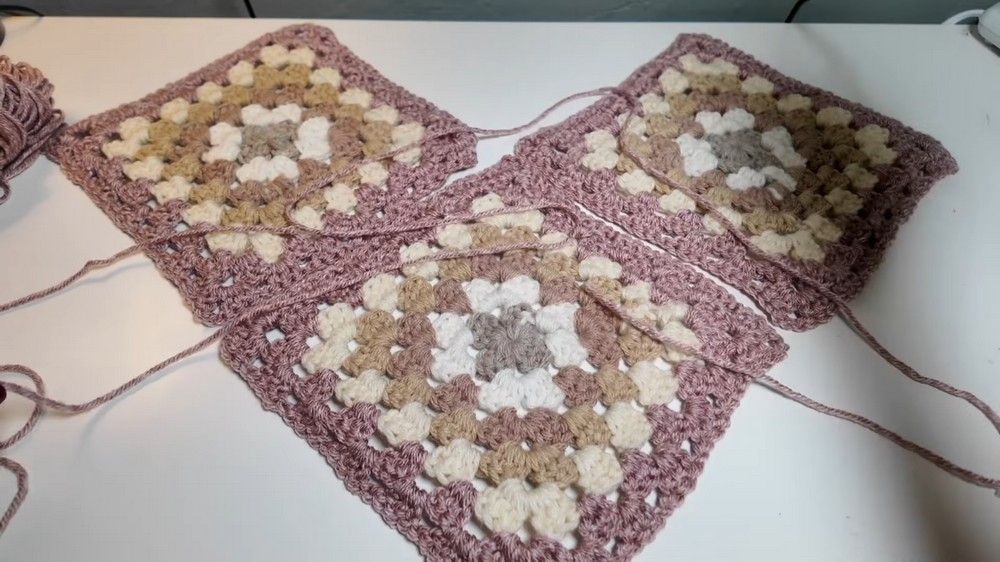
- Position the Squares:
- Lay all squares flat with the wrong sides facing up.
- Arrange them into a bag layout (two bottom squares, one connecting square).
- Sew the Edges:
- Use a Yarn Needle:
- Thread the yarn.
- Using only the back loops of stitches, sew along edges that connect the squares.
- Start at one corner and sew along one edge, pivot, and continue sewing.
- Use a Yarn Needle:
- Flip Bag Inside Out: Once sewn, turn the bag right side out (neat seams should face outward).
Part 3: Adding Border & Strap
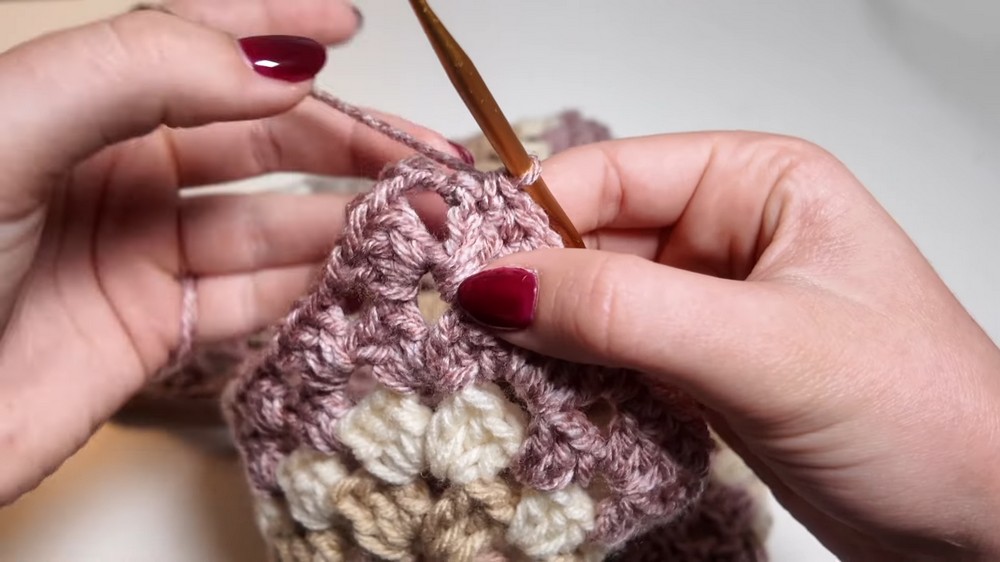
Single Crochet Border
- Attach Yarn:
- Choose any corner space.
- Insert hook into middle double crochet of the corner cluster and attach the yarn.
- Work Single Crochets:
- Place 3 sc into corner chain-3 spaces for smooth curves.
- Work 1 sc into each dc and chain space around the edge.
- Corners on Folds:
- For the center seam corners, substitute 3 dc stitches for strong edges.
- Finish Border:
- Sl st into the first sc and fasten off.
Crochet the Strap
- Attach Strap Yarn:
- Join yarn at a corner space where you want the strap to start.
- Row 1 – Strap Base:
- Stacked Single Crochet:
- Insert hook into the first stitch, yo, pull through (2 loops on hook).
- Yo, pull through both loops.
- Work 4 dc into adjacent stitches.
- Stacked Single Crochet:
- Rows 2–28 (or Desired Length):
- Turn work.
- Start each row with a stacked single crochet.
- Follow with 4 dc.
Attach the Strap:
- Position Correctly:
- Ensure the strap is not twisted.
- Slip Stitch:
- Insert hook into the corresponding stitches on the bag and strap.
- Yo, pull up a loop and pull through to sl st.
- Repeat for all strap stitches.
Assembly & Finished Size
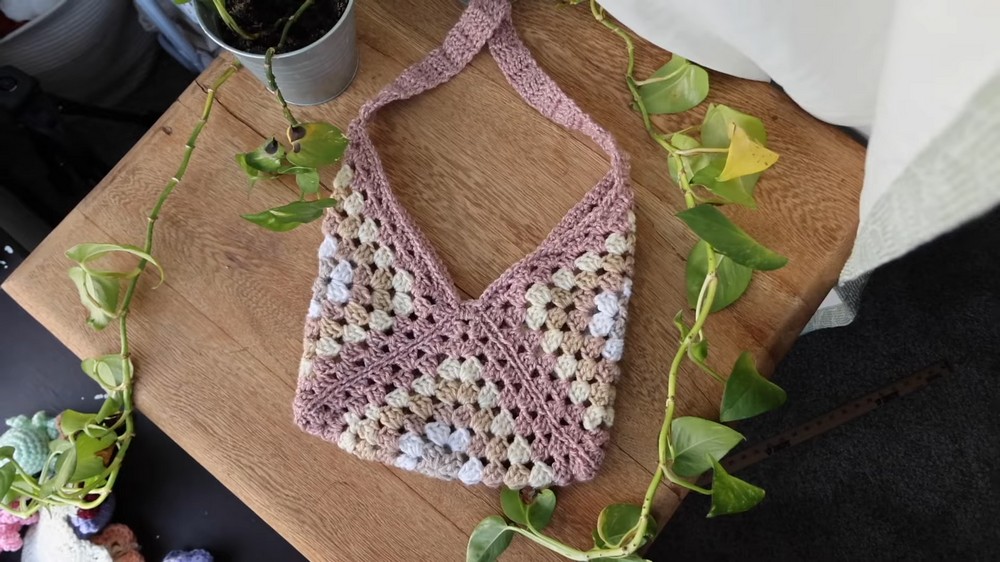
The completed bag measures approximately 2.5 inches wide by 6.5 inches high with the standard strap length (28 rows). Adjust strap rows if desired.
Conclusion and Ending Words
Congratulations on creating your adorable granny square bag! This simple yet stylish accessory is perfect for gifting or personal use. Customize it with different colors to match your wardrobe and turn it into your new favorite accessory.