
Free Crochet Lily Flower in a Pot Pattern for Sweet Decor
Try this free crochet lily flower in a pot pattern to learn basic knitting while making a cute plant that looks nice on any desk or shelf.
Have you ever thought of replacing real plants with handmade art that brings lasting beauty and charm to your space? A crochet lily flower sitting gracefully in a pot can be a wonderful way to add elegance to any room. This project offers not only an eco friendly touch to your décor but also gives you the joy of making something by hand.
Free Crochet Lily Flower in a Knitted Pot Pattern for Sweet Decor
The combination of soft petal details and structured leaves is both eye catching and practical. It offers a realistic plant like feel that doesn’t fade with time. The flower’s petals, shaped in soft cotton yarn, look intricate yet achievable even for someone just starting their crochet hobby. A proper floral wire base holds the flower and leaves in place, allowing for easy shaping and positioning. The pot serves as a stable foundation and can be customized to suit your preferred size or color.
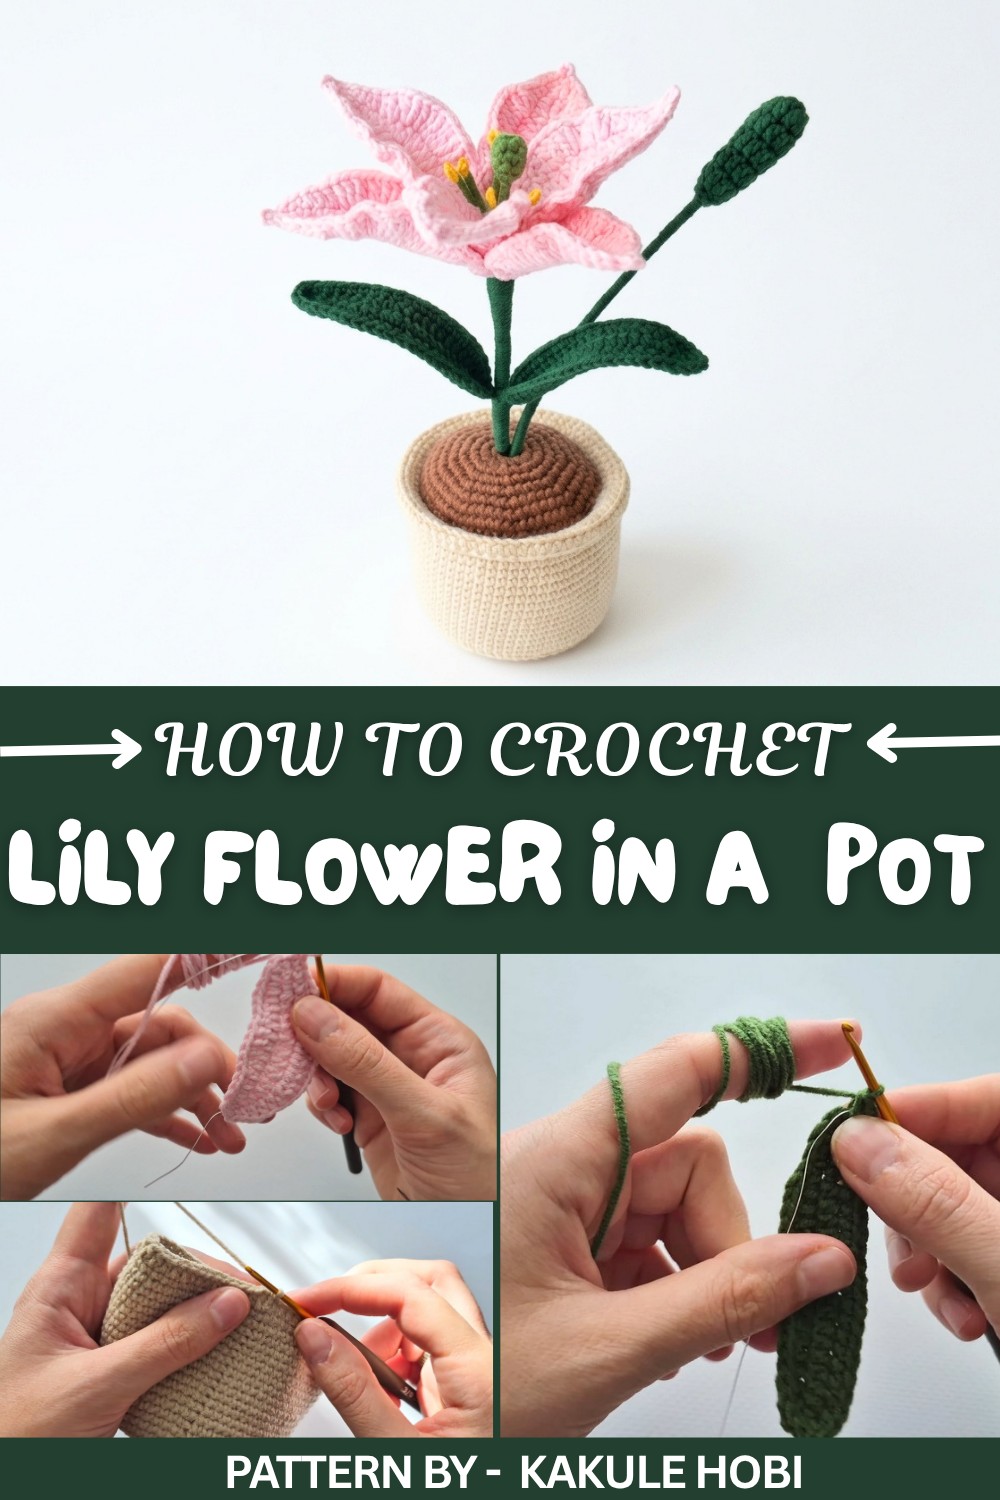
The process centers around fundamental crochet skills such as single crochet, half double crochet, and double crochet stitches. It also involves techniques such as slip stitching and working into back or front loops. A bit of sewing ties everything together. The pattern shows how to attach elements like the buds, leaves, and flower onto a wire stem, creating a realistic arrangement. Adding bead fiber for texture and securing the base with weight not only stabilizes the pot but also gives a professional finish to the piece.
For guidance, visit the Kakule Hobi on YouTube. Their tutorial breaks down each step into manageable sections, making it simple to follow along. You can find the video for a clear and enjoyable process.
Crochet Lily Flower in a Pot Pattern
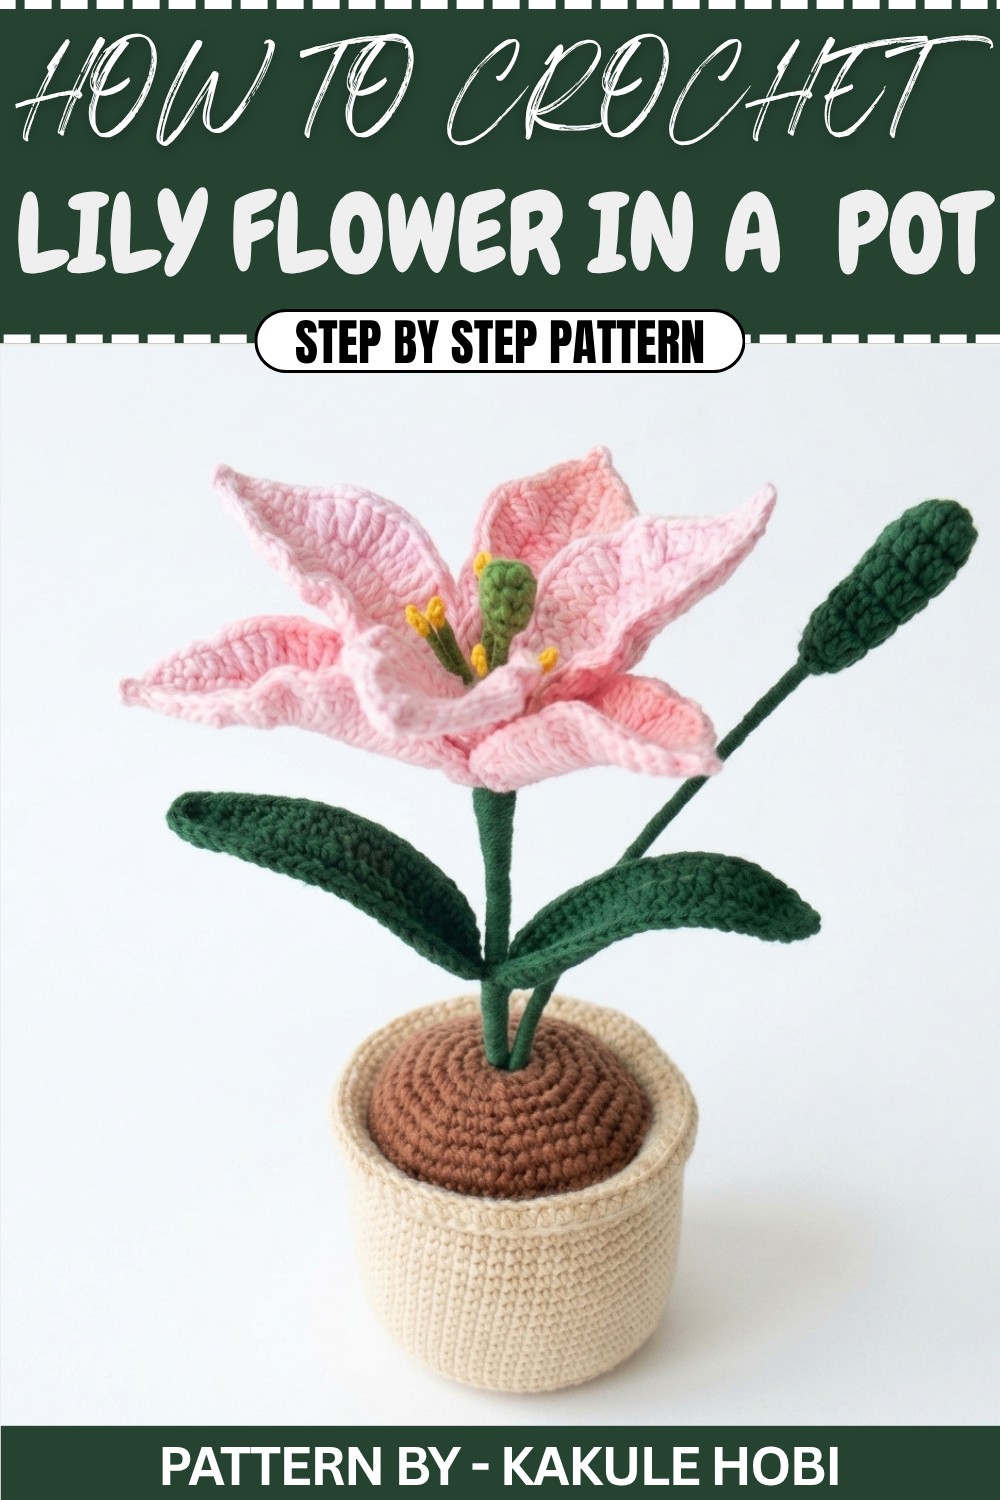
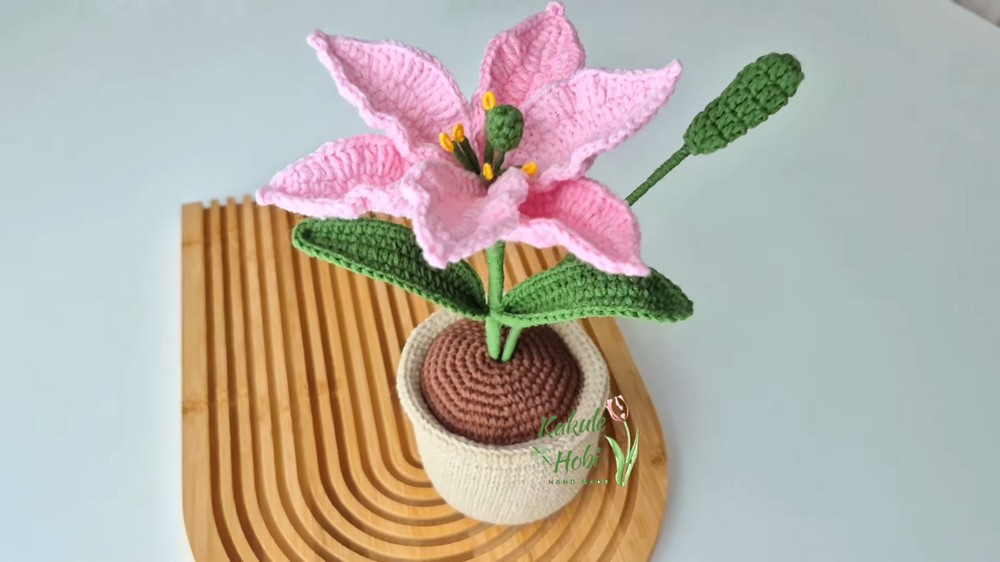
In this pattern, we'll create a stunning crocheted potted plant, including a pot, flower stems, and leaves, using a mix of simple stitches and creative techniques. The end result is a beautiful and realistic plant that you can use as decoration, a handmade gift, or even a lovely desk accessory.
Quick Overview of Pattern
- Project Type: Crochet potted plant (with pot, flower, leaves, and stems)
- Skill Level: Intermediate
- Techniques Used: Chain, single crochet, magic ring, half double crochet, double crochet, increases, decreases, and working with wire.
- Customization: Adjust floral arrangement, pot size, or yarn colors to suit your style.
Notes
- Be mindful of consistent tension as it helps achieve a polished, even shape.
- Use fiberfill for stuffing the pot and floral wire for shaping the plant stems and leaves.
- This pattern is for a medium sized plant; using thicker yarn or a larger hook will create a larger piece.
- Although cold silicone glue is recommended, any strong glue alternative can be used.
Skill Level
Intermediate – This project combines basic crochet techniques with shaping and assembly, making it suitable for those with some experience in crocheting.
Materials
- Yarn: Cotton yarn (medium weight) in multiple colors (e.g., pink for the flower, green for leaves, brown for the pot)
- Hook: 2.2 mm crochet hook (size 3)
- Floral Wire: 0.4 mm (for leaves and stems) and 2 mm (for the main flower stem)
- Stuffing: Bead/craft fiberfill
- Glue: Cold silicone or similar strong adhesive
- Needle: For stitching together pieces
- Plastic Piece: Cut from a cheese lid, exact size of the pot’s base
- Small Stone: For added weight in the pot
Measurements / Sizing
- Pot Diameter: Approx. 9 cm
- Flower Stem Length: Adjustable (around 7 cm before attachment to the pot)
- Leaf Size: Approx. 6 cm
Gauge
Not critical for this project. Use a hook size appropriate for your yarn to achieve moderately tight stitches.
Stitch Abbreviations
- MR: Magic Ring
- ch: Chain
- sc: Single Crochet
- hdc: Half Double Crochet
- dc: Double Crochet
- inc: Increase (two stitches in one stitch)
- sl st: Slip Stitch
Special Stitches
- Half Double Crochet (hdc): Yarn over, insert hook into the stitch, yarn over, pull through, yarn over, and pull all loops on the hook.
- Magic Ring (MR): A loop is made with the yarn, and stitches are worked into this loop to form a closed circle.
The Crochet Pattern!
Part 1: The Pot
Base of the Pot:
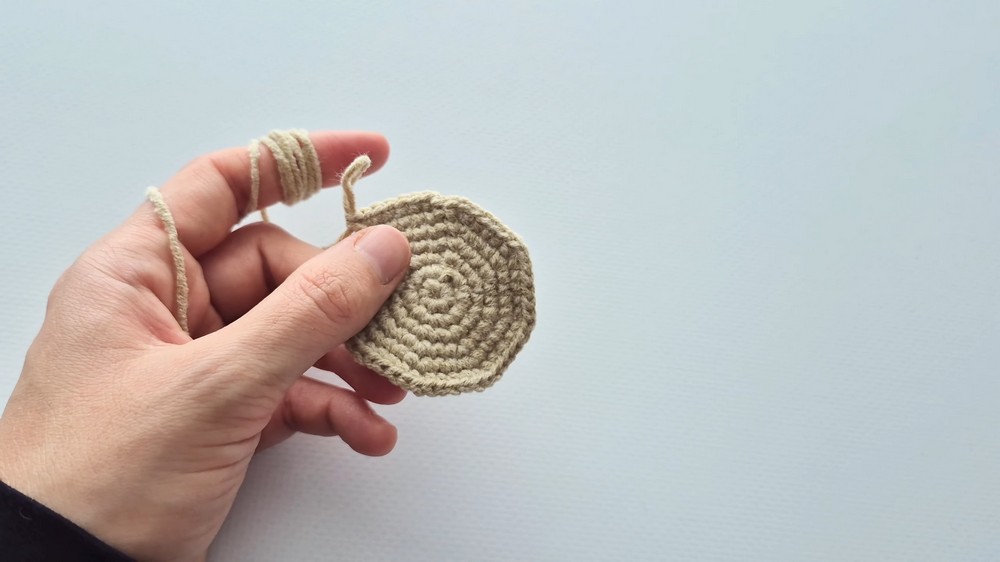
- Round 1:
- Make a MR.
- Ch 1, work 8 sc into the loop.
- Pull the loop tight and sl st to the first sc.
- (8 stitches)
- Round 2:
- Ch 1, work 2 sc into each stitch around (inc in every stitch).
- Sl st to the first sc. (16 stitches)
- Round 3:
- Ch 1. Alternate between 1 sc in the first stitch and 2 sc in the next stitch (1 sc, inc).
- Repeat around. Sl st to the first sc. (24 stitches)
- Round 4:
- Ch 1. Work 1 sc each into the next 2 stitches, then inc (2 sc, inc).
- Repeat around. Sl st to the first sc. (32 stitches)
- Repeat Increasing:
- Continue this pattern until you reach 64 stitches (6 sc, inc).
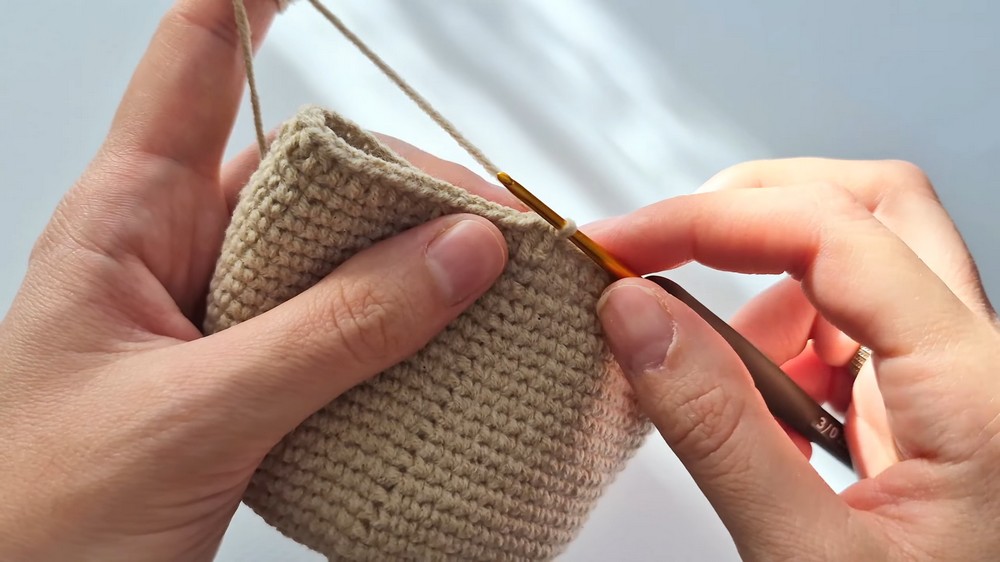
Sides of the Pot:
- Round 10:
- Work into the back loops only. Ch 1 and make 1 sc into each stitch.
- Sl st to the first sc. (64 stitches)
- Rounds 10–26:
- Ch 1, work sc evenly around. Sl st to the first sc. (64 stitches per round)
-
- Top Finishing Edge:
- For the rim of the pot, fold the last row outwards and attach by working double crochet stitches around, inserting the hook into the front loops only.
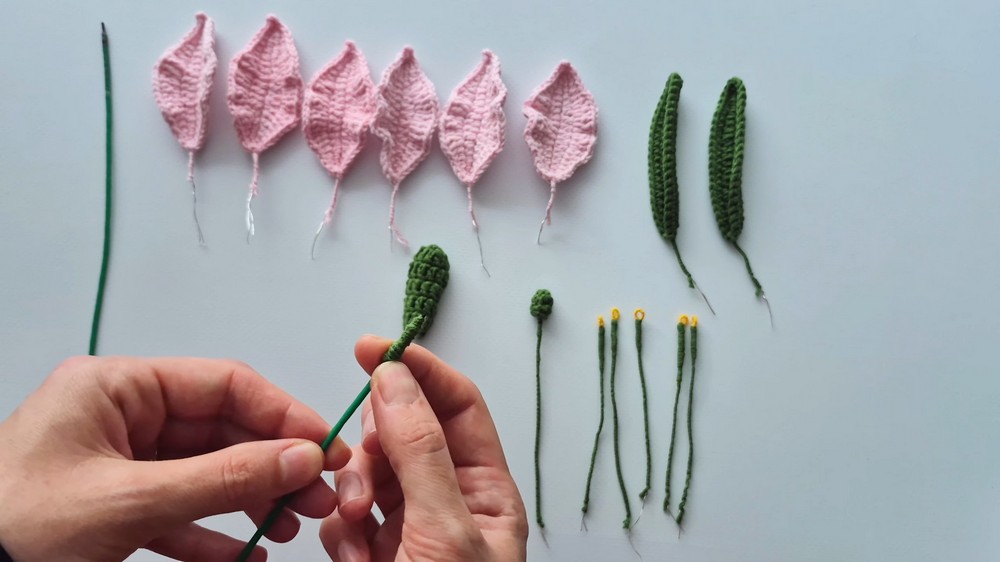
Part 2: The Leaves
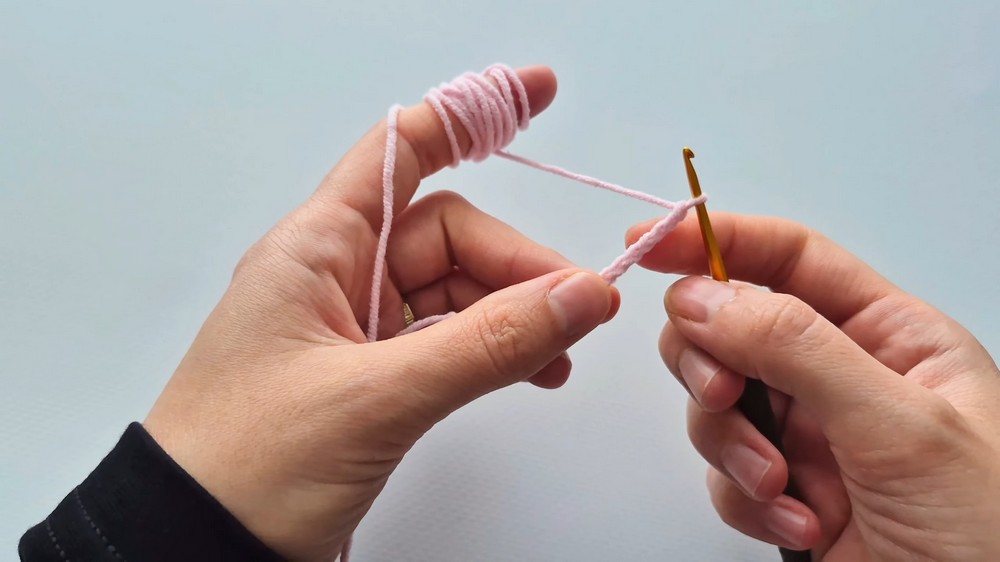
- Foundation Chain:
- Ch 21.
- Row 1:
- Starting from the second chain from the hook, work 16 hdc down the chain.
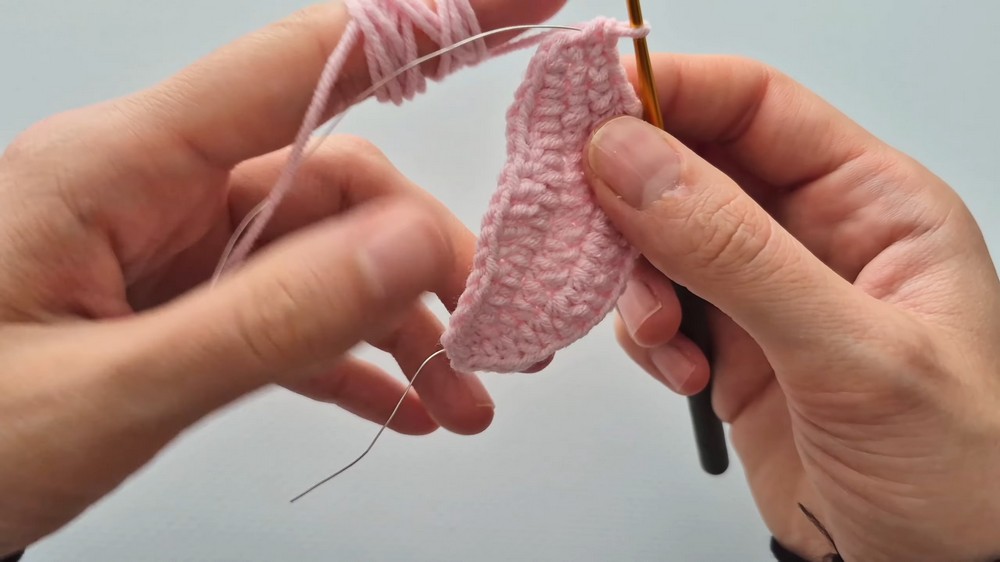
- Make 3 sc into the tip (last chain).
- Continue along the opposite side of the chain, working 16 hdc.
- Row 2:
- Attach the wire to the edge and work another row of sc all the way around the leaf.
- Shape the Leaf:
- Fold the leaf in half and bend the wire to give it a natural shape.
-
- Make a total of 6 leaves.
Part 3: The Flower
- Petals:
- Start with a MR.
- Row 1: Make 6 sc into the ring.
- Row 2: Work 2 sc into each stitch (12 stitches).
- Row 3: Work sc in each stitch. (Repeat this for 4–5 rows depending on size.)
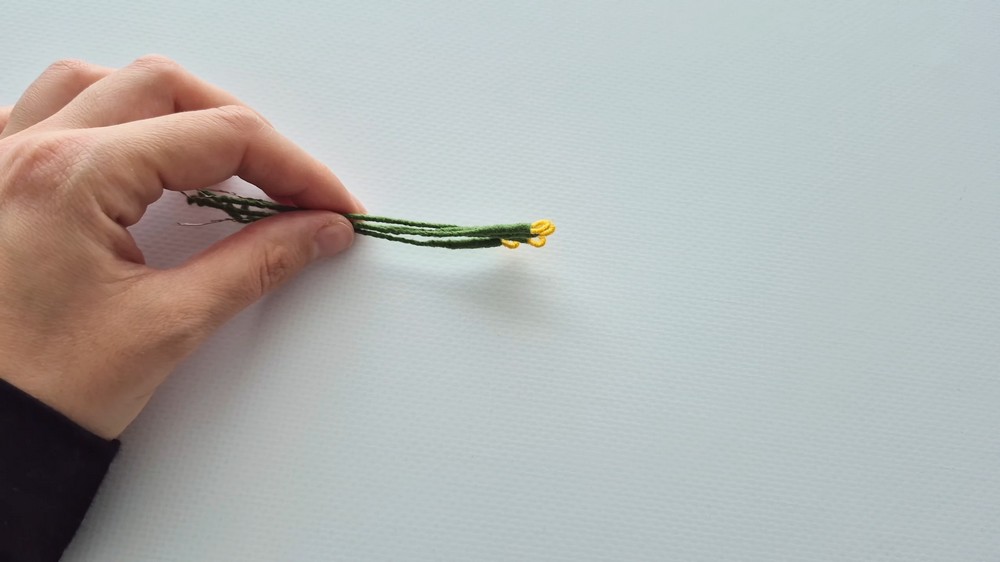
- Attach yellow thread for the pollen decoration on the flower’s head.
- Stem:
- Wrap green yarn around a 2 mm floral wire, starting at the base of the flower and going down.
Assembly
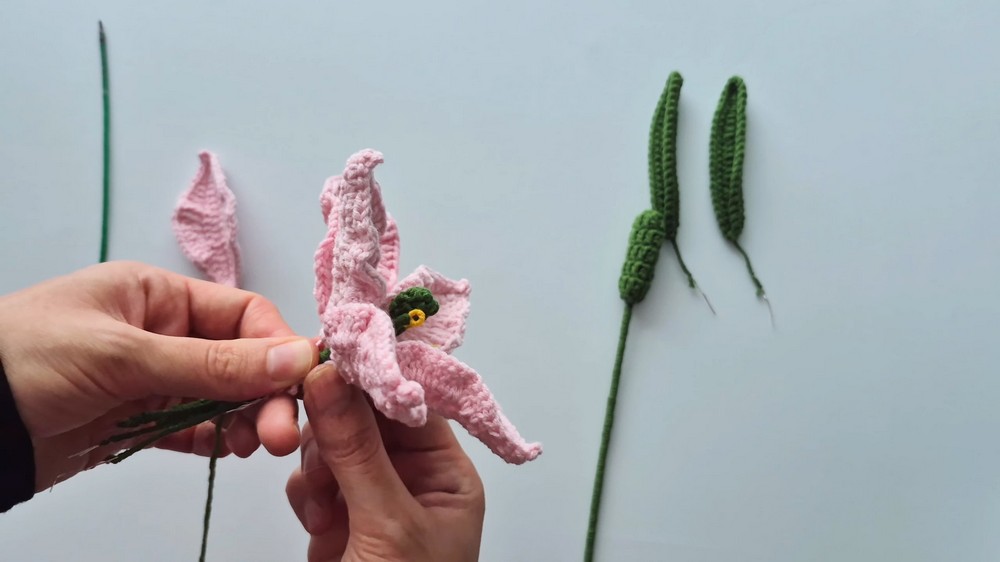
- Join Leaves and Stems:
- Use floral wire and green yarn to attach leaves around the flower stem.
- Ensure that they are spaced evenly.
- Secure Flower in Pot:
- Place the small stone at the pot's base for added weight.
- Fill the pot with fiberfill from the top.
- Attach the Pot Lid:
- Sew or glue the two parts of the pot together while ensuring the flower stem is centered and secure.
Assembly & Finished Size
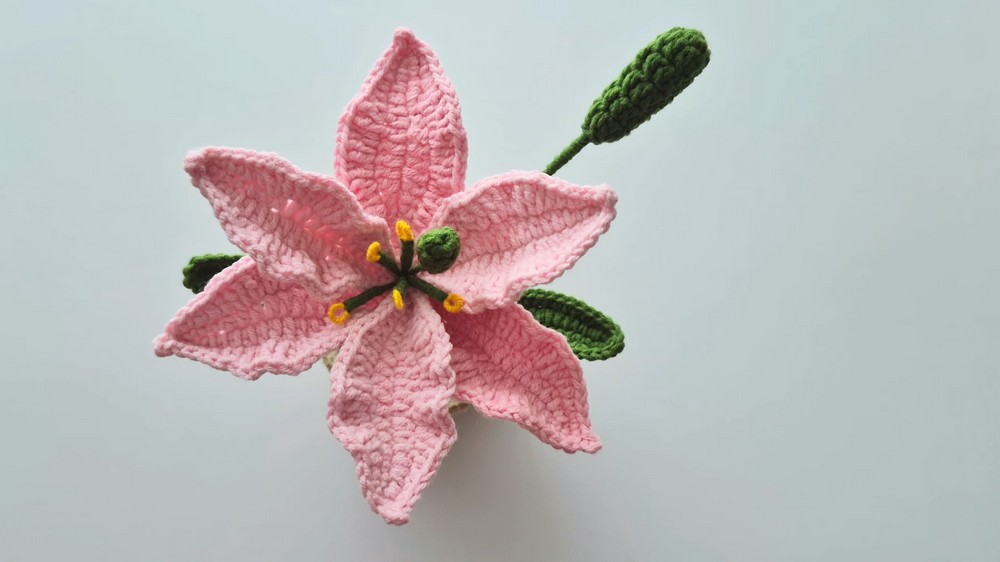
- Pot Size: Approx. 9 cm in diameter and 6 cm in height.
- Flower Arrangement: Adjustable. Move or secure stems based on your preference.
Conclusion
Congratulations! You’ve now completed a gorgeous crocheted potted plant. This decorative masterpiece is ideal for brightening any space, gifting, or showcasing your crochet skills.