
Free Crochet Granny Ruffle Hat Pattern Step by Step
Upgrade your style with this easy free crochet granny ruffle hat pattern that is fun to make, quick to crochet, and absolutely fabulous to wear.
It all begins with the simplest of squares, but by the end, you’ll have a hat that feels like it was plucked out of a whimsical fairytale. Think about watching colorful yarn transform under your hook, stitch by stitch, into something far more magical than you expected, a granny square creation crowned with soft, swirling ruffles.
It’s quirky, charming, and oh so unique. That’s the kind of joy Crochet Inspiration brings to your world. This YouTube channel isn’t just about crochet patterns, it’s about rediscovering the delight of creating with your own hands and celebrating those “aha” moments when a project starts to take shape.
Free Crochet Granny Ruffle Hat Pattern for Cozy Style
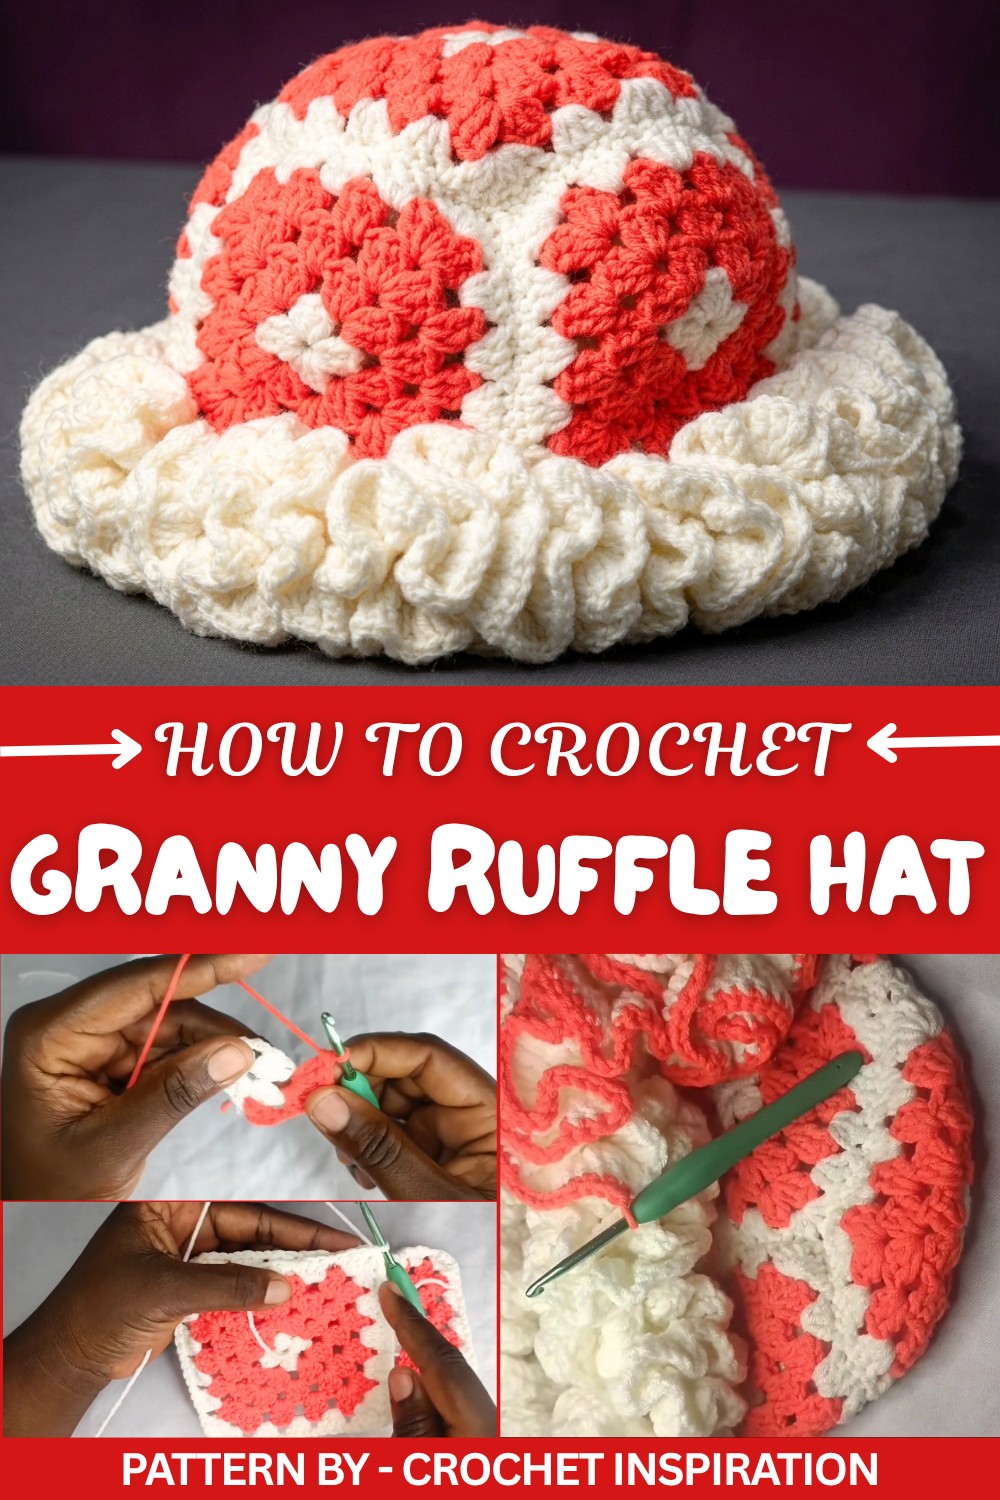
Patterned by Crochet Inspiration
The Granny Ruffle Hat Pattern is anything but ordinary. What starts as five simple squares quickly evolves into a stunning, heart shaped hat adorned with layers of playful ruffles. This hat isn’t just another accessory; it’s a statement piece. The clever construction of the squares gives it a uniquely structured base, while the flowing ruffles, made with tall triple crochet stitches, add softness and movement.
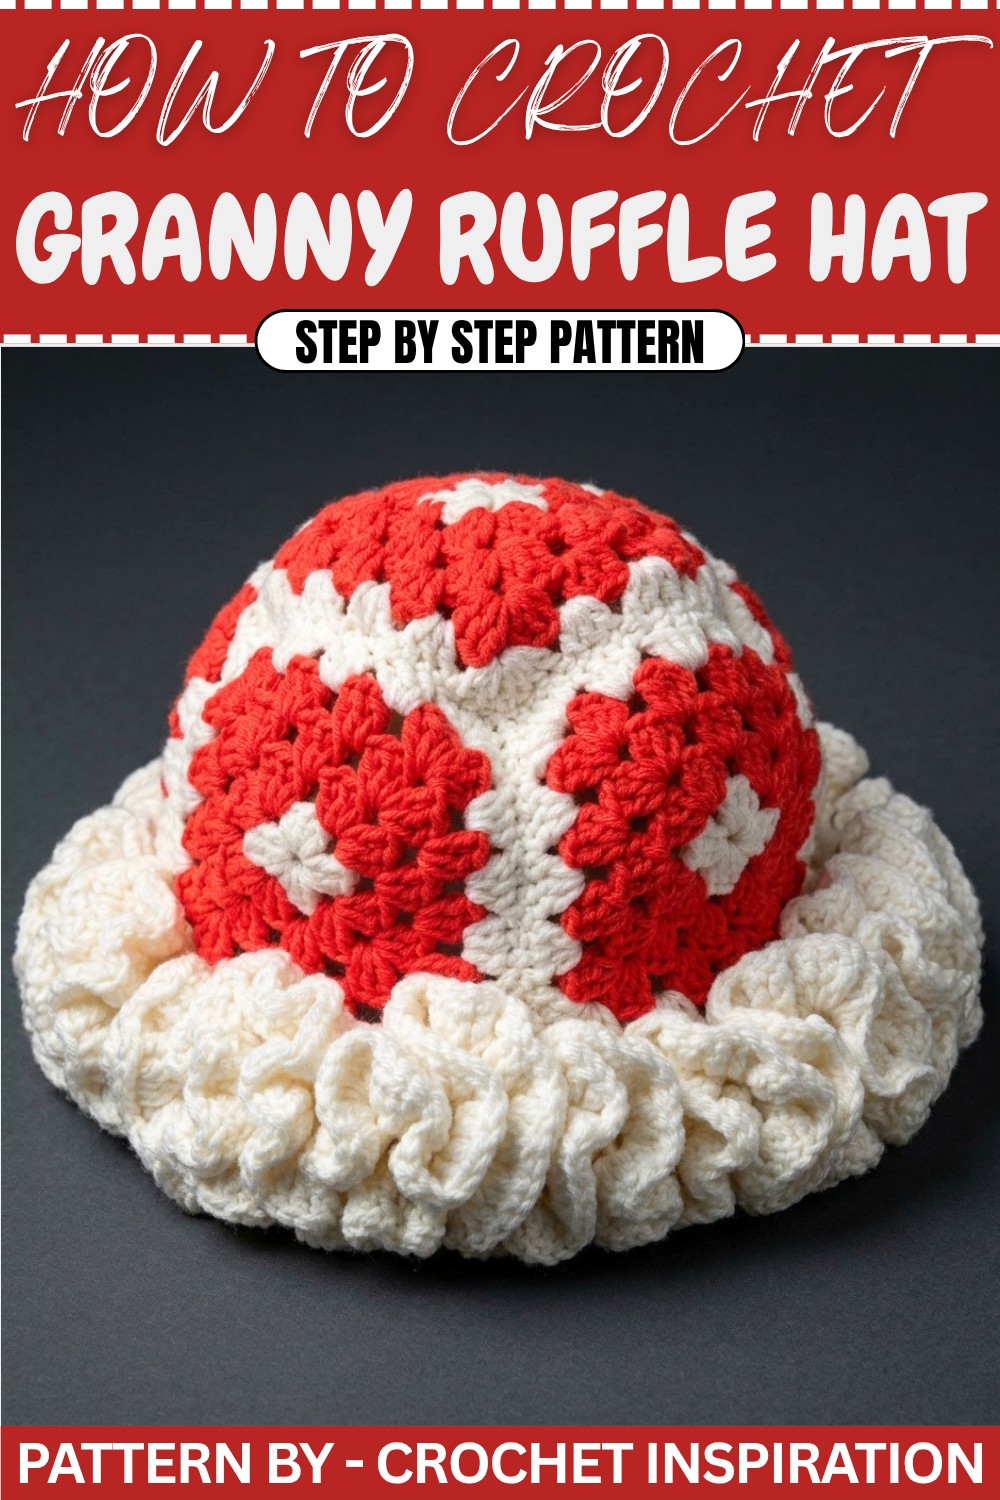
Perfect as a gift, a fun photo prop, or even a bit of festive décor, the hat’s versatility is endless. Choose bright colors for a bold look or soft tones for a romantic feel. And the best part? Even if this is your first intricate project, the step by step guidance ensures that every stitch feels enjoyable and manageable. It’s time to pick up your hook and create something equal parts whimsical and wonderful.
Granny Square Ruffle Hat Crochet Pattern
This pattern creates a stunning and unique Granny Square Ruffle Hat using five squares. With detailed step by step instructions, you’ll learn how to crochet the squares, assemble them into a cross shape, form the hat base, and add decorative ruffles. This fun and beginner friendly project is perfect for expressing creativity with colors while practicing functional crochet techniques.
Quick Overview of Pattern
- Project Type: Granny Square Ruffle Hat
- Main Features: Made with five granny squares, features ruffled edges, and an optional border
- Use Case: Stylish and versatile hat for gifting, special occasions, or display
- Customization: Adjust ruffle density or use favorite yarn colors for a personalized effect
Notes
- Be careful to match the squares when joining for smooth assembly.
- Ruffle rounds can be customized by reducing or increasing the number of triple crochet stitches per stitch.
- Measurements and gauge are approximate—ensure uniform square sizes for better assembly.
Skill Level
Beginner to Intermediate – Familiarity with basic crochet stitches, magic circle, granny square construction, and simple assembly is important.
Materials
- Yarn: 5 ply yarn (use two or more colors for contrast)
- Hook Size: 4.5 mm crochet hook
- Other Tools:
- Scissors
- Darning needle (for weaving ends)
Measurements / Sizing
- Square Size: Approximately 5–6 inches wide per square, depending on tension.
- Final Hat Size: Adjust square dimensions and ruffle density for desired hat size.
Gauge and Stitch Pattern
- Gauge: Although gauge isn’t critical, ensure each square is similar in size.
- Stitch Pattern: Granny square uses clusters of 3 double crochets, while ruffles feature clusters of triple crochet stitches.
Stitch Abbreviations
- ch: Chain
- dc: Double Crochet
- tr: Triple Crochet
- sl st: Slip Stitch
- sc: Single Crochet
Special Stitches
Magic Circle:
- Wrap yarn around your fingers, insert hook, yarn over, and pull through. Work stitches into the loop and pull it closed.
Standing Double Crochet:
- Replace chains with this technique for neater edges. Yarn over, insert hook into stitch, pull up a loop, yarn over, pull through two loops, and repeat.
Triple Crochet (tr):
- Yarn over twice, insert hook into stitch, pull up a loop, yarn over, pull through loops two at a time until only one loop remains on hook.
The Crochet Pattern
Step 1: Making the Granny Squares (Make 5 Squares)
Foundation (Magic Circle):
- Make a slip knot.
- Chain 5.
- Form a magic circle by slip stitching into the first chain.
Round 1:
- Chain 3 (counts as 1st dc).
- Work 2 dc stitches into the magic circle.
- Chain 2.
- Repeat the following sequence 3 more times:
- 3 dc stitches into the magic circle.
- Chain 2.
- Join the round with a sl st into the top of the initial chain 3.
Rounds 2–5:
- Attach a new yarn color into any chain 2 corner space.
- Chain 3 (counts as 1st dc).
- Work 2 more dc stitches into the same space.
- Chain 1 to move to the next side space.
- For corners, work:
- 3 dc stitches, chain 2, and 3 dc stitches into the same corner space.
- For sides, work:
- 3 dc stitches into each chain 1 side space.
- Repeat this pattern until the square reaches your desired size.
- Slip stitch to close each round, fasten off, and weave in all ends.
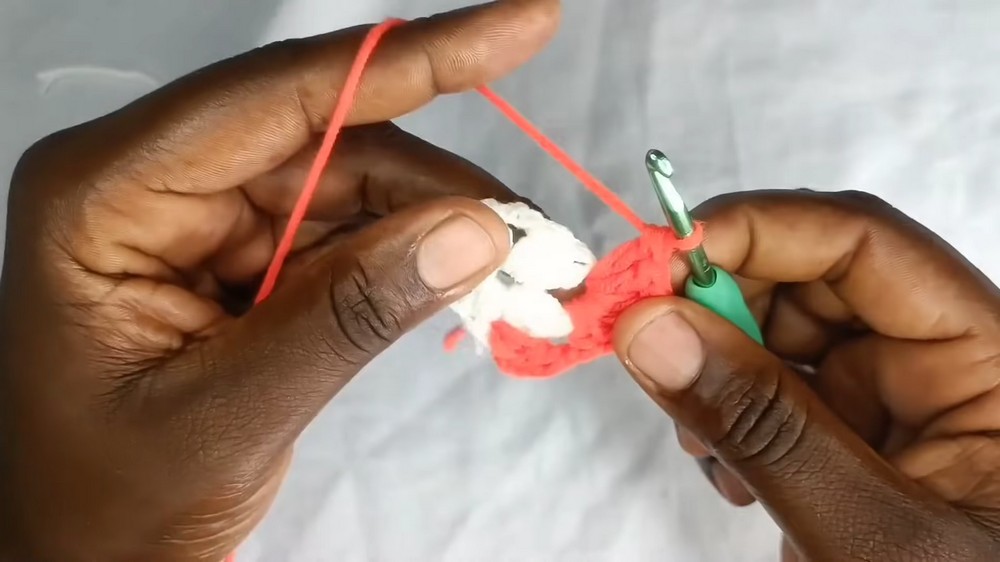
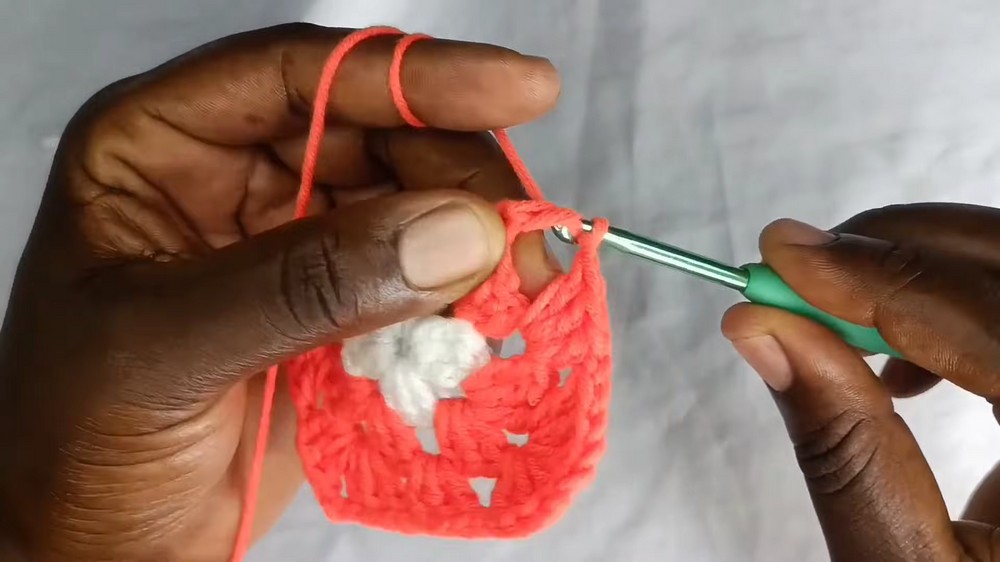
Make 5 squares in total using the steps above.
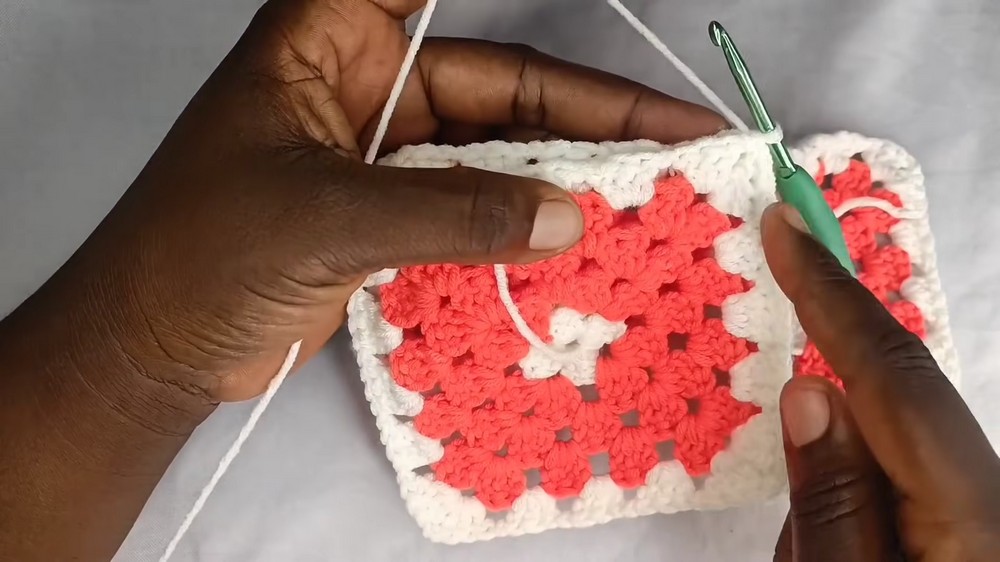
Step 2: Joining the Squares
Arrange the Squares:
- Lay the 5 squares out in a cross shape (4 squares at the base, 1 on top).
Joining Process:
- Place two squares wrong sides together.
- Insert the hook through the corresponding chain 2 corner spaces of both squares.
- Secure the yarn with a slip knot.
- Begin joining the squares with sc stitches by:
- Inserting the hook through the corresponding loops of the stitches on each square.
- Pulling up a loop and completing an sc stitch.
- Work stitch by stitch until the edge is fully joined.
- Repeat the process for the remaining squares to form the cross shape.
- Continue joining all sides until you assemble the entire hat structure.
Step 3: The Hat Base
- Attach Yarn:
- Flip the project to the right side.
- Attach yarn into any space using a slip knot.
- Start the Base:
- Chain 3 (counts as a standing dc).
- Work 1 dc into every stitch and chain space around the joined squares.
- Round 2:
- Work 1 sc into each stitch around the base for stabilization.
- Slip stitch to close the round.
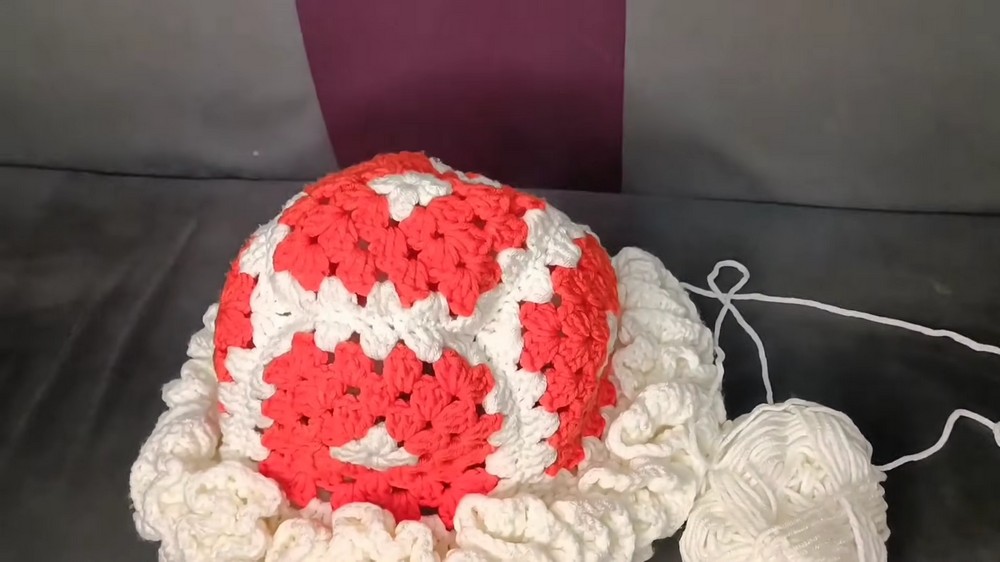
Step 4: Adding the Ruffles
Ruffle Round 1:
- Attach yarn to any stitch.
- Chain 4 (counts as 1st tr).
- Work 4 tr stitches into the same stitch (total = 5 tr).
- Repeat the following for the entire round:
- Work 5 tr stitches into every stitch.
- Slip stitch into the initial chain 4 to close the round.
Ruffle Round 2:
- Chain 4 (counts as 1st tr).
- Work 3 tr stitches into the same stitch (total = 4 tr per stitch).
- Repeat the following for the entire round:
- Work 4 tr stitches into every stitch.
- Slip stitch into the initial chain 4 to close the round.
Optional Border
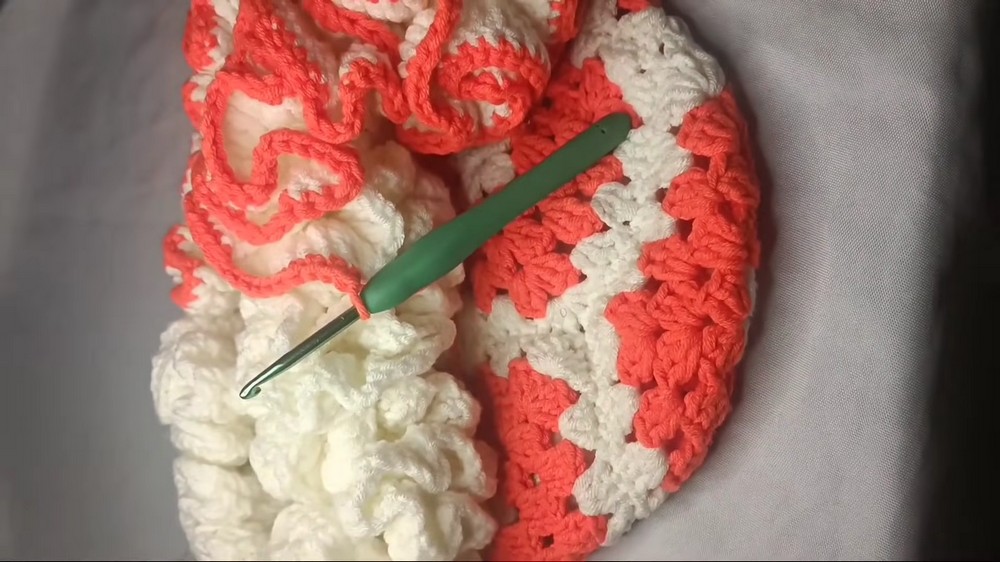
- For a neater finish, attach a new yarn color to any stitch.
- Chain 1.
- Work 1 sc into every stitch around the edge.
- Slip stitch to close the round, fasten off, and weave in the ends.
Assembly & Finished Size
Once all rounds and ruffles are complete:
- Finalize by weaving in any loose ends.
- Turn the project over to inspect seams and adjust if necessary.
- The finished Granny Square Ruffle Hat will feature a structured base and dramatic ruffled edges.
Conclusion
Congratulations, You’ve just completed a stunning Granny Square Ruffle Hat. Whether it’s for a gift, display, or personal use, this project is an elegant and customizable way to upgrade your crochet skills. Feel free to experiment with yarn colors and ruffle density for different looks.