
Free Crochet Roses Pattern Ideal for Bouquets
Follow this free roses crochet pattern to make colorful and realistic handmade flowers that are easy to make and wonderful for gifting.
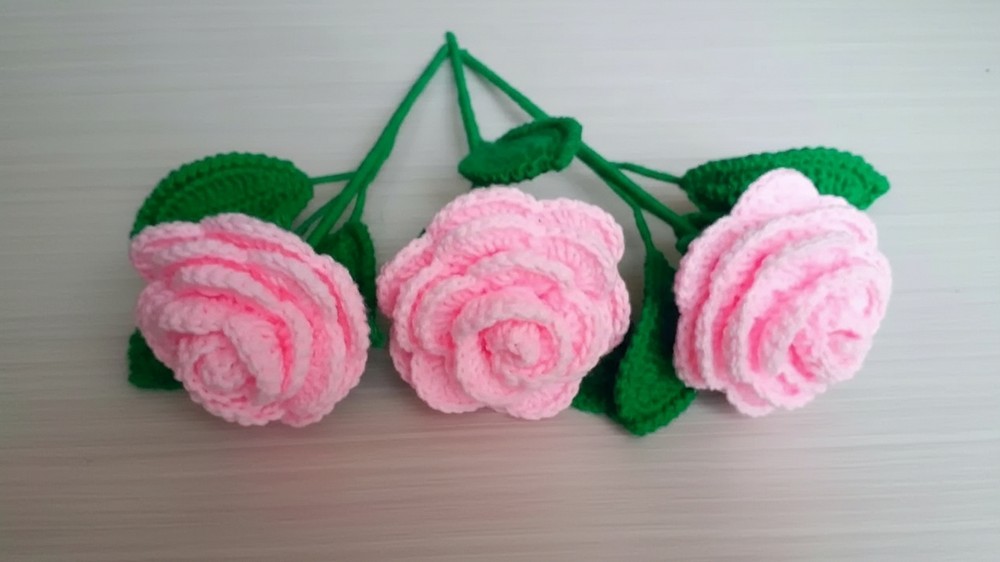
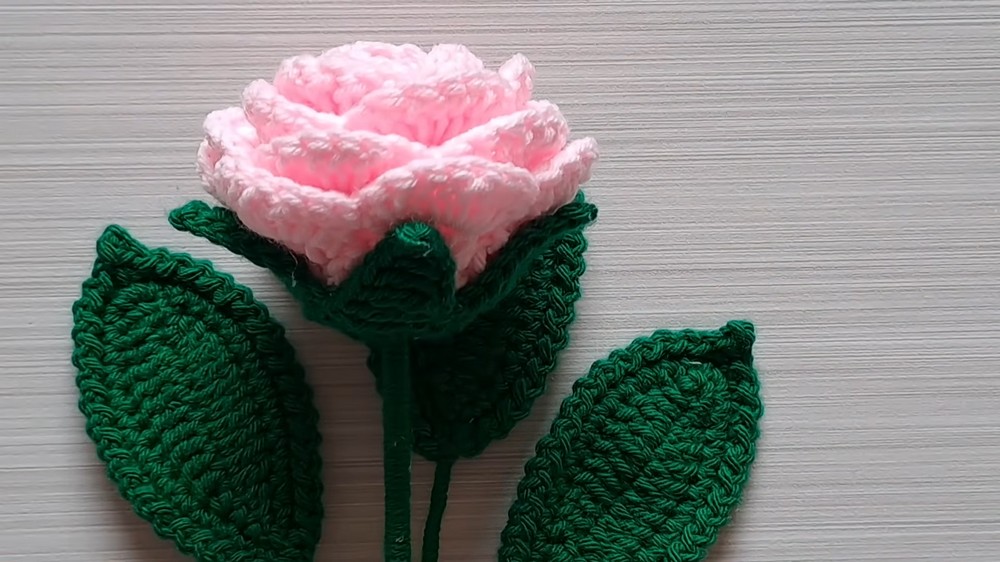
A crochet rose turns ordinary yarn into something extraordinary and timeless. It brings to life the gentle beauty of a rose, complete with soft, layered petals, a detailed green calyx, and elegant leaves. Each rose is a symbol of care and dedication, making it an ideal way to express affection or add a personal touch to your living space. Whether as a bouquet, a single piece to decorate tables, or an embellishment for gifts, it’s a thoughtful and versatile piece of art.
The renowned YouTube channel Tejido a Crochet Mariam provides detailed, step by step video guidance to help crochet enthusiasts make roses with ease. Mariam’s clear instructions and careful attention to small details make her tutorials accessible to all skill levels. She ensures every step is explained thoroughly, helping viewers achieve the polished look of a flowing, lifelike rose.
Free Crochet Roses Pattern Everyone Will Want to Try
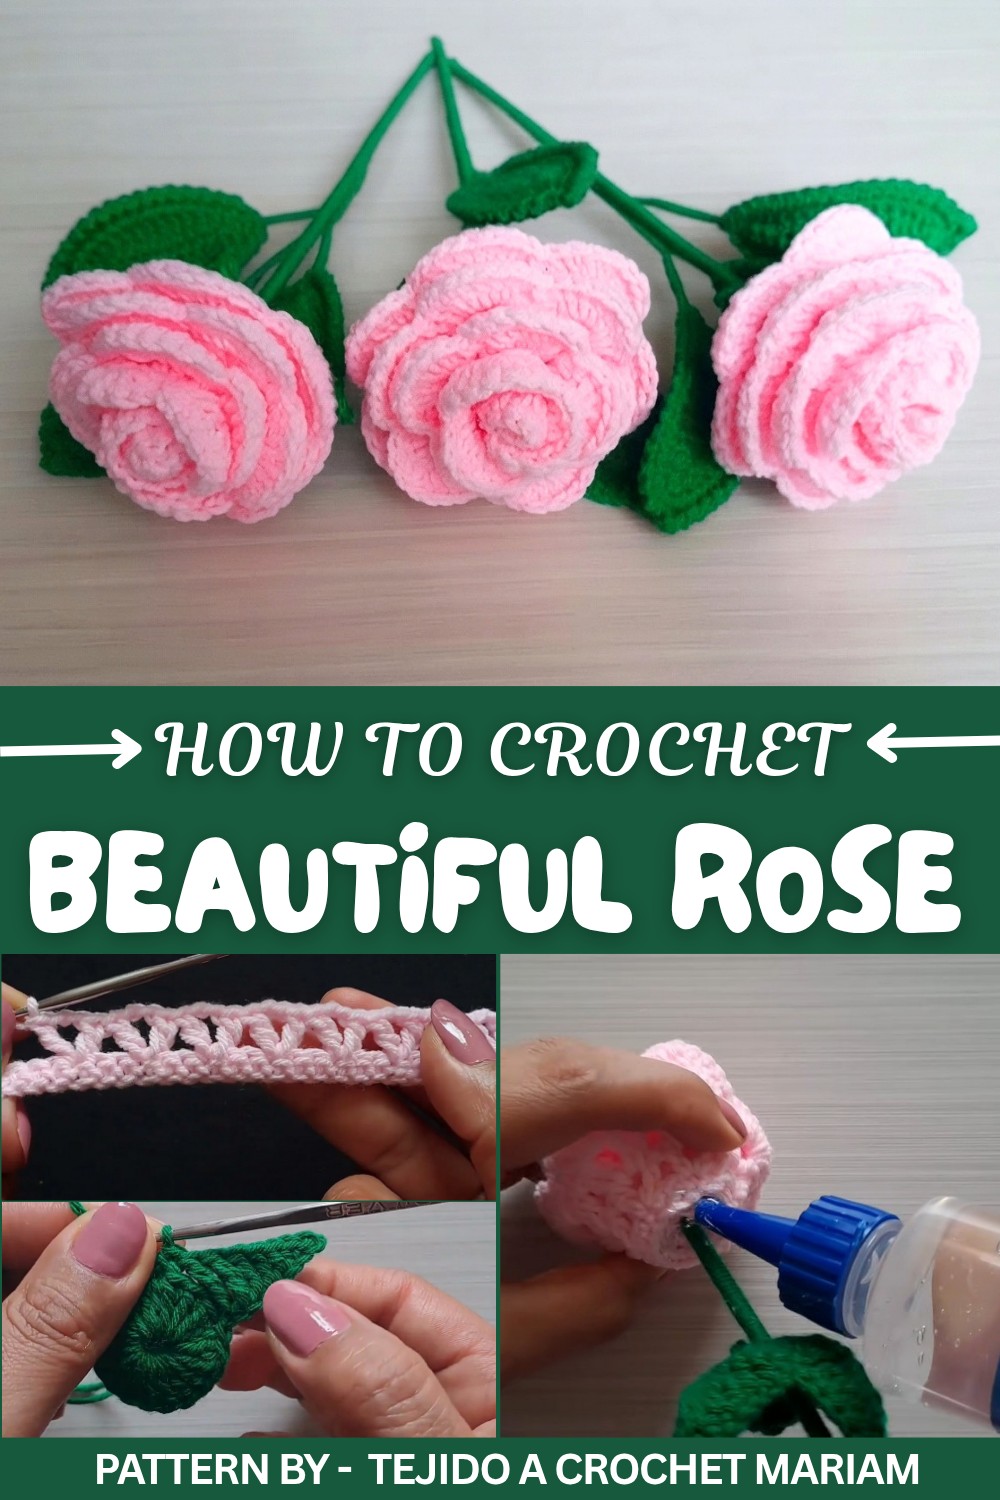
What makes a crochet rose so captivating is its attention to detail. The petals are soft yet full, thanks to techniques like fan stitches and crisp edging. The calyx adds a rich green accent, while the leaves are carefully shaped with reinforced wire, mimicking the natural curves of real foliage. A wrapped wooden stem ties it all together, lending the piece structure and elegance.
These roses fit perfectly into a variety of settings, whether as stand alone decor, part of a larger floral display, or a heartfelt handmade gift. Their charm lies in their individuality, as each one can be made in different colors to suit any preference. For those looking to make something both meaningful and special, crochet roses are a perfect choice.
Complete Step by Step Crochet Pattern for a Beautiful Rose
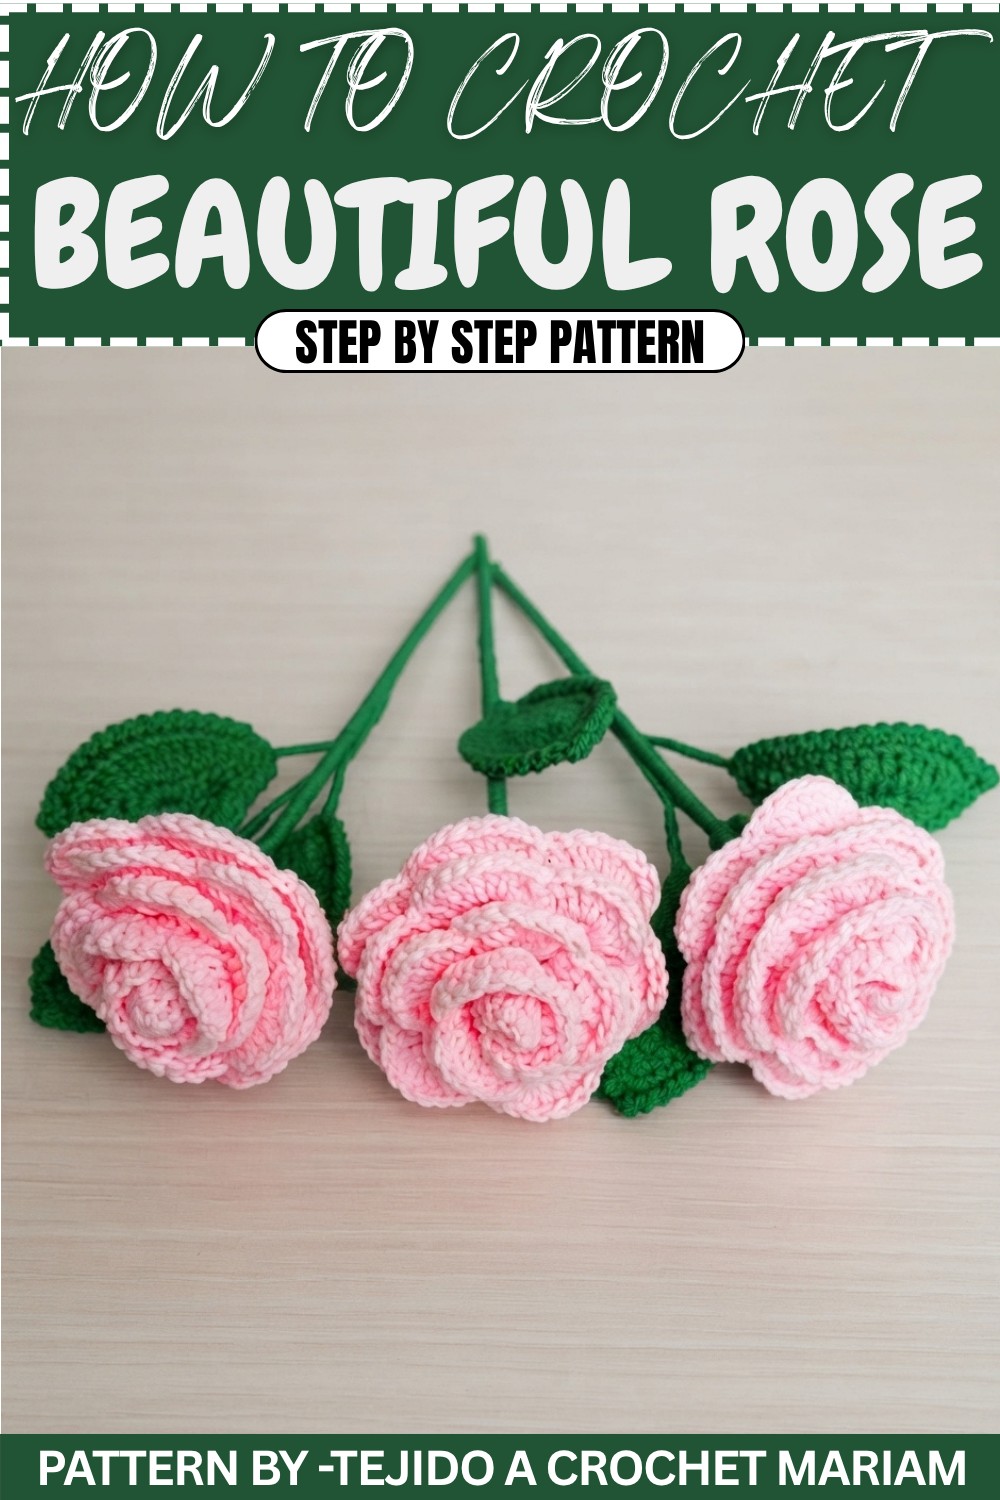
Crocheting a rose can help you bring the beauty of flowers to life with your handmade skills. Follow this detailed pattern to create a stunning crochet rose with a wooden stem, petal base, calyx, and leaves. The finished product is a lovely piece of art that can be used for decoration or as a heartfelt gift for loved ones.
Skill Level
- Intermediate Beginner
You’ll need knowledge of basic crochet stitches (e.g., chain, single crochet, half double crochet, double crochet). Familiarity with a magic ring and working with wire is helpful.
Materials
- Yarn:
- Cotton thread (4 strands):
- Pink or dusty rose color (for petals)
- Green color (for leaves and stem)
- Cotton thread (4 strands):
- Crochet Hook: Size No. 2 (2mm)
- Wooden Stick: For the stem
- Wire: To shape the leaves
- Cold Silicone Glue (or hot glue)
- Scissors: For cutting yarn and trimming excess threads
- Optional: Stitch marker
Measurements / Sizing
- The completed rose stands approximately 6–8 inches tall, depending on the wooden stick length.
- The flower and leaves can be adjusted to match your size preferences, simply by increasing or decreasing the starting chains or the number of stitches in rounds.
Gauge
- Gauge is not essential for this project. Focus on keeping your stitches consistent for a neat appearance.
- Suggested fabric is medium tension using cotton thread and a 2mm hook.
Stitch Abbreviations
- CH: Chain
- SL ST: Slip Stitch
- SC: Single Crochet
- HDC: Half Double Crochet
- DC: Double Crochet
- TR: Treble Crochet (Triple Crochet)
- BLO: Back Loop Only
Special Stitches
- Magic Ring:
- Create a loop with the yarn and insert the crochet hook through the loop. Yarn over, pull through and chain one to secure. Begin your round of stitches in the loop. Pull the tail to close the center.
- Fan Stitch (8 DC):
- In the same stitch or space, crochet 8 double crochets to form a fan-like cluster.
1. Petal Base (The Rose)
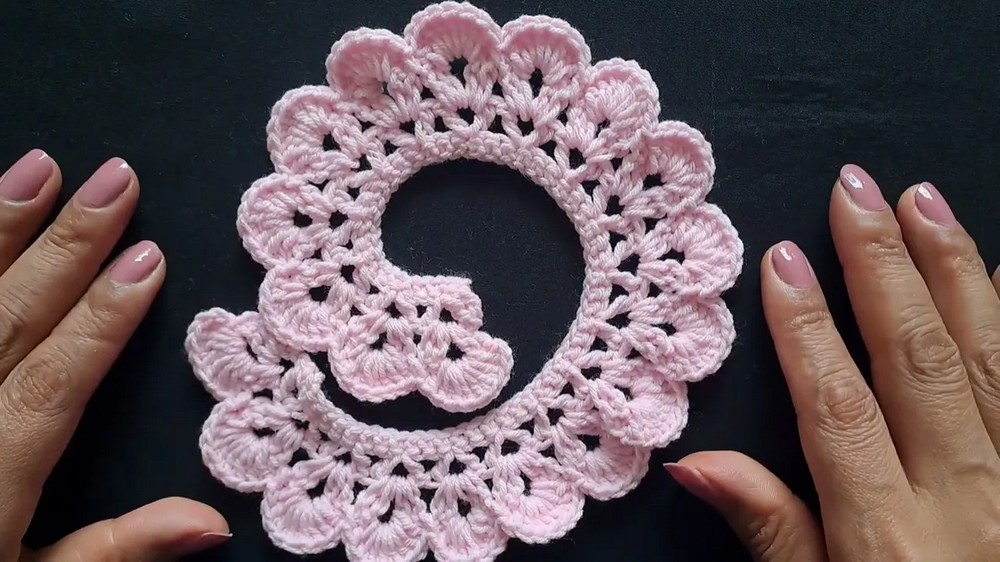
The petals form the centerpiece of the crochet rose. You’ll create them as a flat strip, which will later be rolled and shaped into the rose.
Foundation:
- Begin by making a slip knot and chain 60 stitches.
- Ensure your tension is consistent throughout so the petals form evenly.
Row 1 (Base Row):
- Work a single crochet (SC) into the second chain from the hook.
- Continue working 1 SC into each chain across the row.
- At the end of the row, you’ll have 59 SC.
Row 2 (Creating V Shapes):
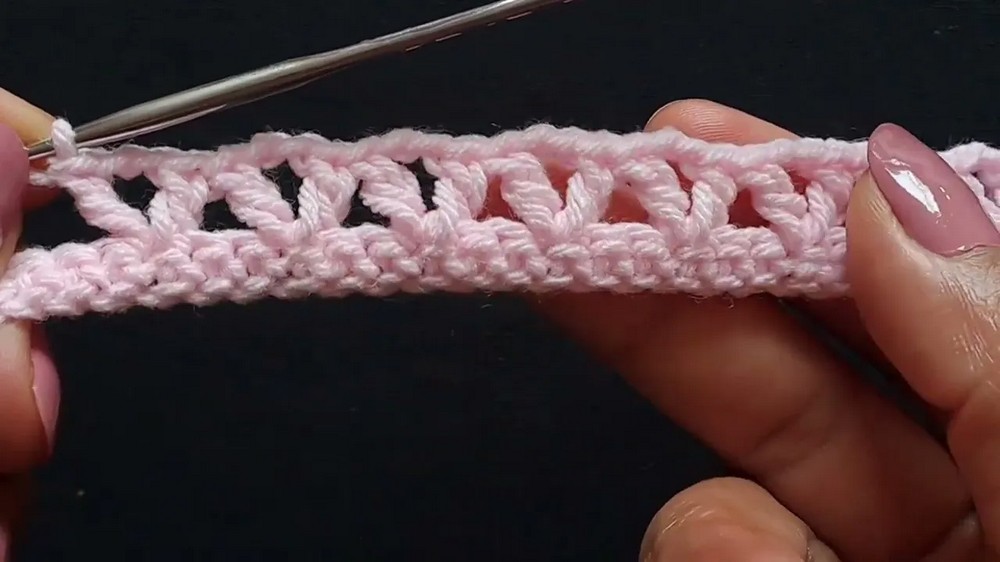
- Chain 5. Turn your work—this counts as a double crochet (DC) and CH2.
- Skip 3 stitches, then work: DC, CH2, DC (a V shaped stitch) into the 3rd stitch.
- Repeat this sequence, skipping 3 stitches between each V stitch, across the row until the end.
- The V shapes will serve as the base for creating the petal shapes in the next step.
Row 3 (Building the Petal Structure):
- Slip stitch into the first CH2 space of the first V shape.
- Chain 2, then work 2 DC, CH2, 2 DC into the same V space (a "double fan").
- Move to the next V space and repeat the double fan sequence (2 DC, CH2, 2 DC) across the row.
- This row adds volume and texture to the petal section.
Row 4 (Shaping the Petals):
- Slip stitch into the center CH2 space of the first V shape to begin.
- Work 8 DC into the same space to form a fan or petal shape.
- Between each V shape, single crochet (SC) to secure the petal.
- Continue this fan pattern across the row, working 8 DC in each V space and securing between the fans with SC.
- At the end of the row, your petal strip is complete and ready for assembly.
2. The Calyx (Sepals)
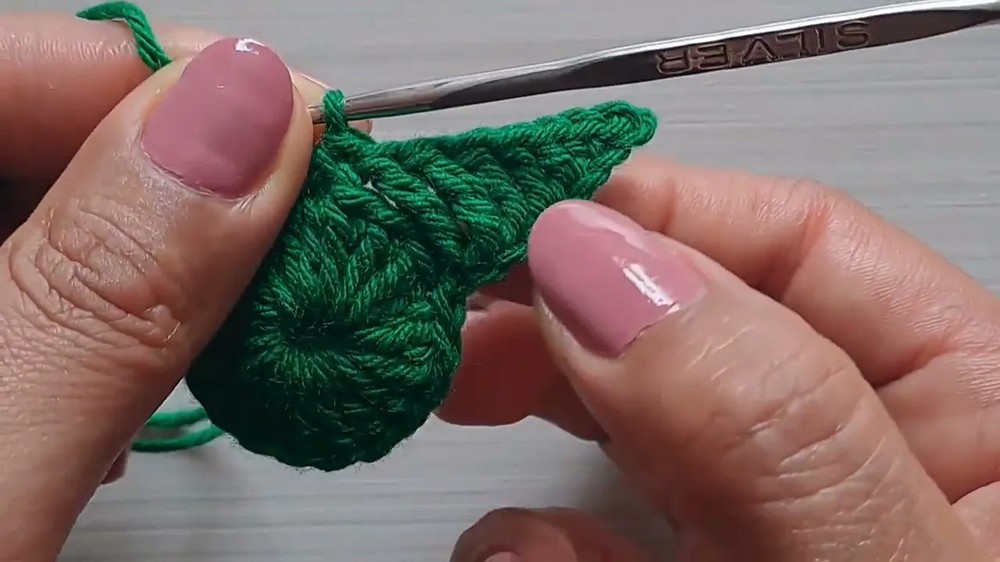
The calyx forms the green supporting crown under the rose petals.
Foundation (Magic Ring):
- Create a magic ring with green yarn.
- Chain 3 (counts as the first DC).
- Work 20 DC into the magic ring.
- Pull the tail to close the ring tightly, leaving a small hole at the center for inserting the stem.
- Slip stitch into the top of the first DC to close the round.
Sepal Points:
- Chain 8, and work back down the chain as follows:
- In the 2nd chain from the hook, work SL ST.
- In the 3rd chain, work SC.
- In the 4th chain, work HDC.
- In the next 2 chains, work DC in each chain.
- In the final 2 chains, work TR in each chain.
- Skip 4 base stitches and attach the point with SC.
- Repeat this pattern to make a total of 5 sepals, evenly spaced around the base of the calyx.
3. The Leaves
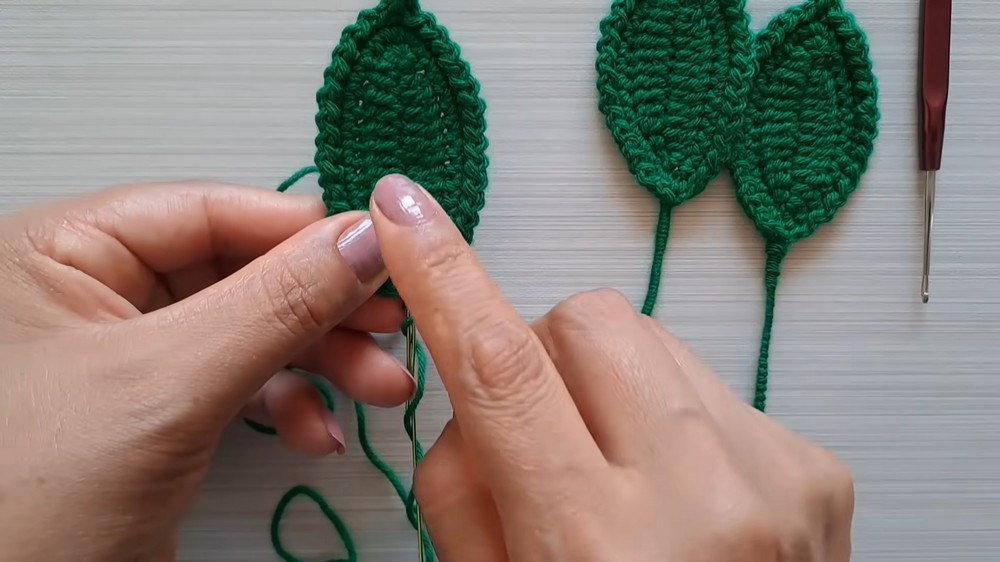
The leaves bring elegance and realism to the rose and are crocheted around wire frames for extra flexibility and shape.
Foundation:
- Start by chaining 15 with green yarn.
Leaf Construction:
- Working along the back bumps of the chain, crochet the following:
- 1st chain: SC.
- 2nd chain: HDC.
- In the next 9 chains, work 1 DC in each chain.
- Next chain: HDC.
- Next chain: SC.
- In the last chain, work 3 SC in the same stitch to create a curved tip.
- Repeat the above sequence along the opposite side of the chain, mirroring the stitches.
Adding the Wire and Edging:
- Insert a thin wire along the back of the leaf.
- Secure the wire by crocheting SC around the entire edge of the leaf.
- To give the leaf a decorative touch, add a picot edge with:
- (SL ST, CH1, SL ST) between the SC stitches around the edge.
- Repeat the process to make three leaves: two with shorter wire stems and one with a longer wire stem.
4. Assembly
Bringing the petal base, calyx, leaves, and stem together is the final and most exciting step.
Preparing the Stem:
- Take a wooden stick and green yarn.
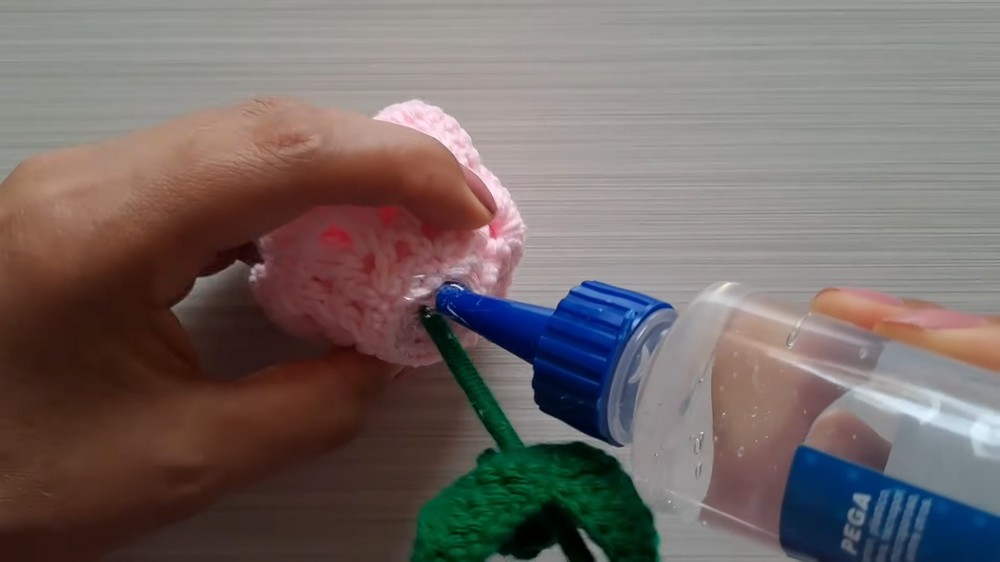
- Apply cold silicone glue near the top of the stick to secure the yarn.
- Wrap the stick evenly with the green yarn until most of its length is covered.
Attaching the Petal Base:
- Roll the petal strip tightly into a rose shape.
- Secure each turn with small dabs of glue to hold the layers together.
- Once the rose shape is complete, attach it to the top of the stem with glue.
Adding the Calyx:
- Slide the completed calyx over the base of the rose petals, ensuring it fits snugly.
- Secure the calyx in place with glue.
Attaching the Leaves:
- Position the long stemmed leaf against the stem first and secure it in place using glue.
- Wrap green yarn around the base of the stem and leaf to secure them tightly.
- Attach the other two shorter stemmed leaves around the longer leaf to create a natural arrangement.
- Continue wrapping green yarn around the stem to conceal wires and glue, ensuring an even finish.
- Secure the end of the yarn and trim any excess.
Conclusion and Finishing Words
Your crochet rose is now complete! With detailed petals, realistic green leaves framed with wire, and a sturdy wrapped stem, this handmade masterpiece is both elegant and unique. It makes a wonderful decorative piece, heartfelt gift, or a thoughtful addition to any floral arrangement.
Experiment with different colors and sizes for variety, or create a bouquet for a truly stunning display. I hope you enjoyed following this tutorial and feel proud of your finished crochet rose.