
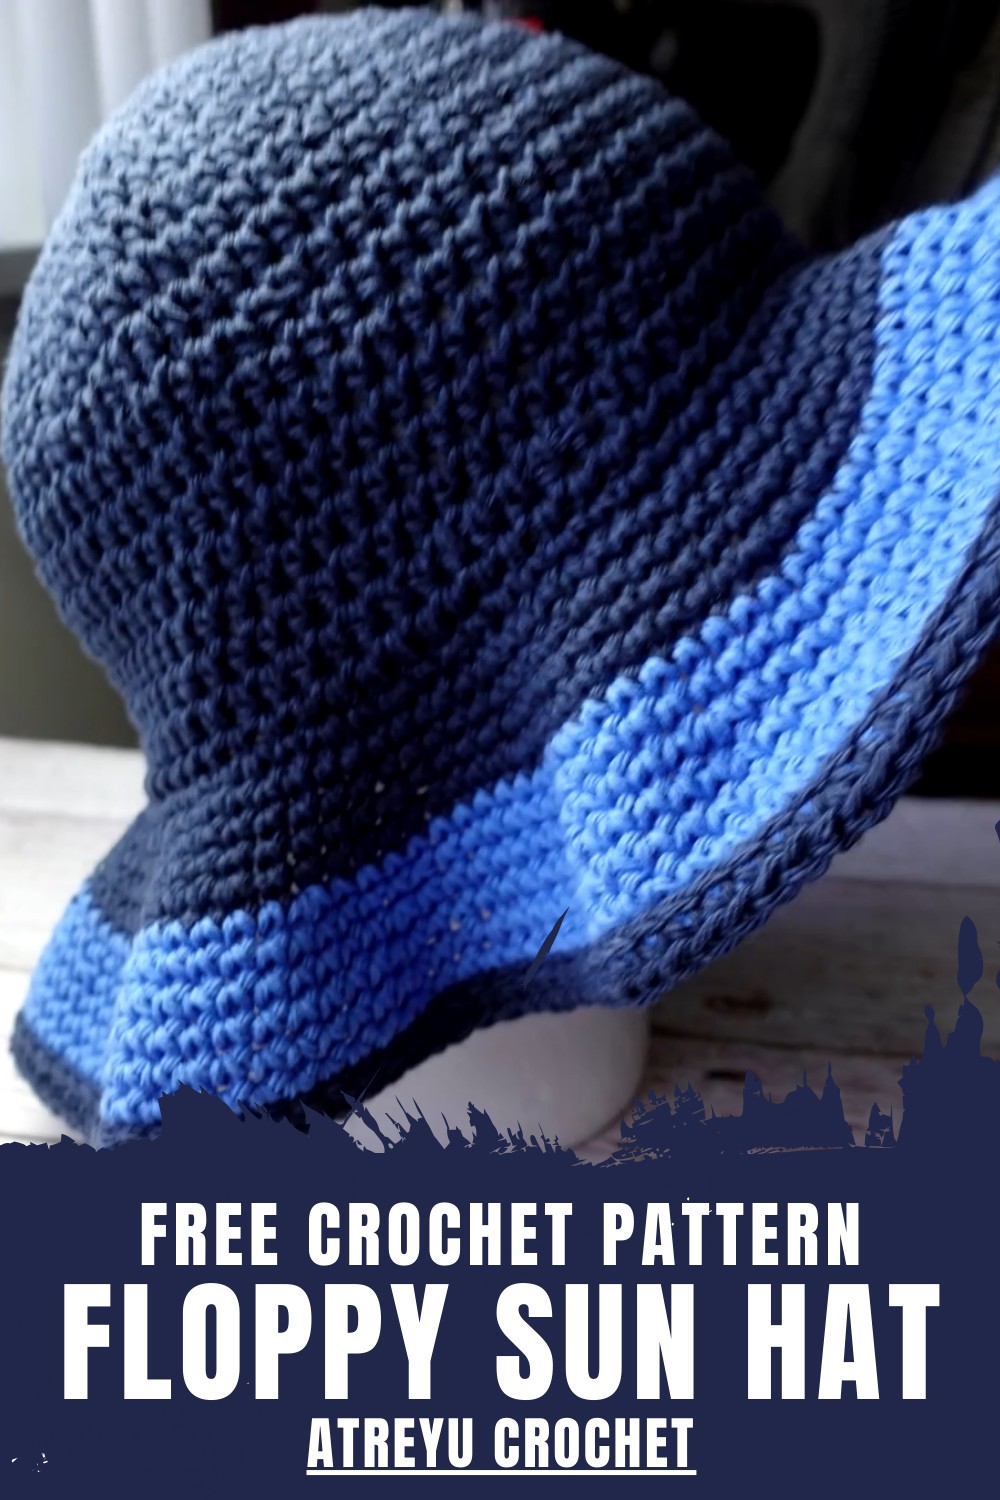
Enjoy sunny days with this Free Crochet Floppy Sun Hat Pattern featuring wide flowing brims that offer sun protection and effortless style.
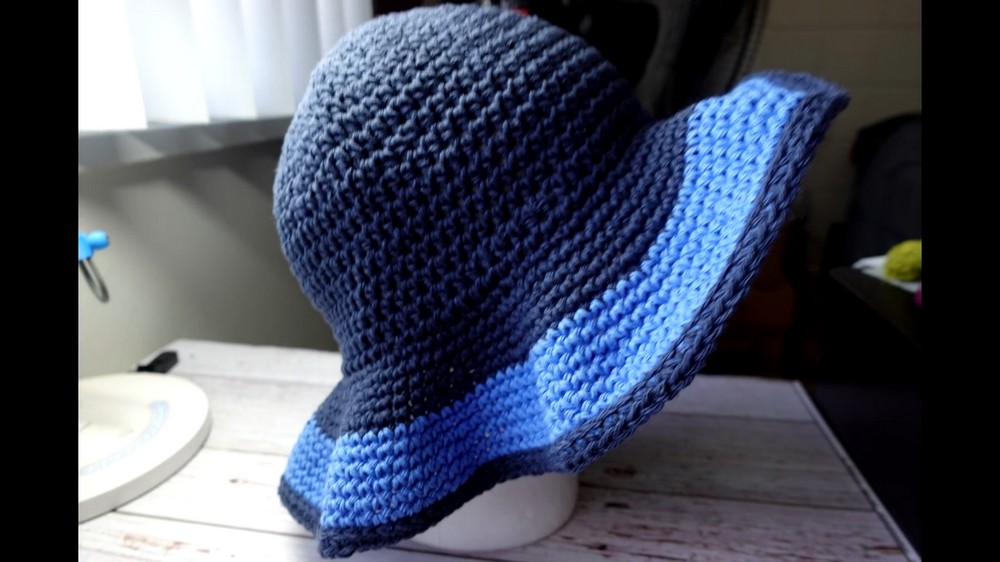
Sun protection meets effortless style in this accessory from the Crochet Floppy Sun Hat Pattern, designed to keep you comfortable and fashionable under bright days. Its wide, floppy brim offers excellent shade, shielding the face and neck while maintaining breathability for all-day wear, making it perfect for beach trips, garden parties, or casual outdoor strolls. The soft, flowing texture creates a relaxed yet elegant silhouette that pairs beautifully with summer dresses, casual shorts, or light linen outfits.
Playful Crochet Floppy Sun Hat Pattern Everyone Will Notice
Its versatile design allows for customization with various yarn colors and stitch patterns, giving each hat a unique, personal touch. Lightweight and easy to carry, it provides comfort without sacrificing style.
Materials You'll Need
- A pair of scissors.
- A tapestry/darning needle for weaving in ends and finishing.
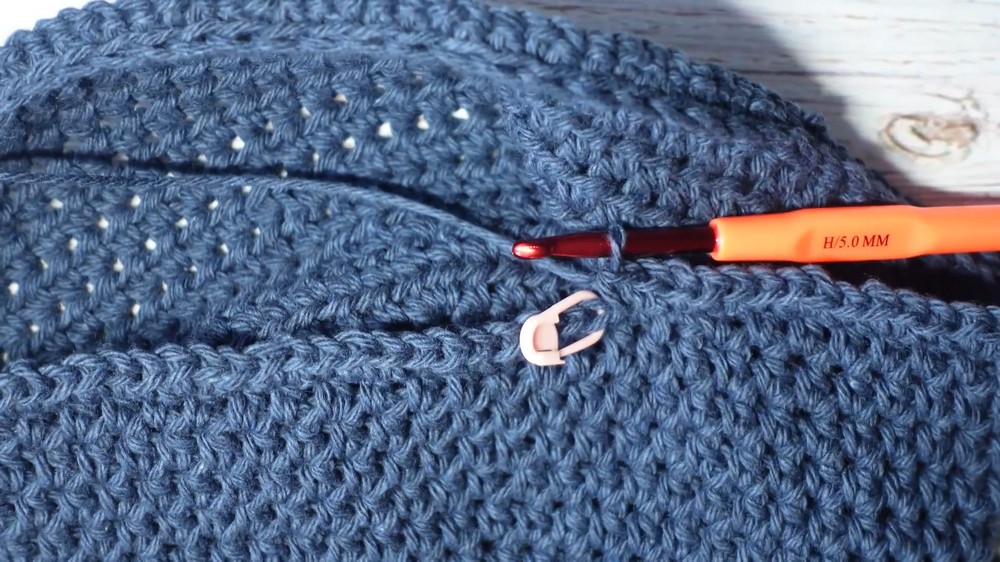
- A stitch marker (or substitutes such as a paper clip, safety pin, or differently colored yarn).
- 100% cotton yarn (Trey recommends using at least two skeins for potential color changes and deviations). She used medium 4-weight cotton yarn, requiring:
- 190 yards/skein or approximately 380 yards in total.
- A 5mm crochet hook (Us Hook H).
- Optional: Use two yarn colors for customization.
Beyond functionality, this hat brings a handmade charm and thoughtful appeal, making it an ideal gift for loved ones or a chic addition to your wardrobe. Combining practicality, creativity, and timeless elegance, it enhances every sunny outing with style.
Step-by-Step Details
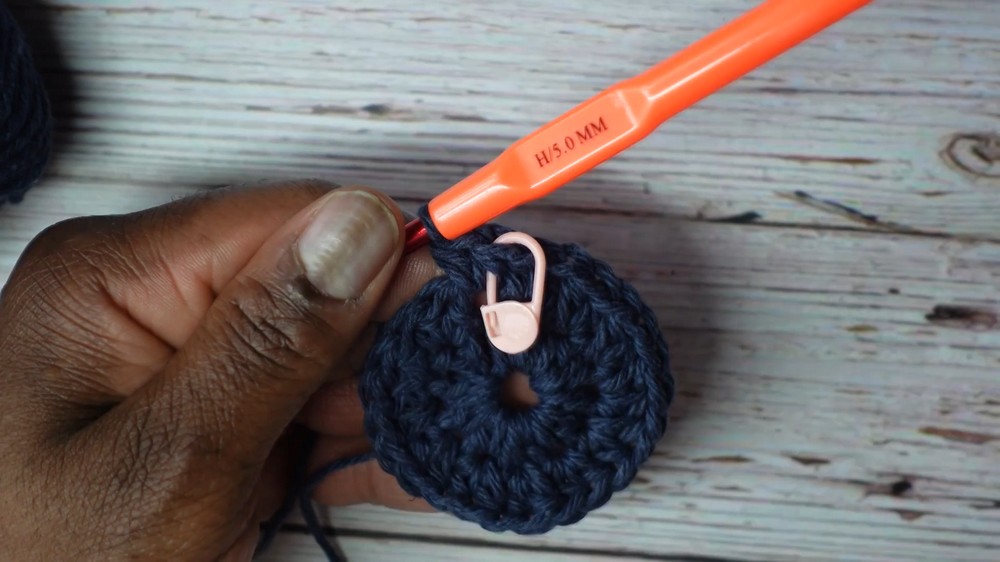
2. Starting with the Crown of the Hat
- Create a Magic Circle (Round 1):
- Form a magic circle and chain 3.
- Crochet 11 half-double crochets (HDC) into the circle.
- Pull the tail of the magic circle to close it, leaving 12 stitches in total (counting the chain 3).
- Slip stitch into the second chain up of the starting chain 3 to start the next round.
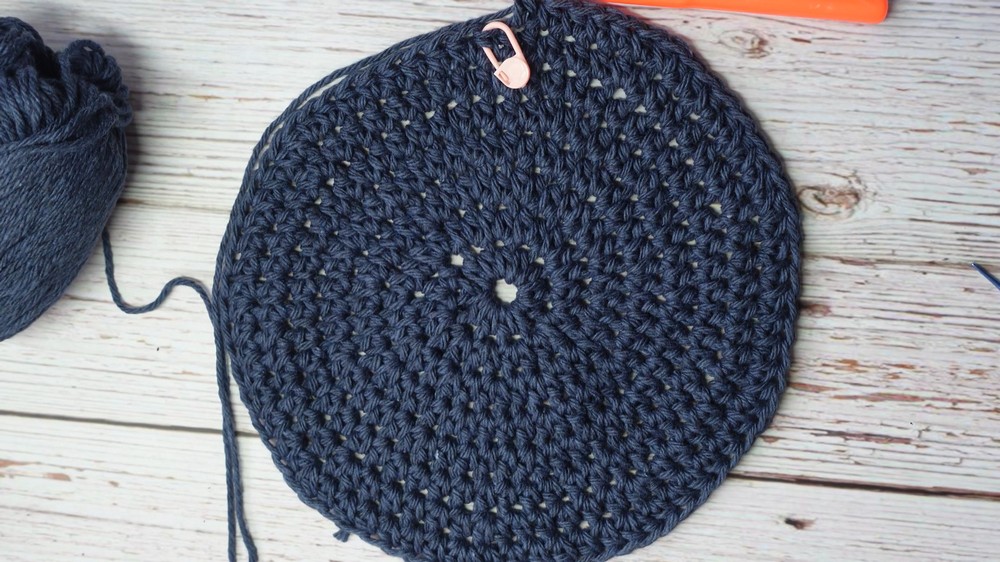
- Expanding the Crown with Increasing Rounds:
- Use a stitch marker at the start of each new round, moving it up as you go.
- Round 2: Crochet 2 HDC into every stitch (increase in each stitch). Finish with 24 stitches.
- Round 3: Follow the pattern 2 HDC in 1 stitch, then 1 HDC in the next stitch, repeating the sequence all around (total: 36 stitches).
- Round 4: Start with 2 HDC in a stitch, then 1 HDC in each of the next 2 stitches, and repeat (total: 48 stitches).
- Round 5 and Onward: Add one more single HDC between each increase as you go (e.g., Round 5: "2, 1, 1, 1").
- Continue until the circle’s diameter fits the crown of the intended wearer’s head. Trey mentions her project’s crown measured 7 inches (18 cm) in diameter by Round 8.
3. Building the Sides of the Hat
- After completing the crown, crochet 10 non-increase rounds:
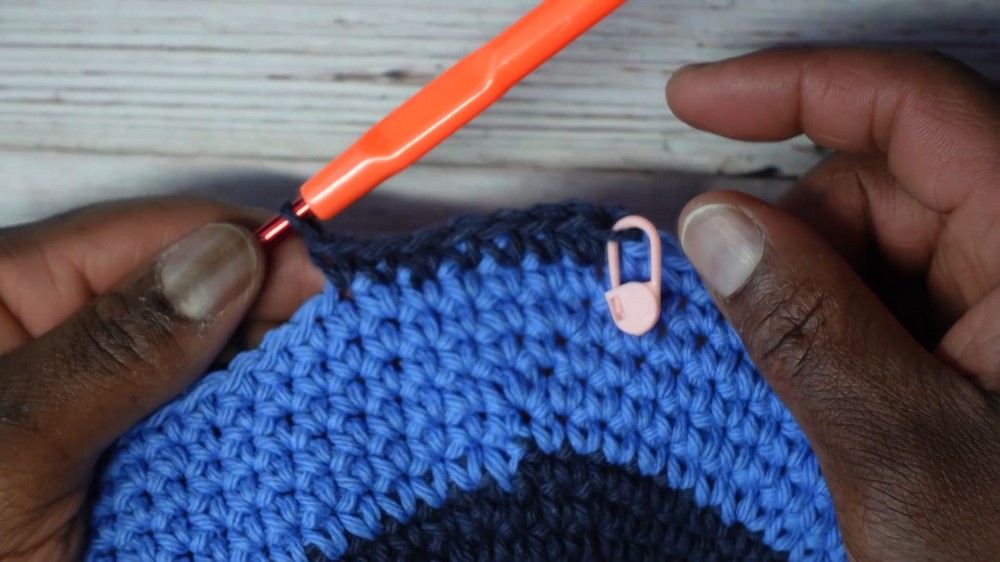
- Work 1 HDC into every stitch around, keeping the stitch marker in place to keep track of rounds.
- Trey mentions the work will curve naturally during these rounds, forming a bowl-like shape that becomes the hat’s sides.
- Change yarn colors at this step if desired for customization. When switching, Trey ties a knot between colors and crochetes over loose ends to avoid excess weaving.
4. Prepping for the Brim with a Flat Chain Braid
- Slip Stitch Round:
- After completing the side height, add slip stitches into the tops of stitches of the final side round.
- Work slip stitches between the “bodies” of stitches instead of the usual “tops of the cakes.” This creates a flat braided chain effect, which flattens and stabilizes the base for the brim.
- Transition Row to Start the Brim:
- After completing the slip stitches, crochet a setup row by working behind the "flat chain" into every stitch base.
- After completing the slip stitches, crochet a setup row by working behind the "flat chain" into every stitch base.
5. Creating the Brim
- Round 1 of the Brim:
- Begin with 1 single crochet (SC) in the first stitch. Attach the stitch marker to this stitch.
- Into the next stitch, place 2 single crochets (increase). Follow the pattern “1 SC, 2 SC” all around.
- Rounds 2-3:
- Work 1 SC in every stitch (non-increase rounds).
- Continuing with Increase Rounds for the Brim:
- Follow an alternating increase pattern for several rounds. Examples:
- Round 4: 2 SC, 7 SC (increase every 8th stitch).
- Round 5: 2 SC, 10 SC.
- Round 8: 2 SC, 15 SC.
- Follow an alternating increase pattern for several rounds. Examples:
- Customizing the Brim's Width:
- Trey explains you can repeat the increase pattern to achieve the desired brim size or stop when satisfied.
- She alternates rounds of increases and non-increase (1 SC all around) until completing her preferred depth.
- Final Touch with a Slip Stitch Braid:
- Once you finish the brim, she recommends adding a decorative braid using the flat slip-stitch method, similar to the transition row.
- Once you finish the brim, she recommends adding a decorative braid using the flat slip-stitch method, similar to the transition row.
Special Features
- Flat Slip Stitch Braid: The slip stitch braid adds texture and stability to the hat’s edges.
- Customizable Design: Trey encourages creativity through color changes, either for the body or the brim.
- Lightweight and Breathable: Made with cotton yarn, this hat is perfect for warmer weather.
- Beginner Support: Trey provides detailed instructions, tips, and explanations, making this tutorial beginner-friendly despite its complexity.
Level of Difficulty
The tutorial is beginner-friendly with some intermediate elements. Techniques such as the magic circle might seem intimidating to beginners, but Trey patiently explains these steps and provides alternatives (or links to reference videos) to help you master them.
Tutor’s Suggestions
- Use Stitch Markers: Always mark the beginning of each round, especially when working in continuous rounds. This helps maintain stitch accuracy and identify the start of each row.
- Adjust the Crown Size: Trey emphasizes that the diameter of the crown must match the head size. She uses a standard of 7 inches but encourages adjusting based on individual needs.
- Change Colors Boldly: Transition between yarn colors to make your design unique. Trey shows how to tie clean knots and crochet over yarn tails.
- Improvise When Needed: Trey suggests being flexible if the stitch count doesn’t align perfectly with the pattern—ensure the design looks proportional instead of stressing over exact adherence.
- Use Cotton Yarn: Cotton offers the right rigidity for a structured yet breathable hat, ideal for sunny climates.
Uses and Materials
Uses:
- The crochet sun hat is a fashionable and functional accessory, providing shade and style for everyday wear, vacations, or gardening.
- It can be a thoughtful handmade gift or a customizable item for personal wardrobes.
Materials Recap:
- Cotton yarn (medium 4-weight).
- 5mm crochet hook.
- Scissors, darning needle, and a stitch marker.
Tip
To achieve a neat finish, weave in yarn tails using a tapestry needle and a back-and-forth method. This secures the yarn and prevents unraveling, making your hat look professional.
Conclusion
Trey Crochet’s sun hat tutorial is a perfect blend of creativity and practicality. The project stands out with its flat braid design and adaptable brim patterns, allowing you to craft a unique and functional summer accessory. Trey’s beginner-friendly explanations and helpful visuals ensure that crocheters of all levels can confidently create this sun hat. With a careful selection of yarn colors and attention to detail, you can make a stunning hat to showcase your crochet skills. Happy crocheting!