
Beautiful Crochet Double Lily Flower Pattern for Floral Projects
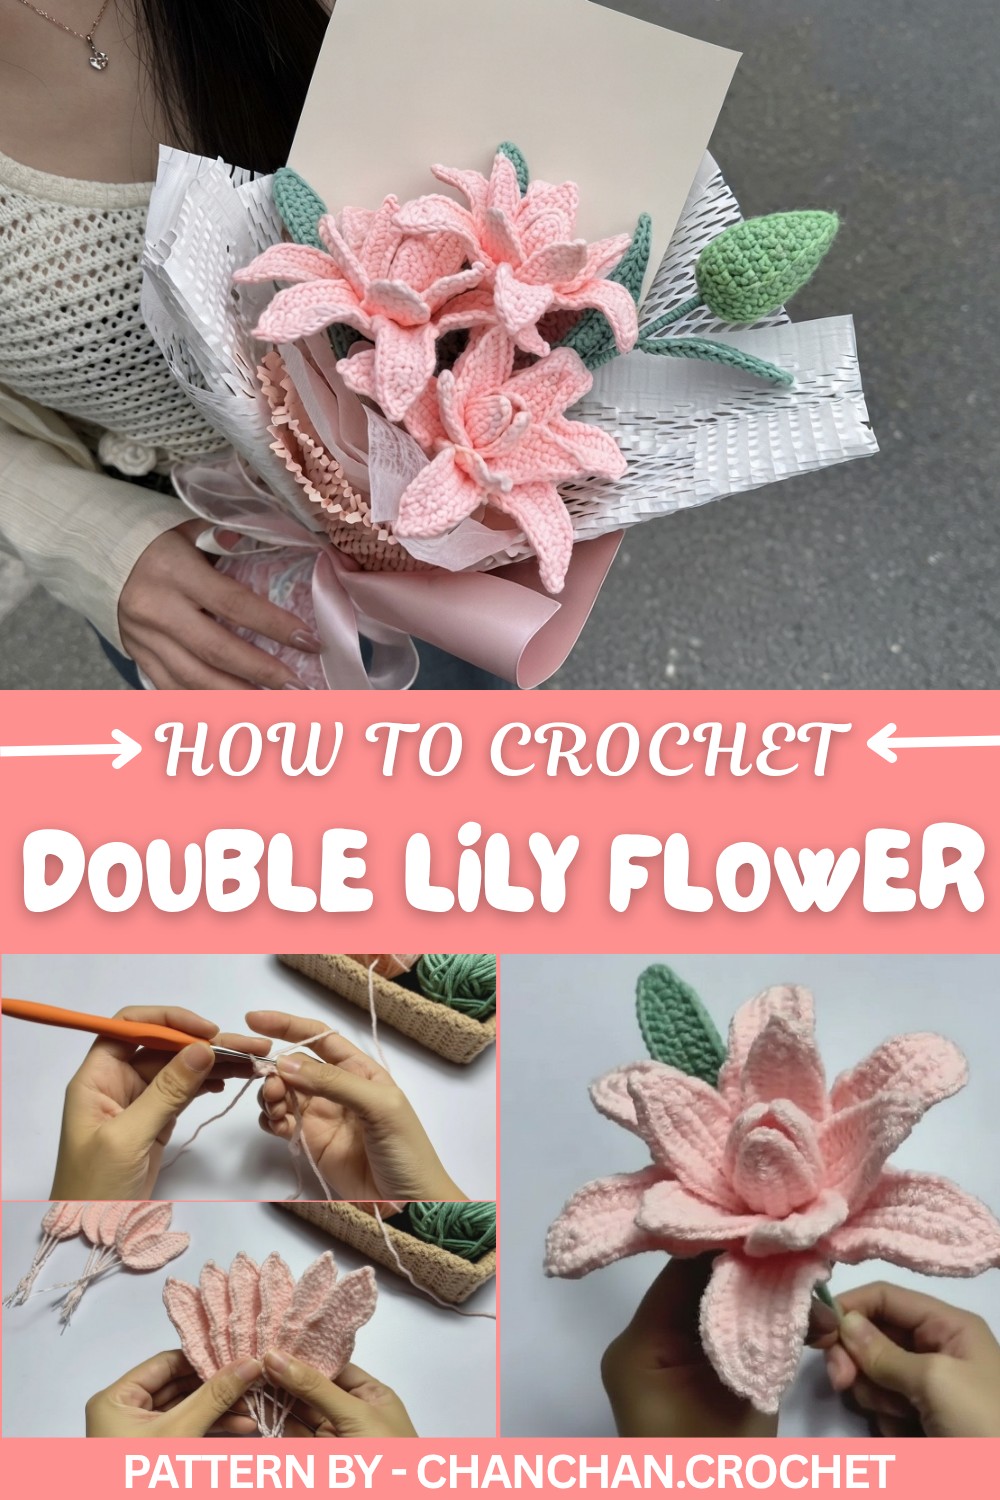
The creator clearly explains how each round contributes to the final form, stressing the importance of careful stitch counting and steady tension so both layers sit evenly. Simple techniques are used, making the process easy to follow while still producing a polished result. This flower looks especially attractive when made in solid or lightly shaded colors, as the layered petals stand out more clearly.
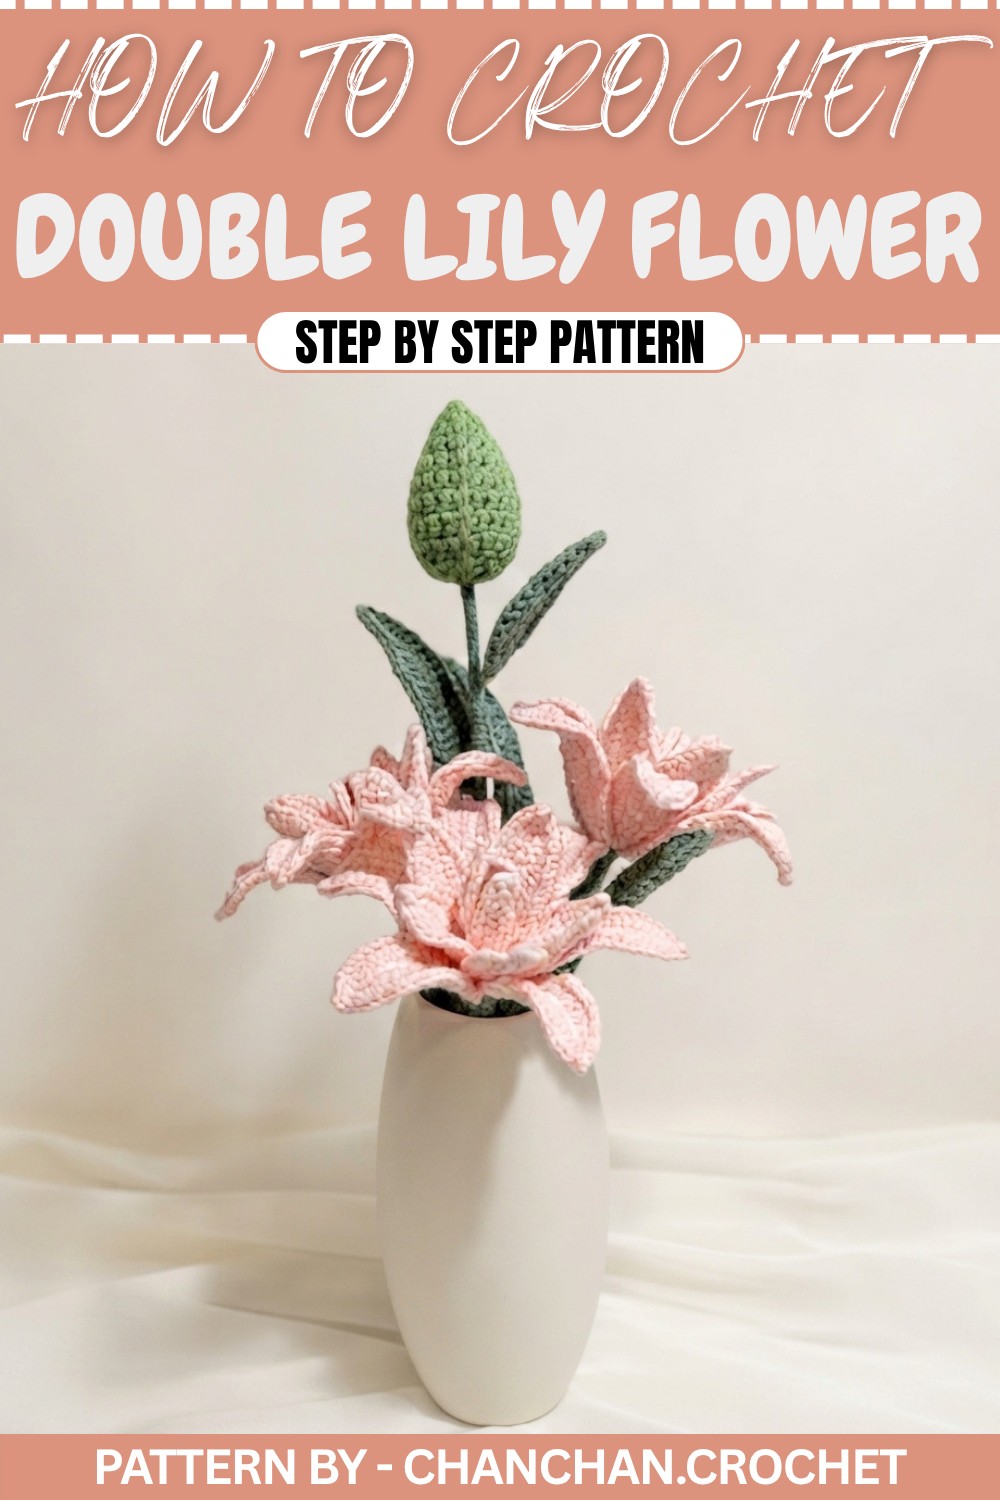
Once completed, it can be used in many practical and decorative ways, such as embellishing hats, bags, scarves, cushions, or baby items. It can also be attached to stems to form a long-lasting bouquet or used individually as a statement accent. The pattern highlights how small details, like petal spacing and yarn choice, greatly affect the final appearance, while helping crocheters achieve a neat, eye-catching flower that feels special and handmade.
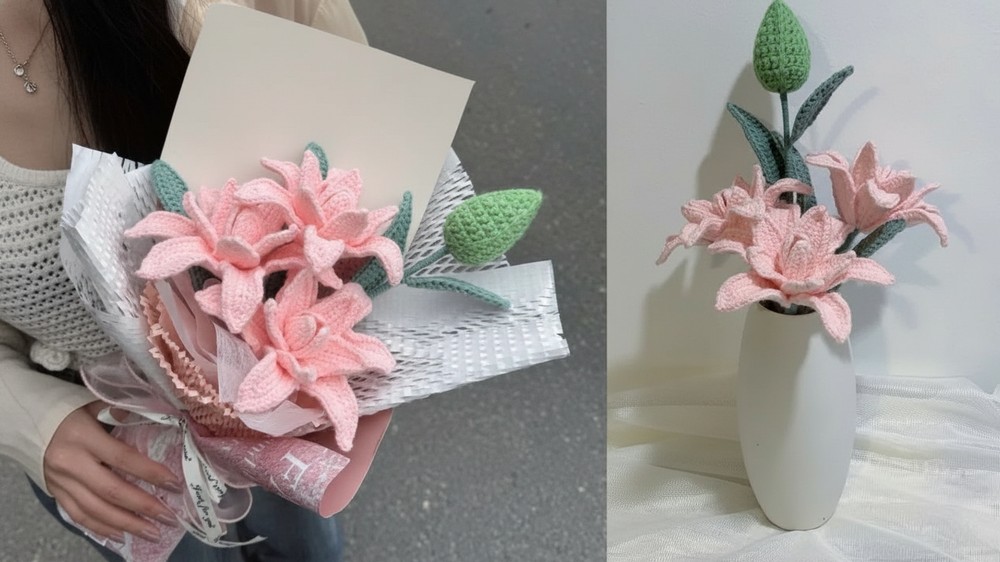
Crochet Double Lily Flower Pattern
A charming Crochet Double Lily Flower brings a touch of elegance and intricate artistry to your handmade floral arrangements. The design showcases a layered effect, blending realistic texture and dimension through the careful arrangement of small, medium, and large petals, as well as life-like leaves. This pattern is perfect for crafters looking to enhance their crochet skills with wirework and advanced shaping, producing a everlasting bloom that remains striking year-round.
Skill Level
Intermediate.
This pattern involves shaping, working in rounds, integrating wire for stability, and executing increases, picots, and V-stitches. Some familiarity with these techniques is recommended.
Materials
- Crochet Hook: 2.5 mm
- Yarn: Two colors (50g mi yarn, or any light/fine weight cotton or acrylic in desired shades)
- Wire: 40 cm (stem), plus flexible floral wire for petals and leaves
- Other: Scissors, yarn needle, floral tape (optional for wrapping stems)
Special Stitches
- V-stitch: (dc, ch 1, dc) in the same stitch
- Picot: Ch 2, sl st into the first chain made
Stitch Abbreviations
| Abbreviation | Stitch Name |
|---|---|
| ch | Chain |
| sc | Single crochet |
| hdc | Half double crochet |
| dc | Double crochet |
| tc | Treble crochet |
| sl st | Slip stitch |
Useful Tips
- Wire Management: Cut all wire pieces before starting. Floral wire should be thin enough to mold but sturdy enough to hold the petal/leaf shape.
- Yarn Selection: Select a yarn type that maintains petal and leaf shape well, such as cotton.
- Tension: Maintain consistent tension to ensure even petal sizes and secure wire coverage.
- Petal Shaping: Gently shape petals after completing rounds, bending wire for a natural curve.
Pattern Instructions
Small Petals (Make 3)
Round 1:
- Ch 9.
- Skip the first ch; work 1 sc into each of the next 6 ch.
- In the last ch, work 3 sc together to form the rounded tip.
- Working along the opposite side of the chain, 1 sc in each ch back to the base.
- Join with a sl st to the first sc.
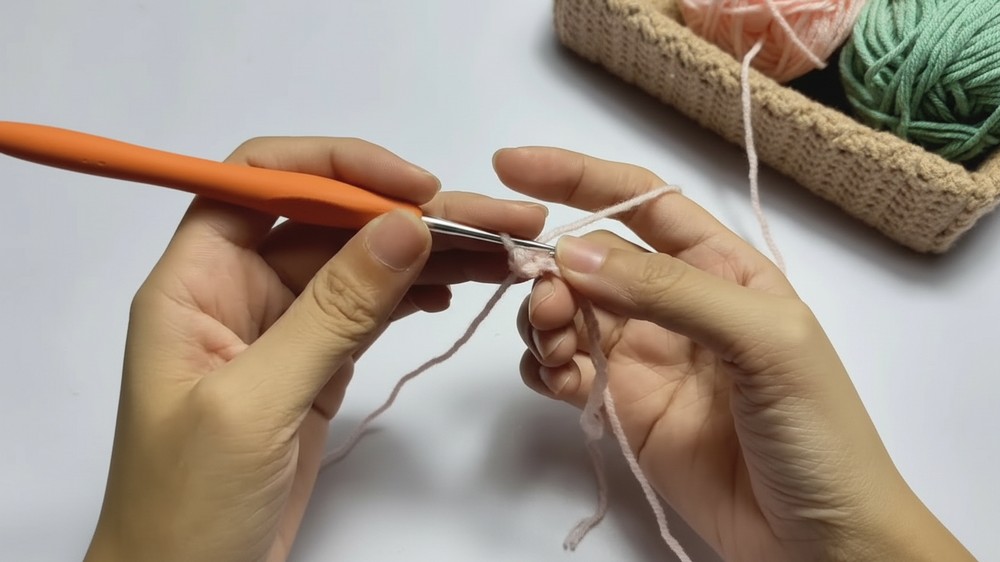
Round 2:
- Ch 1. Lay floral wire along the edge; crochet over it as you continue.
- Work: 1 sc into the first st, 1 hdc in next st, 2 dc in next 2 sts, 2 hdc in next 2 sts, 1 sc in next st.
- In the next st (tip), work 3 sc together to emphasize the curve.
- Mirror the same stitch sequence on the other side: 1 sc, 2 hdc, 2 dc, 1 hdc, 1 sc.
- Sl st to join. Fasten off and leave a tail for assembly.
Medium Petals (Make 5)
Round 1:
- Ch 11.
- Skip the first ch, 9 sc in the next 9 ch.
- In the last ch, work 3 sc together for the tip.
- Work 9 sc along the opposite side of the foundation chain, returning to base.
- Sl st to first sc.
Round 2:
- Insert wire now, working it into the stitches as you proceed.
- Follow this sequence:
- 1 sc in first st
- 1 hdc in next st
- 1 dc in next st
- In each of the next 3 sts, 2 dc in each (increase, 6 dc total)
- In each of the next 2 sts, 2 hdc in each (increase, 4 hdc total)
- In each of the following 2 sts, V-stitch (dc, ch 1, dc) in each
- 1 sc in next st, picot (ch 2, sl st in first ch), 1 sc in same base st (this forms the point)
- Mirror the sequence on the other side: V-stitch in next 2 sts, 2 hdc in each of next 2 sts, 2 dc in each of next 3 sts, 1 dc, 1 hdc, 1 sc to finish round.
- Sl st to starting sc. Fasten off, leaving a long tail.
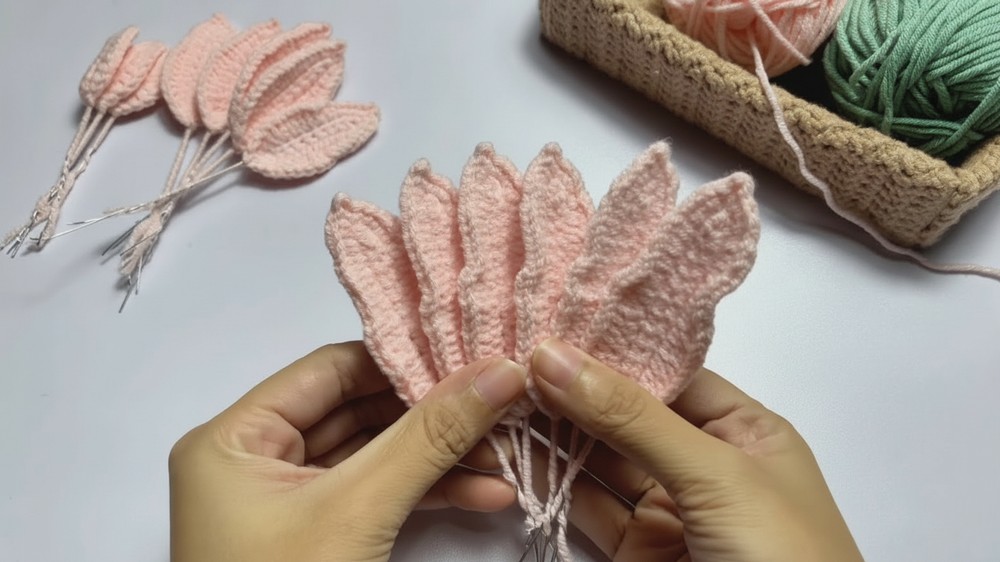
Large Petals (Make 6)
Round 1:
- Ch 15.
- Skip 1st ch. 13 sc along the next 13 ch.
- In the last ch, work 3 sc together for rounded tip.
- Continue with 13 sc on the opposite side of the starting chain.
- Sl st to join.
Round 2:
- Insert wire around edge; crochet over it as you continue.
- Sequence:
- 1 sc in first st
- 1 hdc in next st
- 1 dc in next st
- For each of the next 5 sts, 2 dc in each (10 dc total, for fullness)
- For each of the next 4 sts, 2 hdc in each
- In each of the next 2 sts, V-stitch as defined
- 1 sc in next st, work a picot (ch 2, sl st in first ch), 1 sc in same base
- Mirror same stitch order back down the opposite side: V-stitch in 2 sts, 2 hdc in each of next 4 sts, 2 dc in each of next 5 sts, 1 dc, 1 hdc, 1 sc
- Sl st to first st, then fasten off. Leave the tail for securing petals.
Leaves (Make as Desired)
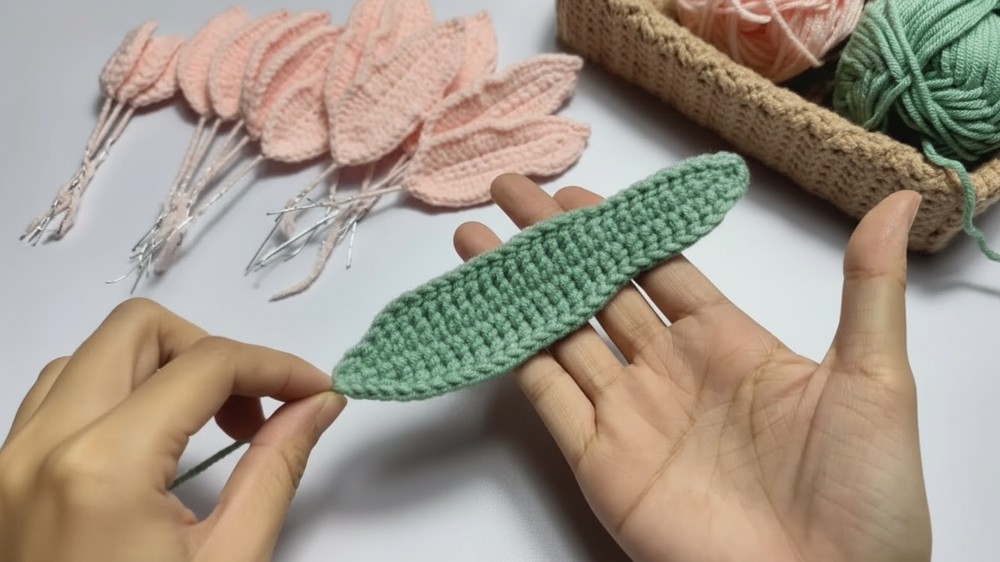
Round 1:
- Ch 30.
- Insert wire after chaining; hold parallel and crochet around as follows:
- Skip 1st ch, 1 sc in next ch
- 1 hdc, 1 dc, then 15 tc (to form the leaf’s long center section)
- 8 dc, 1 hdc, 1 sc in next ch
- At the tip, work 3 sc in final ch for a pointed end.
- Work down the other side of the chain, mirroring:
- 1 sc, 1 hdc, 8 dc, 15 tc, 1 dc, 1 hdc, 1 sc.
- Sl st to base, fasten off with a long tail.
Assembly and Sizing
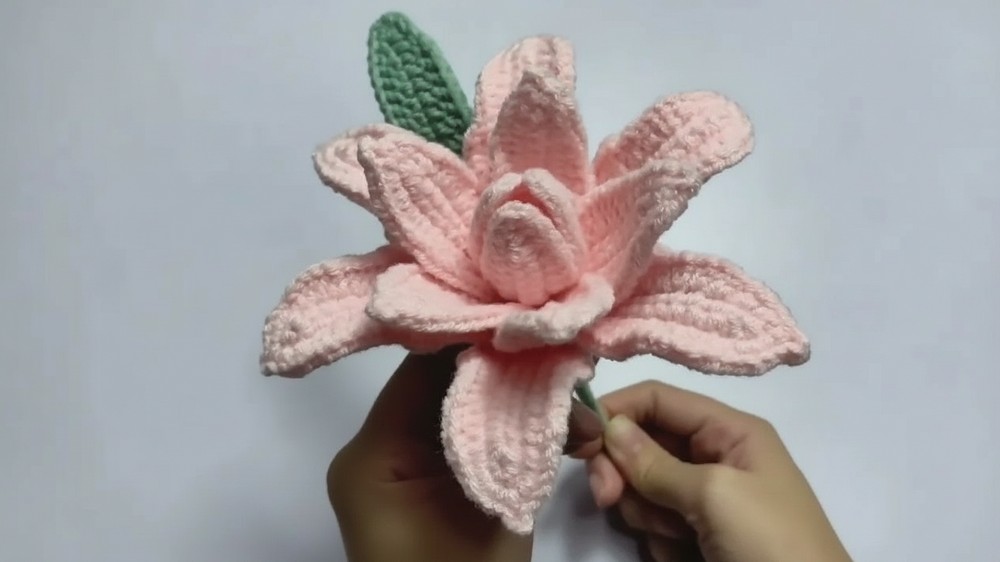
Begin assembly with a sturdy 40 cm stem wire, which serves as the central support. Arrange the 3 small petals closely together and secure at the top of the stem using your yarn tail and floral wire. Surround these with the 5 medium petals, spaced evenly for fullness; wrap and secure each as you go. Follow with the 6 large petals, positioning them in a slightly further ring, angling and shaping with the wire as needed for realism. Attach leaves towards the base of the flower or slightly along the stem, wrapping securely. If desired, use floral tape to wrap the stem and cover wirework for a more natural finish.
Sizing:
- Petals: Small—approx. 3.5 cm; Medium—approx. 5.5 cm; Large—approx. 8 cm length
- Leaves: Approx. 13–14 cm length
- Full Flower Height (with stem): Approx. 40–44 cm once assembled
Closing Notes
This Crochet Double Lily Flower pattern is a satisfying project for those interested in advancing their shaping and wire integration skills while creating something spectacular for home décor, gifts, or everlasting floral arrangements. The interplay of petal layering and wire flexibility allows for expressive styling, ensuring each flower is unique. Explore color variations and arrangement styles to match any season or interior design sensibility, and enjoy the lasting beauty of your handcrafted lilies.