
Free Crochet Winnie Pooh Hat Pattern That Feels Soft and Fun
Delight little ones with the Crochet Winnie Pooh Hat Pattern, a cute and cozy accessory that adds charm, warmth, and playful fun to any day.
No one wants a boring, plain winter hat, and this one completely changes the game! The Crochet Winnie Pooh Hat pattern transforms soft yarn into a cheerful, honey-loving bear hat with Pooh’s cute round face and little ears that stick up perfectly.
Delight Crochet Winnie Pooh Hat Pattern Ideal for Costume Play
About Designer!
Arte En Crochet LM (Crochet Art) is a best YouTube channel with over 104K subscribers, dedicated to step-by-step free crochet tutorials. Known for its creative designs like handbags, flowers, and amigurumi, it caters to both beginners and experts. The channel mixes simplicity with artistry, inspiring viewers to learn and enjoy the craft.
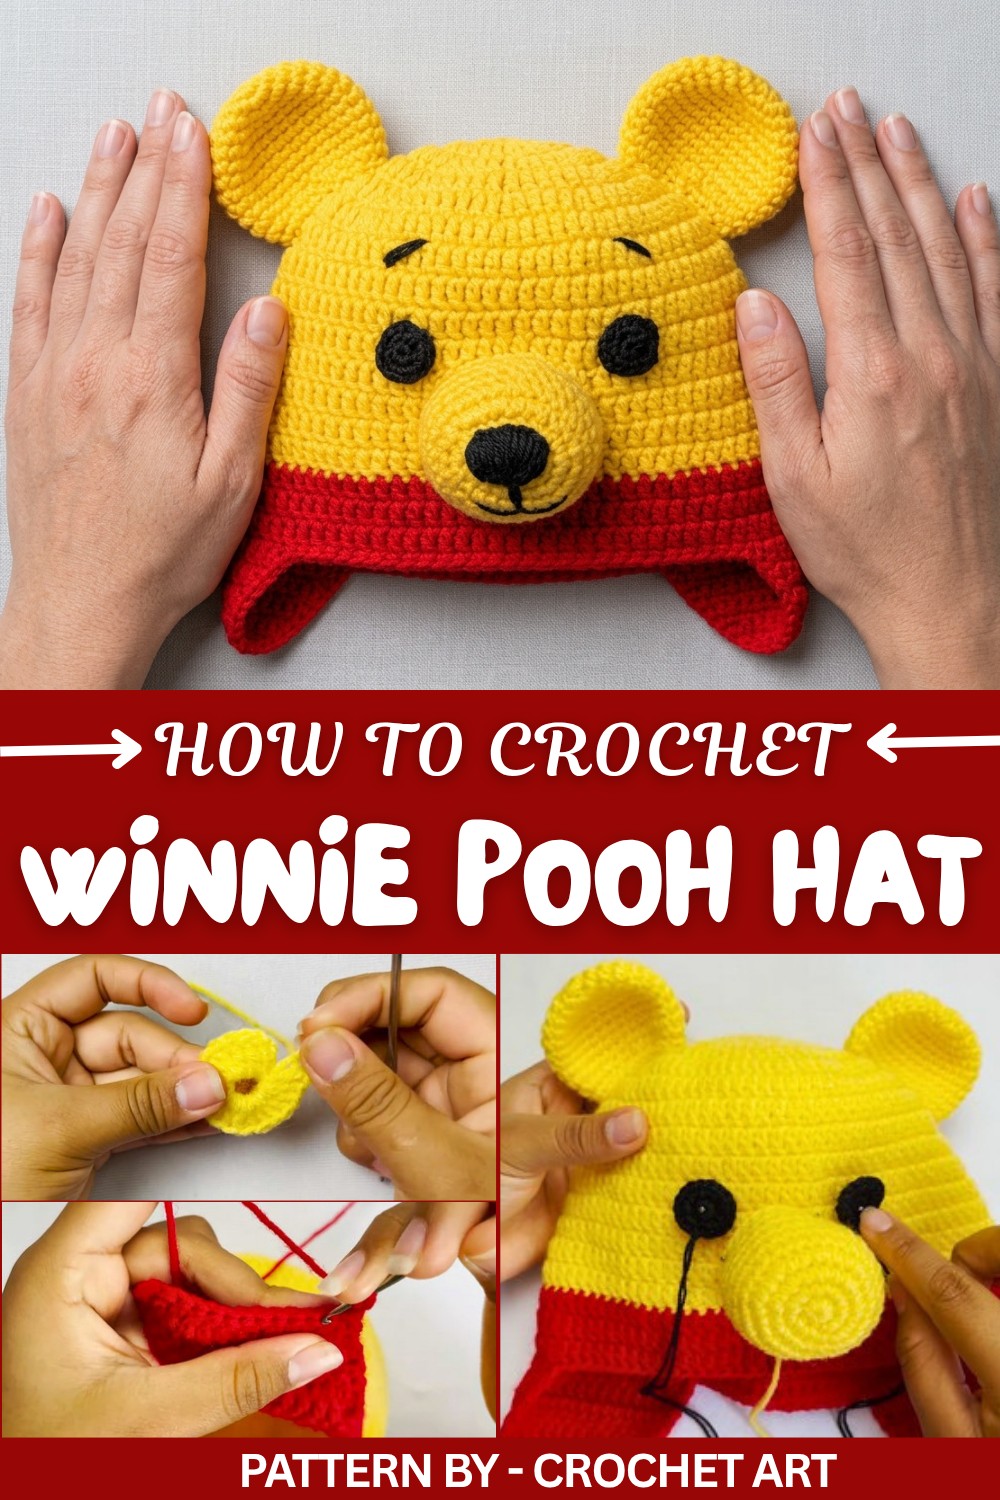
Sunny yellow yarn for the body and warm tones for the nose and eyes make it instantly fun and playful. The pattern is easy to follow, and the creator shares helpful tips for keeping stitches even, adjusting the size for babies, kids, or adults, and making the facial features pop — a little stuffing can even make the nose and eyes stand out.
This hat isn’t just adorable — it’s practical too. It keeps heads warm on chilly days, adds charm to outdoor play, and makes a delightful gift for baby showers or winter birthdays. Kids love wearing it, and adults might sneak it too! With its mix of comfort, charm, and playful design, the Crochet Winnie Pooh Hat pattern turns simple yarn into a magical, wearable bear that brings smiles wherever it goes.
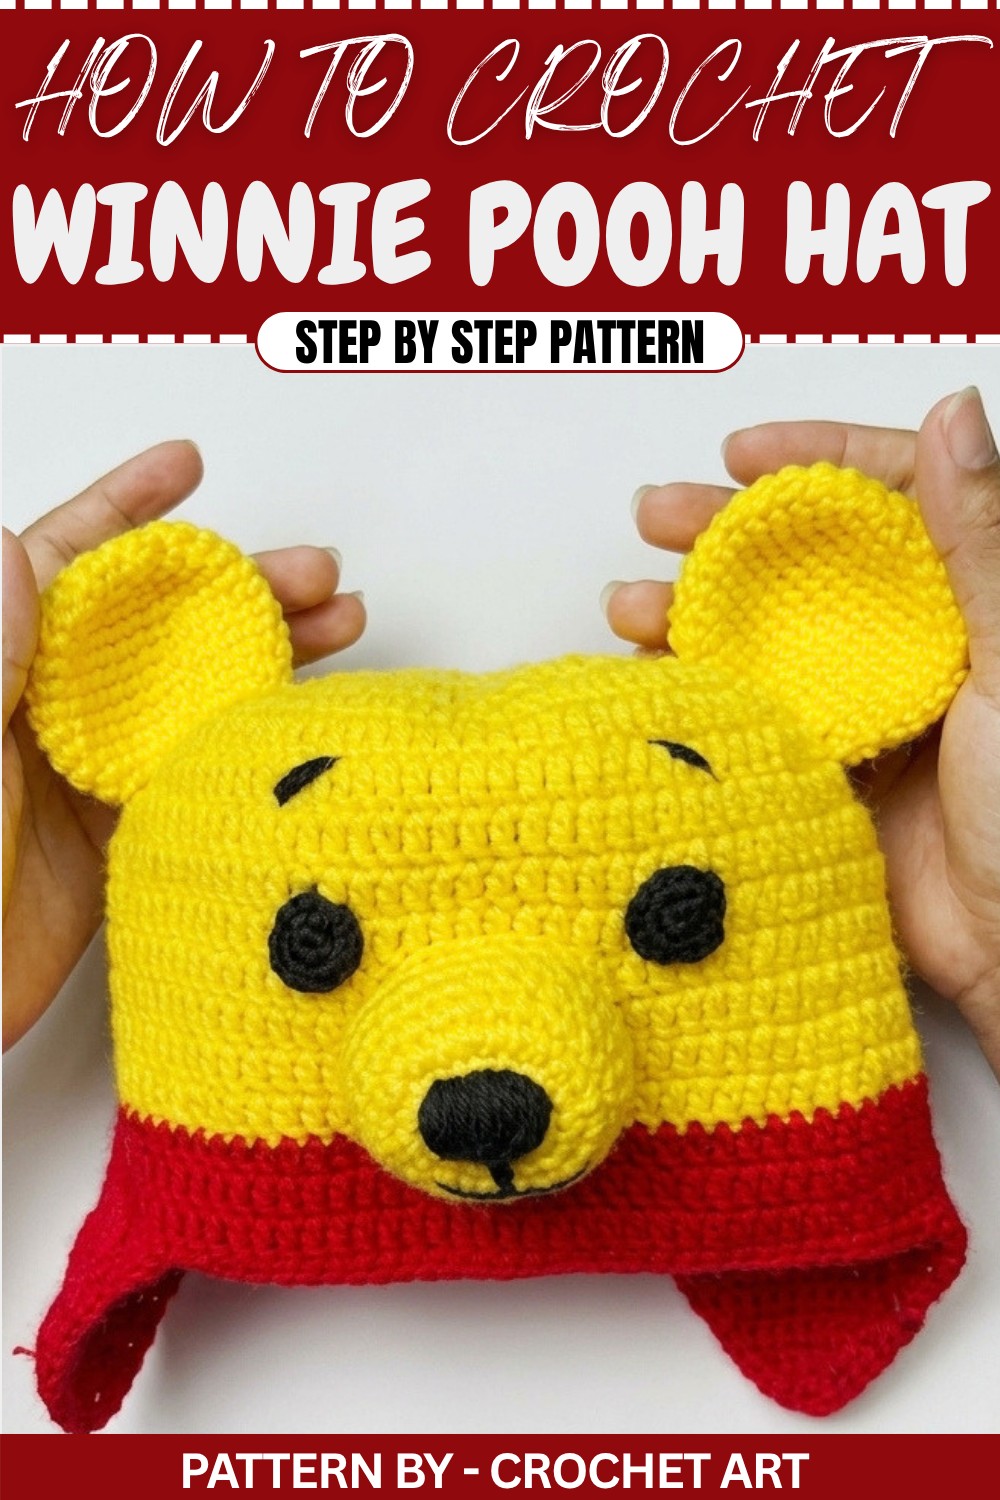
Winnie the Pooh Baby Hat Crochet Pattern (6 Months)
This adorable Winnie the Pooh-inspired baby hat is perfect for a 6-month-old infant. The design features a simple yellow and red hat with ear flaps, complemented by Pooh’s iconic ears, muzzle, and eyes. This pattern is beginner-friendly but requires attention to detail due to the assembly of various components.
Skill Level
This pattern is suitable for beginners who are comfortable working in the round, performing basic increases, and following instructions for assembly.
Materials
- Yarn:
- Medium-weight yellow and red yarn (Yasmin or similar).
- Fine black yarn (Perlé or similar) for facial details.
- Tools:
- Size 0 crochet hook (substitute appropriately for your yarn weight).
- Blunt tapestry needle (for sewing details).
- Scissors.
Special Stitches
Magic Ring:
- Wrap the yarn around your fingers to form a loop.
- Insert the hook through the loop, yarn over, and pull through.
- Yarn over again and pull through to secure the loop.
Double Crochet (dc):
- Yarn over, insert the hook into the stitch.
- Yarn over, pull through (3 loops on the hook).
- Yarn over, pull through the first 2 loops.
- Yarn over, pull through the remaining 2 loops.
Single Crochet (sc):
- Insert the hook into the stitch.
- Yarn over, pull through (2 loops on the hook).
- Yarn over, pull through both loops.
Stitch Abbreviations
- CH = Chain
- SC = Single Crochet
- DC = Double Crochet
- SL ST = Slip Stitch
Useful Tips
- Gauge Adjustment: Always check your gauge to ensure the hat fits appropriately for a 6-month-old baby.
- Color Changes: When switching between yellow and red yarn, ensure clean transitions to avoid visible gaps.
- Shaping: Be consistent in your decreases and increases to maintain the hat’s structure.
- Assembly: Use pins to position details (muzzle, ears, eyes) before sewing to ensure proper alignment.
The Crochet Pattern
Hat Base
Round 1:
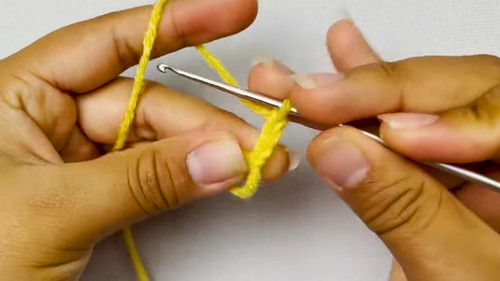
- Create a magic ring.
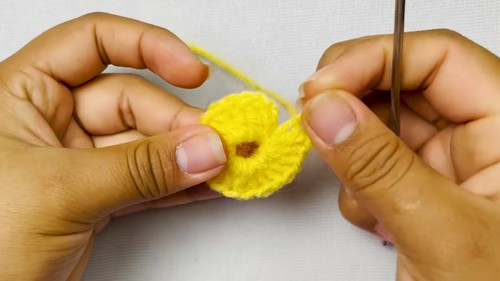
- Work 18 DC into the ring. Pull the ring tight to close. SL ST to the first DC to join the round.
Round 2:
- CH 2. Work 2 DC in each stitch around = 36 DC. SL ST to the first DC to join.
Round 3:
- CH 2. Work 1 DC, 1 increase (2 DC in the same stitch) around = 54 DC. SL ST to join.
Round 4:
- CH 2. Work 2 DC, 1 increase around = 72 DC. SL ST to join.
Round 5:
- CH 2. Work 3 DC, 1 increase around = 90 DC. SL ST to join.
Rounds 6–14:
- CH 2. Work 1 DC in each stitch around = 90 DC. SL ST to join. Repeat this for a total of 9 rows with no increases.
Rounds 15–17:
- Switch to red yarn. Work 1 DC in each stitch around = 90 DC. Repeat for 3 rounds. SL ST to join and fasten off.
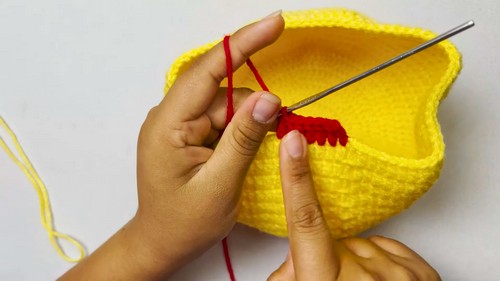
Ear Flaps
- Locate a section of 18 stitches on one side of the hat.
Row 1:
- Attach yellow yarn. CH 2 and work 18 DC across. Turn.
Rows 2–7:
- CH 2 and decrease 1 stitch at the start and end of each row by working the first two stitches together (DC2tog). Repeat until only 4 stitches remain. Fasten off.
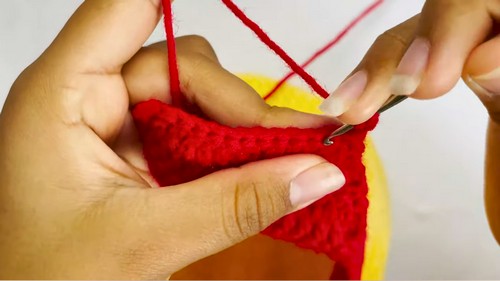
String at Tip:
- Attach yarn to the narrow tip of the flap and CH 16. Fasten off.
Second Ear Flap:
- Repeat the same process on the opposite side of the hat.
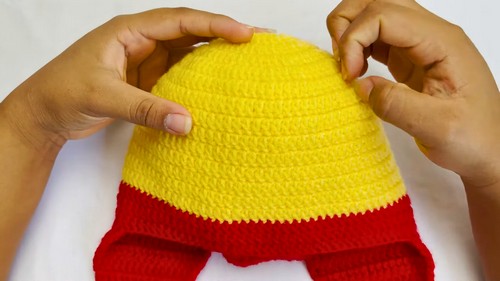
Details (Ears, Nose/Muzzle, Eyes)
Ears:
- Use yellow yarn.
- Create a magic ring with 8 SC.
- Work 2 SC in each stitch around = 16 SC.
- Work 1 SC, 1 increase (2 SC in the same stitch) around = 24 SC.
- Work one round of 24 SC with no increases.
- Add a round of decreases: Work 1 SC, 1 decrease around to reduce to 24 SC again.
- Flatten the ear and sew together the open edge to create a rounded shape.
Muzzle:
- Use yellow yarn.
- Create a magic ring with 8 SC.
- Work 2 SC in each stitch around = 16 SC.
- Work 1 SC, 1 increase around = 24 SC.
- Work 2 SC, 1 increase around = 32 SC.
- Work 6 rounds of 32 SC with no increases. Fasten off and set aside.
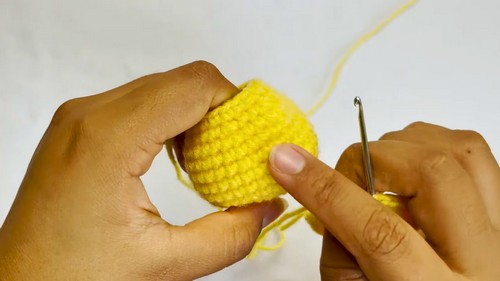
Eyes:
- Use black yarn.
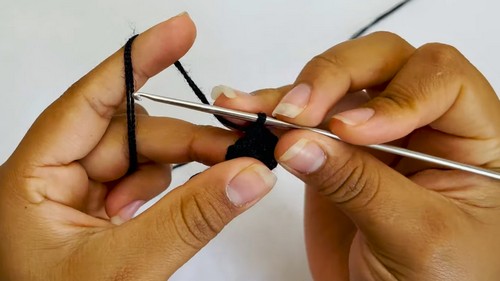
- Create a magic ring with 8 SC.
- Work 2 SC in each stitch around = 16 SC. Fasten off.
Assembly and Sizing
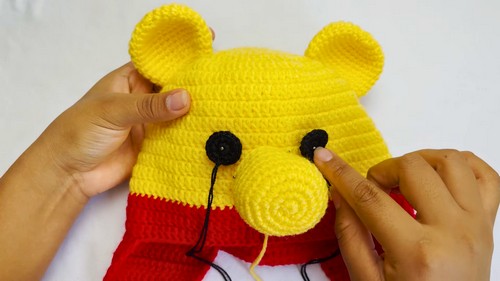
- Use a blunt tapestry needle to sew the details onto the hat.
- Positioning:
- Pin the muzzle in the center of the yellow section, a few rows above the red border.
- Attach the eyes symmetrically above the muzzle.
- Sew the ears onto each side of the hat, slightly behind the top fold.
Conclusion
This Winnie the Pooh baby hat is a charming handmade accessory for infants. It combines simplicity with creative detail, making the finished piece both functional and visually appealing. The step-by-step structure ensures consistency while leaving room for minor customizations, such as adjusting colors or sizes. Perfect as a thoughtful gift or personal creation, this hat brings a beloved character to life.