
Wolf Hat Free Crochet Pattern With Complete Instructions
Step into fun with the Crochet Wolf Hat Pattern, a cozy and playful accessory that adds warmth, charm, and excitement to winter days and adventures.
Warm, playful, and full of character, this hat brings a touch of woodland fun to everyday wear with its wolf‑inspired look that kids and adults both enjoy. The Crochet Wolf Hat pattern uses different yarn colors and simple stitches to create a realistic wolf face, complete with pointy ears and a contrasting snout that stands out against the base color.
i can get this pattern from youtube channel Crochet Art for your visual guidenens.
Howl Crochet Wolf Hat Pattern That Keeps You Cozy
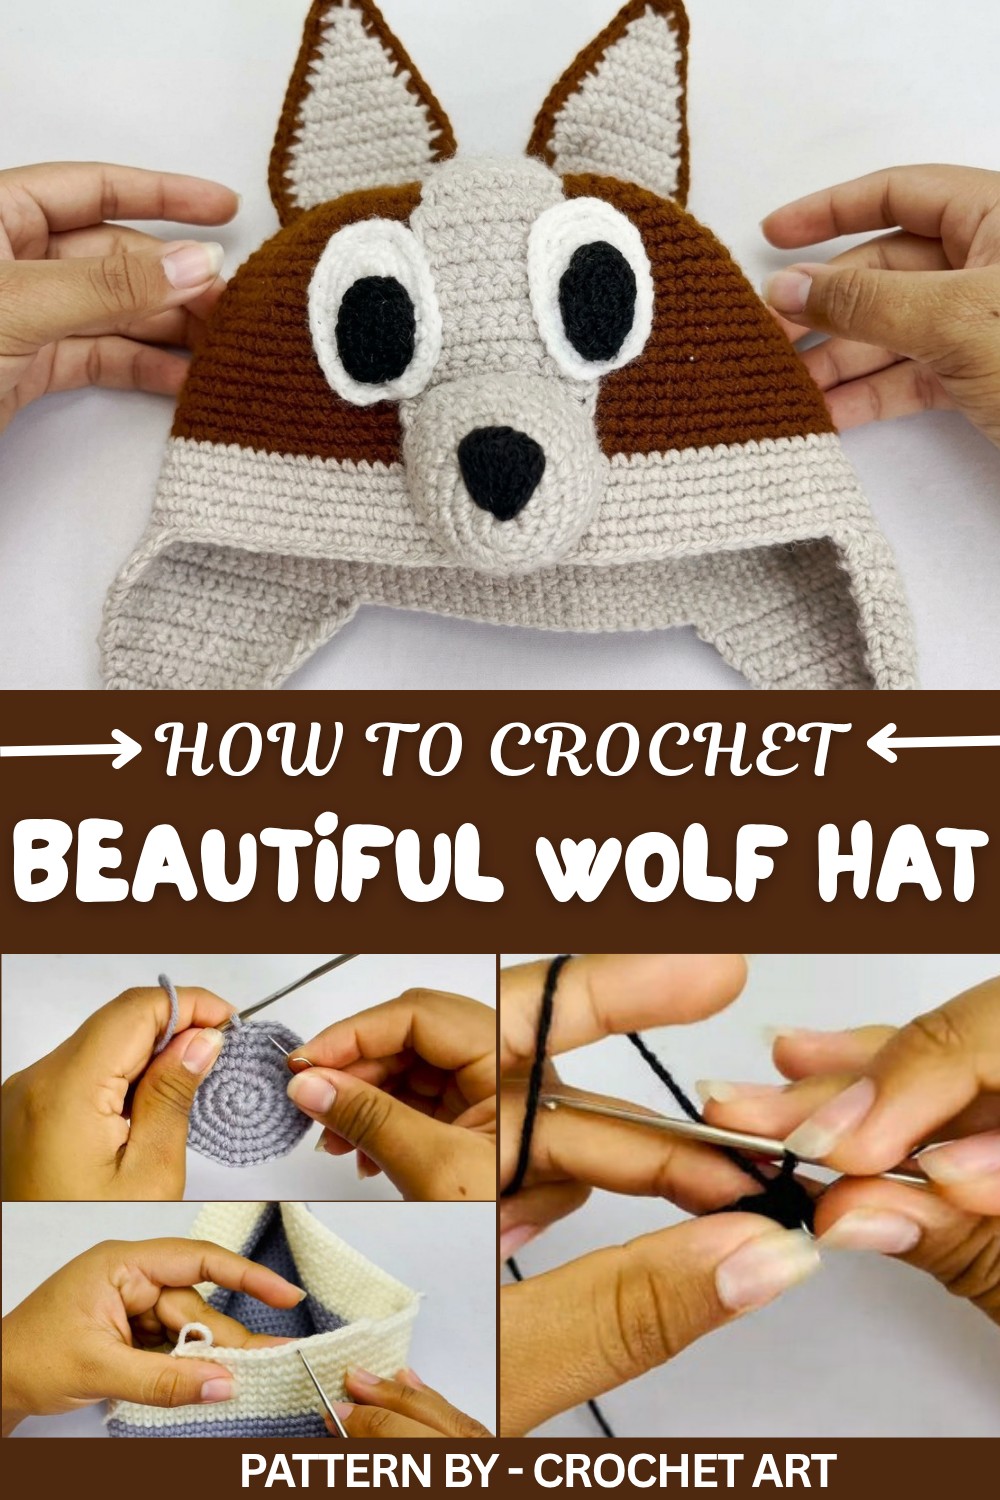
This hat combines practicality with creative design, it’s great as a handmade gift or as a standout piece in a winter wardrobe. Its unique appearance sparks smiles and makes chilly days feel a little more fun and stylish
Designs like this often include tips for making sizes from baby to adult and suggest soft, cozy yarn so the hat feels comfortable against the skin and keeps the head warm in cool weather.
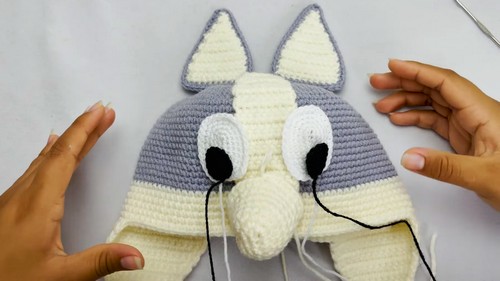
One of the best things about this style is how versatile it can be: perfect for school days, outdoor play, costume parties, or winter walks, it adds a fun twist to regular cold‑weather gear. Many patterns recommend checking your stitch count as you work so both ears and facial features sit symmetrically, helping the final piece look neat and balanced.
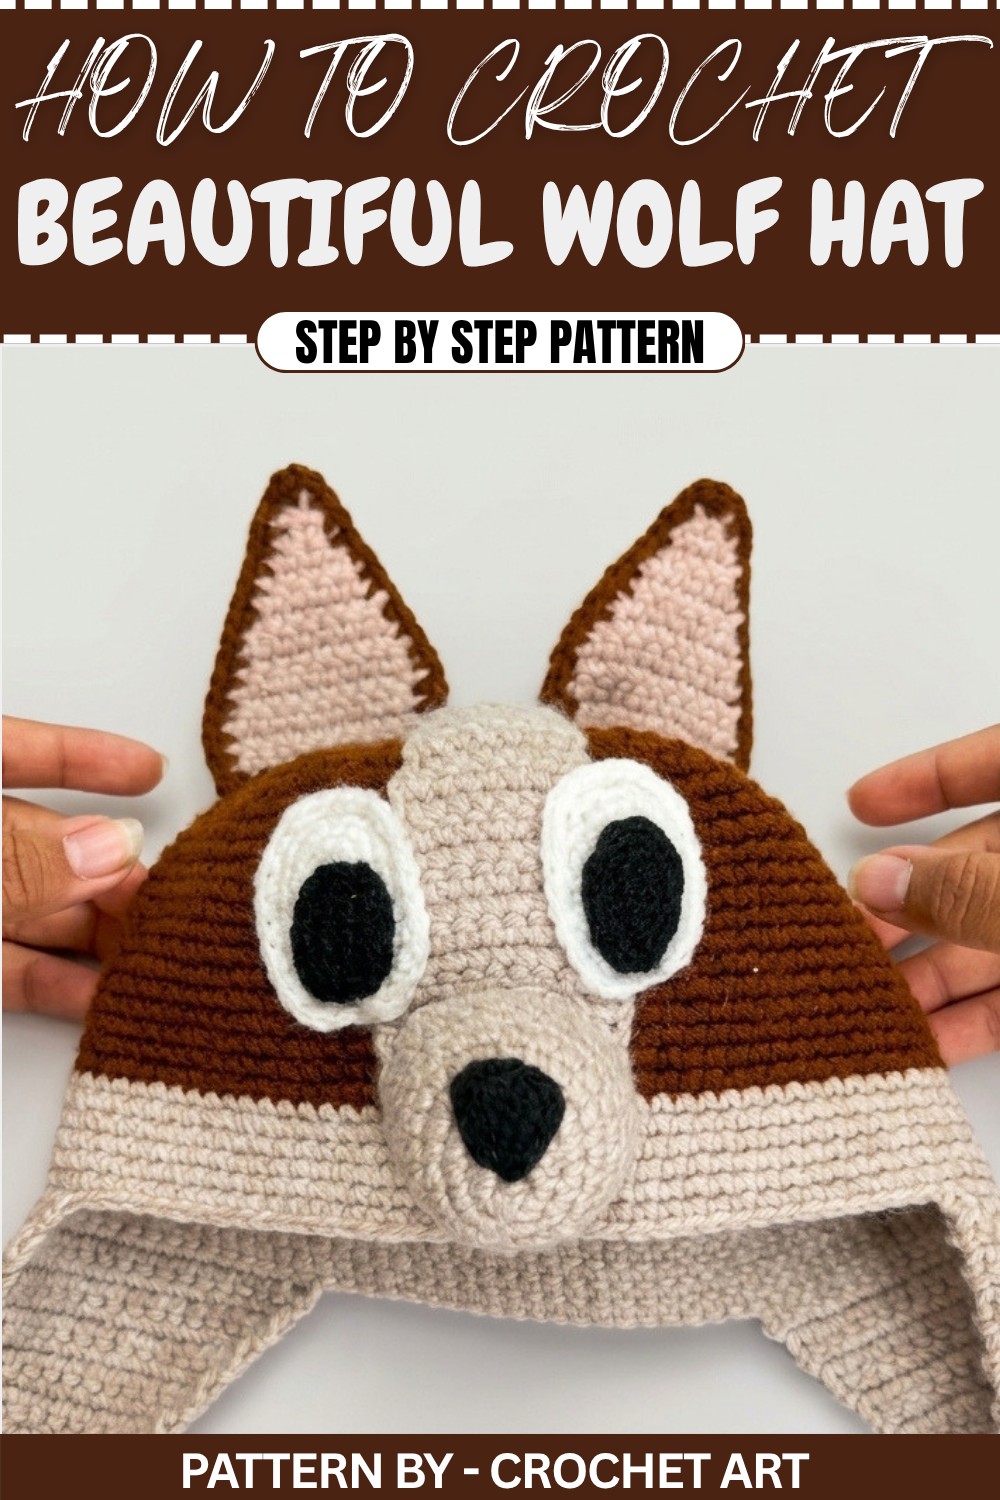
Wolf Hat Crochet Pattern
This wolf hat crochet pattern is perfect for creating a fun and cozy accessory that is playful and practical. Designed with intricate details like ear flaps, a contrasting cream color band, ears, and facial accents (nose and eyes), this wolf hat will stand out while offering warmth and comfort. The pattern is worked primarily in single crochet, making it ideal for showcasing texture and shape.
Skill Level
Intermediate
The pattern includes basic and slightly advanced techniques such as working in rounds, adding color changes, shaping ear flaps, and creating facial features like the eyes, nose, and ears. It is suitable for crocheters who are comfortable following patterns and using different crochet techniques.
Materials
- Yarn:
- Main Color: Gray (plomo).
- Secondary Colors: Cream (crema), black, and white. The yarn should be medium-weight (e.g., Yasmin or similar).
- Crochet Hook: Size 0.
- Scissors: For cutting the yarn.
- Stitch Markers: Useful for marking increases and the start of each round.
- Darning Needle: For sewing and weaving in ends.
Special Stitches
Magic Ring
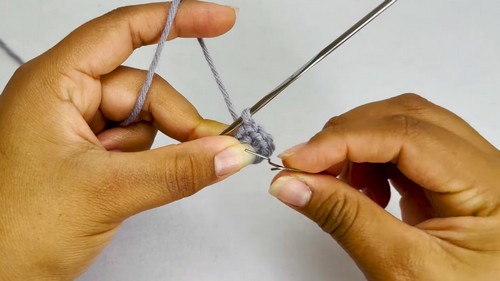
This is a loop of yarn that creates a tight base for crocheting in the round.
Single Crochet (sc)
Insert the hook into the stitch, yarn over, pull through the stitch, and yarn over again to complete the stitch.
Increase
Work two single crochet stitches into the same stitch, allowing the round to expand.
Decrease
Use single crochet two together (sc2tog) to combine two stitches into one.
Stitch Abbreviations
- ch: Chain
- sc: Single Crochet
- sc2tog: Single Crochet 2 Together (Decrease)
- st: Stitch
Useful Tips
- Use a Magic Ring for a Tight Base: Ensure the magic ring is tightly closed to avoid leaving a hole at the top of the hat.
- Mark Key Points: Place stitch markers at the beginning of each round to avoid losing track of your work.
- Keep Tension Even: Consistent tension is important for shaping the hat and creating uniform stitches.
- Measure While You Work: Periodically measure the hat's circumference and depth to ensure a proper fit for the intended size.
- Finish Details Last: Once the hat’s main body is complete, add ears, facial details, and ear flaps to avoid tangling or confusion.
Pattern Instructions
Hat Base
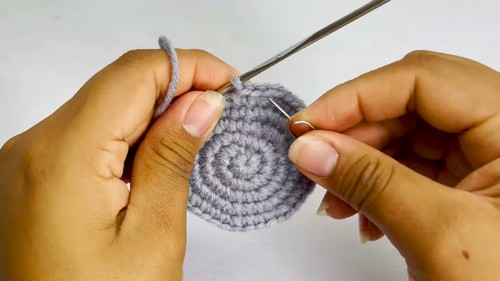
The hat base is worked in continuous rounds starting from the crown and gradually increasing until achieving the desired circumference.
- Round 1: Create a magic ring and work 8 single crochet (sc) into the ring (8 stitches total).
- Round 2: Work 2 sc in each stitch around (16 stitches total).
- Round 3: Work 1 sc in the first stitch, 2 sc in the next stitch (increase); repeat around (24 stitches total).
- Round 4: Work 2 sc, 1 sc in the next two stitches; repeat around (32 stitches total).
- Round 5: Work 3 sc, 1 increase; repeat around (40 stitches total).
- Round 6: Work 4 sc, 1 increase; repeat around (48 stitches total).
- Round 7: Work 5 sc, 1 increase; repeat around (56 stitches total).
- Round 8: Work 6 sc, 1 increase; repeat around (64 stitches total).
- Round 9: Work 7 sc, 1 increase; repeat around (72 stitches total).
- Round 10: Work 8 sc, 1 increase; repeat around (80 stitches total).
- Round 11: Work 9 sc, 1 increase; repeat around (88 stitches total).
- Round 12: Work 10 sc, 1 increase; repeat around (96 stitches total).
Hat Body
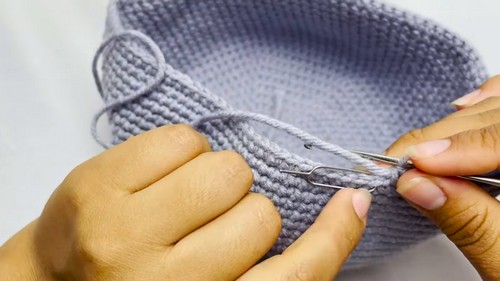
- Work 15 rounds of single crochet (sc) with no increases to build the body of the hat.
- The body should reach the desired depth for a comfortable fit.
Cream Color Band
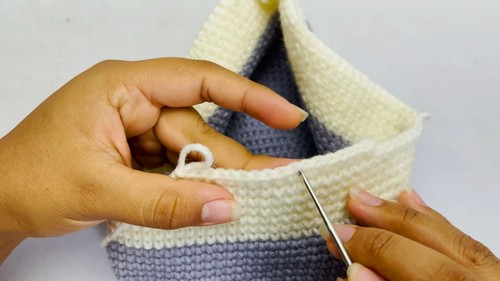
- Change to cream yarn (contrasting color).
- Work 6 rounds of single crochet (sc) with no increases in the cream color.
Ear Flaps
- Foundation for Each Ear Flap: Identify two opposite sides of the hat where the ear flaps will sit, leaving space for the face opening. Each ear flap is worked on 18 stitches of the hat body.
Ear Flap Pattern
- Row 1: Work 18 sc.
- Row 2: Decrease 1 by working sc2tog at the beginning and end of the row (16 sc).
- Row 3: Decrease 1 stitch at the beginning and end (14 sc).
- Continue decreasing 1 stitch at the beginning and end of each row until there is only 1 stitch remaining.
- Repeat the above steps to create the second ear flap on the opposite marked section.
Facial Details
Front Patch (Cream)
- Work a rectangular patch of 16 rows, decreasing 1 stitch at the beginning and end of every second row to create a rounded triangular shape.
Wolf Ears (Gray and Cream)
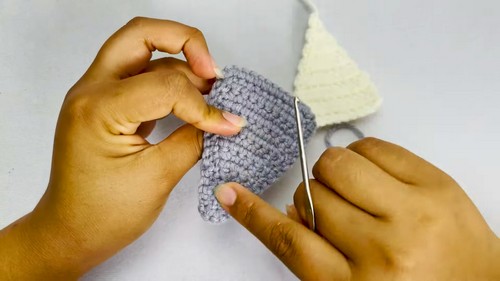
- Create two ear shapes in gray and cream.
- Work each ear as follows: Create a magic ring and work single crochet with strategic increases to shape the ear to your desired size.
- Join the gray and cream pieces together using single crochet stitches for a thick, rounded ear edge.
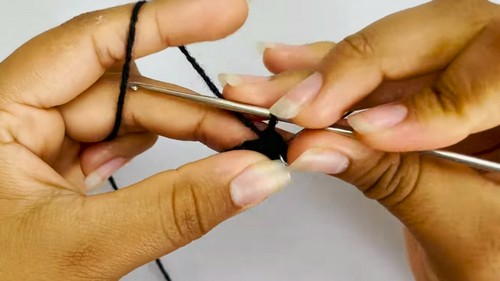
Nose (Black)
- Start with 3 chains and work increases in successive rounds until reaching the desired triangular dimensions (about 8 rounds of progressive increases).
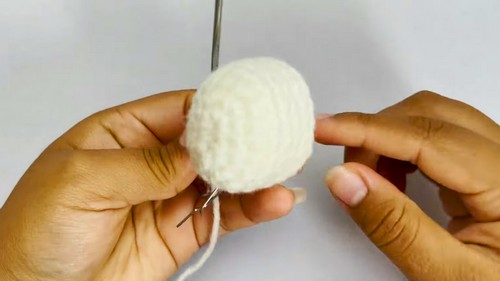
Eyes (White and Black)
- Work two circular pieces in white, beginning with a magic ring and increasing every round until reaching your desired size.
- Create smaller circular pieces in black for pupils, then sew or glue them to the white eye base.
Assembly and Sizing
Hat Assembly
- Attach the ear flaps securely to the marked sides of the hat.
- Sew the front patch onto the front center of the hat (above the cream color band).
- Place the ears symmetrically on top of the hat and sew them securely.
- Sew the nose to the lower center of the front patch.
- Attach the eyes above the nose to complete the wolf face.
Sizing Adjustment
- For larger or smaller hats, adjust the number of increasing rounds in the crown section and add or subtract rows in the hat body.
- Ensure proportions for details like ears, ear flaps, and facial features match the overall hat size.
Conclusion
This wolf hat pattern combines practicality with a fun design, creating a playful accessory perfect for winter or costume wear. Adapting the hat with different yarn colors or adding unique details provides endless opportunities for personalization. With careful assembly and attention to detail, this crochet wolf hat will become a warm and cheerful addition to any wardrobe or crafting project.