
Free Crochet Mini Flower Pot Pattern That Plant Lovers Will Love
Bring your creativity to life with this free crochet pattern and build a lovely mini flower pot that’s easy to make and sure to brighten any corner.
It’s amazing how a few simple materials and a crochet hook can turn yarn into something as lovely as a mini flower pot. With the help of the detailed tutorial in "How to Crochet a Mini Flower Pot" here by Belascrochet, creating this adorable design becomes simple and fun. Her tutorials are known for their clarity and creative flair, making projects like this both enjoyable and practical to crochet.
Free Crochet Mini Flower Pot Pattern for Lovely Table Decor
This tiny handmade flower pot is a true work of art. The design begins with a sturdy circular base that builds up into the pot’s walls, creating the perfect little container. What makes it so special is the addition of realistic touches, like the “soil” that’s crocheted using brown yarn and topped with stuffing for a plump, lifelike effect. The beauty lies in its details—brightly colored roses with delicately shaped petals sit atop handmade stems, finished off with green sepals that form a perfect bloom. The final touch is a decorative border around the pot, giving it a clean, polished look.
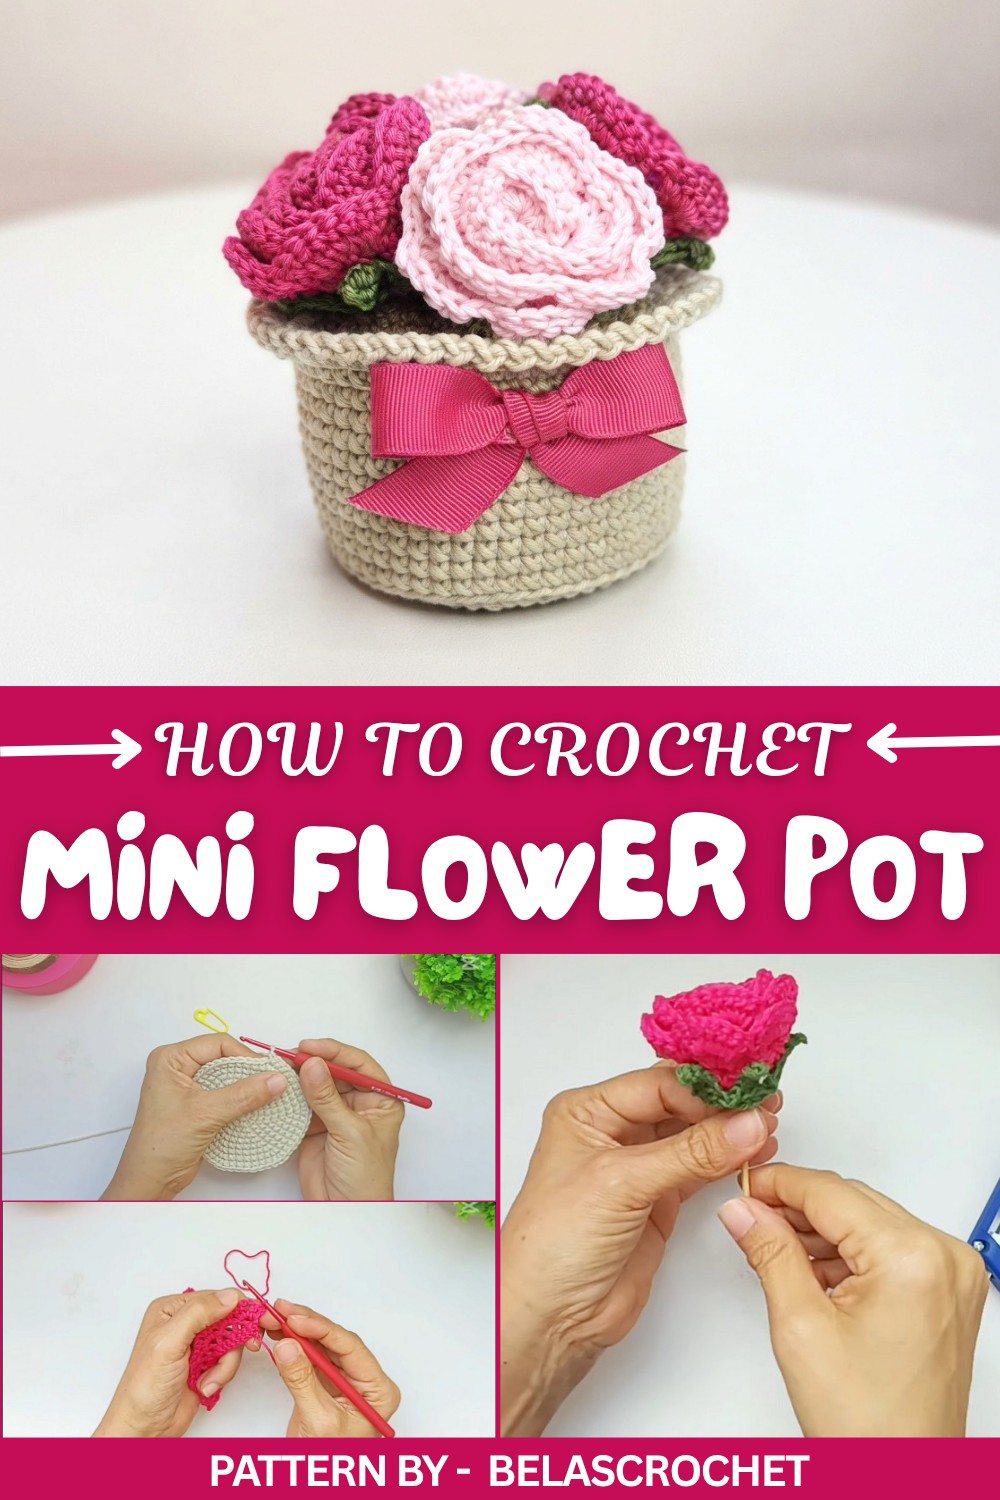
You can use this mini flower pot in so many ways. It’s an elegant home décor piece, a thoughtful gift, or even a unique table centerpiece. The way the roses are formed, by crocheting layers of petals and assembling them into full blooms, gives each flower a soft, natural appearance. Plus, the addition of optional materials like plastic caps or a bag of rice inside the base makes the pot sturdy and stable.
Whether you’re crocheting it for yourself or someone special, this project brings a touch of charm and joy into any space. It’s a delightful blend of art and crochet, and thanks to Belascrochet’s thoughtful tutorial, it’s easier than ever to make.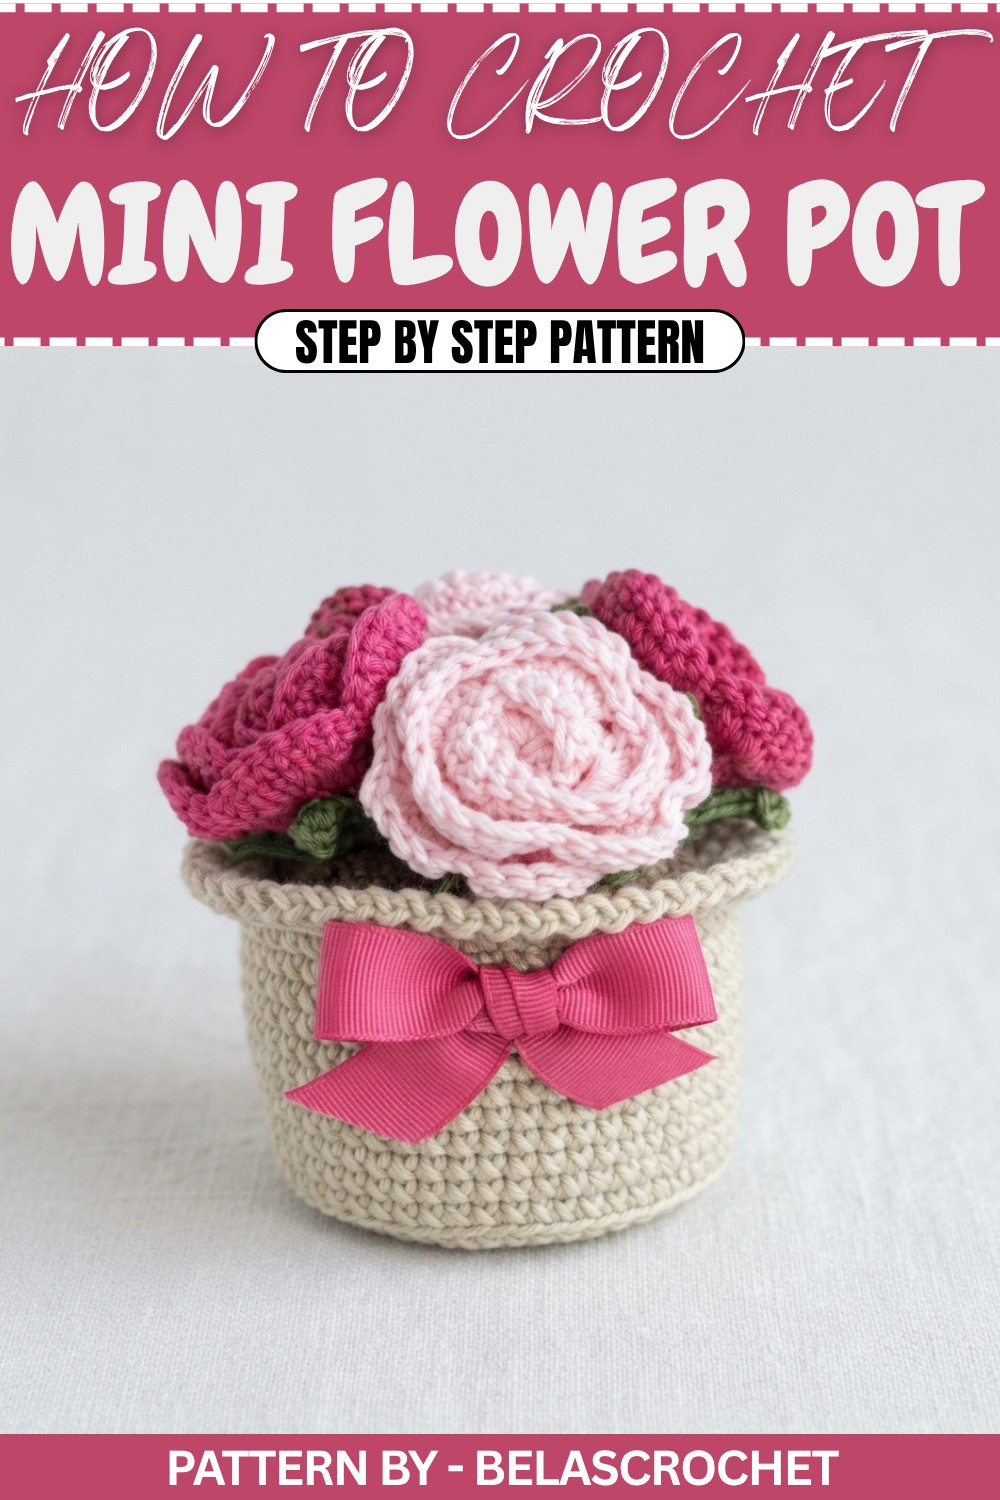
Free Crochet Pattern: Decorative Mini Folwer Pot
This step by step crochet tutorial create a beautiful and easy rose pot. It requires minimal materials, and I assure you the final result will be stunning. Let's jump right into it by reviewing all the essential materials and instructions so you can start crocheting this charming decorative masterpiece for your home.
Quick Overview Of Pattern
- Create a crocheted pot with a flat base and stitch textured sides.
- Crochet a flat circle for “soil” to fit inside the pot.
- Make decorative roses in various colors and textures, some open and some closed, for variety.
- Assemble the pot with synthetic filling for fluff and support, a plastic or cardboard base for stability, and insert wooden sticks wrapped in yarn for stems.
- Final touches include arranging and securing the roses creatively and decorating the pot with a bow or other embellishments.
Notes
- This pattern uses simple and repetitive stitch patterns, making it beginner friendly.
- The height of the pot is customizable based on your preference, so you can adjust it to fit your desired look.
- Stability can be enhanced by adding rice or pebbles inside a plastic bag for weight.
- Rose coloring and design are customizable to match your preference or decor.
- Handle all hot glue applications with care to avoid burns.
Skill Level
Confident Beginner / Easy
You need to be familiar with:
- Creating a magic ring
- Working in rounds and rows
- Basic stitches: Single crochet (SC), Half double crochet (HDC), and Double crochet (DC)
- Increasing and decreasing
Materials
Here are the materials you’ll need to complete this project:
- Yarn:
- Acrylic yarn for the pot and "soil" (in your preferred colors, e.g., terracotta for the pot and brown for the soil)
- Cotton yarn for the roses and stems in colors such as pink (light and dark), green, or others based on your preference
- Tools:
- Crochet hook suitable for your yarn (e.g., 3.5 mm or 4.0 mm hook)
- Scissors
- Yarn needle/darning needle for weaving in ends
- Stitch markers (optional but recommended)
- Hot glue gun and glue sticks
- Fillings and extras:
- Synthetic cotton/polyfill for stuffing
- Wooden sticks (around 7 cm long) for stems
- Clear plastic bag and rice or small pebbles (optional, for adding stability)
- Plastic lid, container, or piece of cardboard for creating a sturdy base
- Optional: Ribbon, bow, or trims to decorate the pot.
Measurements / Sizing
- Finished rose pot height: Customized; approximately 10–12 cm, including stems.
- Pot diameter: Approximately 9 cm for the base (54 SC).
- Rose size: Variable, based on how tightly or loosely you form the rose petals.
Gauge (and Stitch Pattern)
Not critical for this project, but for reference:
- The pot base should have a 9 cm diameter after finishing the increase rounds.
- Work tightly for the pot and roses to maintain structure.
Stitch Abbreviations
- CH: Chain
- SC: Single Crochet
- HDC: Half Double Crochet
- DC: Double Crochet
- SL ST: Slip Stitch
- BLO: Back Loop Only
- Inc: Increase (2 SC in one stitch)
- Pico: Picot stitch
Special Stitches
Magic Circle: A loop that allows you to pull the yarn tail tight and close the center of the ring. Always secure with a CH at the end when making your initial loop to lock it in place.
Pico Stitch: Create a chain of 3 or 4 stitches, then make a SL ST into the first CH to form a small decorative loop.
The Crochet Pattern
Step 1: Crocheting the Pot Base
Round 1:
- Create a magic ring, secure with a CH.
- Work 6 SC into the ring.
- Pull the tail of the magic ring to close the center.
Round 2:
- Work 2 SC in each stitch from the previous round (6 increases).
- Use a stitch marker to mark the first stitch of the round.
- You will have 12 SC by the end of this round.
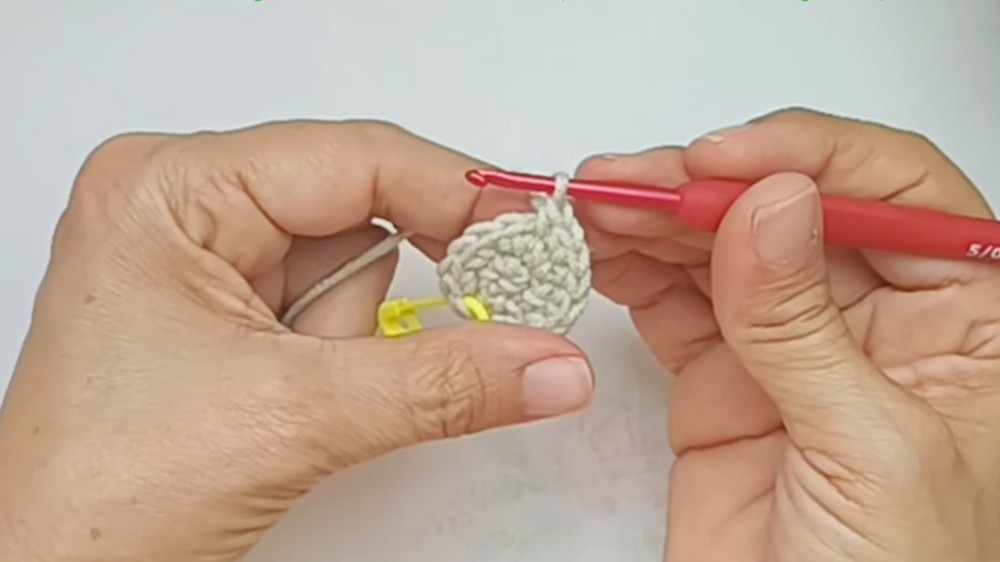
Round 3:
- Work 1 SC in the first stitch, then an Inc in the second stitch.
- Repeat 1 SC, Inc around.
- You will have 18 SC by the end of this round.
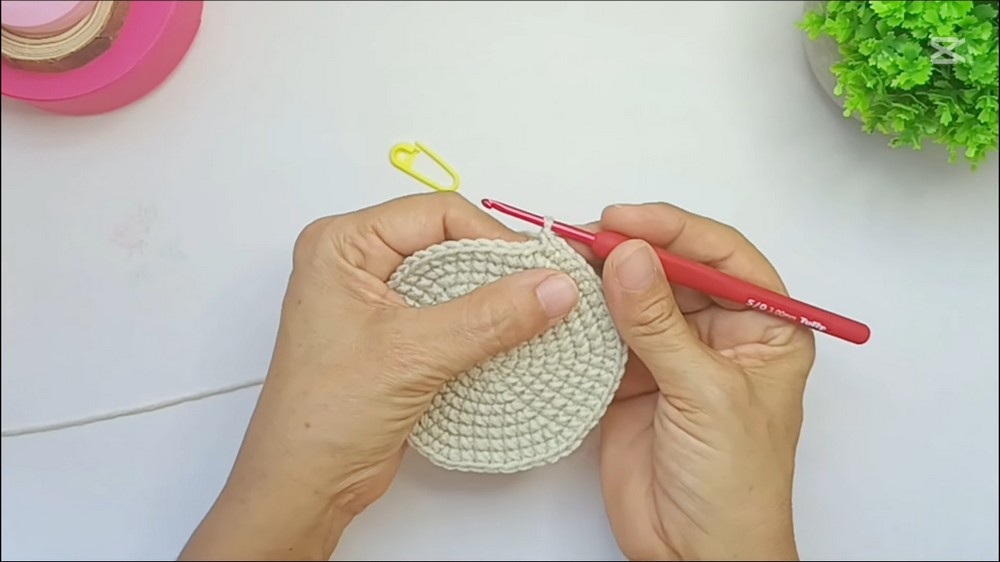
Round 4:
- Work 2 SC in the next two stitches, then an Inc in the next stitch.
- Repeat 2 SC, Inc around.
- Total: 24 SC.
Round 5:
- Work 3 SC in the next three stitches, then an Inc in the next stitch.
- Repeat 3 SC, Inc around.
- Total: 30 SC.
Round 6:
- Work 4 SC in the next four stitches, then an Inc in the next stitch.
- Repeat 4 SC, Inc around.
- Total: 36 SC.
Round 7:
- Work 5 SC in the next five stitches, then an Inc in the next stitch.
- Repeat 5 SC, Inc around.
- Total: 42 SC.
Round 8:
- Work 6 SC in the next six stitches, then an Inc in the next stitch.
- Repeat 6 SC, Inc around.
- Total: 48 SC.
Round 9 (Final Increase Round):
- Work 7 SC in the next seven stitches, then an Inc in the next stitch.
- Repeat 7 SC, Inc around.
- Total: 54 SC.
Step 2: Building the Pot Height
Round 10:
- Work 54 SC in BLO (Back Loop Only). This defines the edge of the pot.
Round 11–19:
- Work 54 SC evenly for 9 rounds to create the height of the pot. You may add or reduce rounds depending on your preferred height.
Step 3: Creating the Soil
- Repeat the same steps as the pot base in Rounds 1–9 using brown yarn. Ensure this piece matches the diameter (9 cm).
- End with a SL ST, fasten off, and leave a long tail for assembly.
Step 4: Making the Roses
Step 1:
- Start with CH 37.
- Begin in the second CH from the hook and work SC across (36 stitches).
Step 2:
- Turn and CH 5.
- Work 1 DC in the first stitch, CH 2, and DC in the same space.
- Skip 2 stitches and repeat this pattern (DC, CH 2, DC) across to form 13 loop spaces.
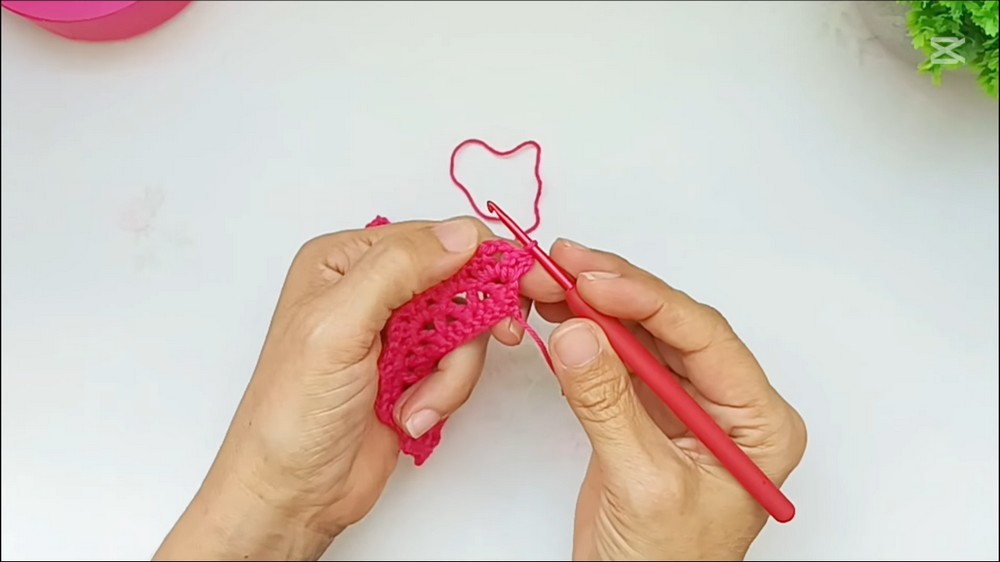
Step 3:
- In each CH 2 space, work (2 DC, CH 2, 2 DC). Repeat this in every loop space.
Step 4:
- In the final round, work 8 DC in each loop or petal space, separated by a SC in the loop next to it, forming the petals.
Step 5:
- Tightly roll the rose into its shape and secure with a hot glue gun at the base.
Step 5: Creating a Rose Base (Green Sepals)
Step 1:
- Create a magic ring and work 20 DC into the center. Close the ring with a SL ST.
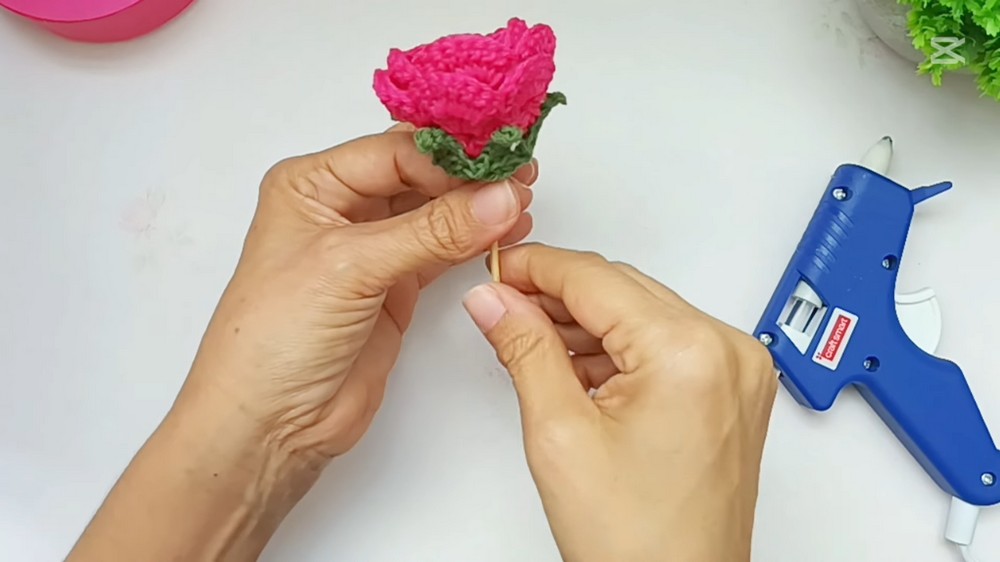
Step 2:
- Work 5 picot tips evenly spaced by CH 6 and crocheting slanted points with a mixture of SC, HDC, and DC stitches.
Assembly & Finished Size
- Weigh the Pot: Add a sturdy base such as a plastic lid inside the pot, topped with rice in a sealed plastic bag for added weight.
- Stuff the Pot: Fill the pot with synthetic cotton, compressing lightly to ensure stability.
- Attach Soil to the Pot: Using a yarn needle, sew the brown "soil" circle on top of the pot to close it securely.
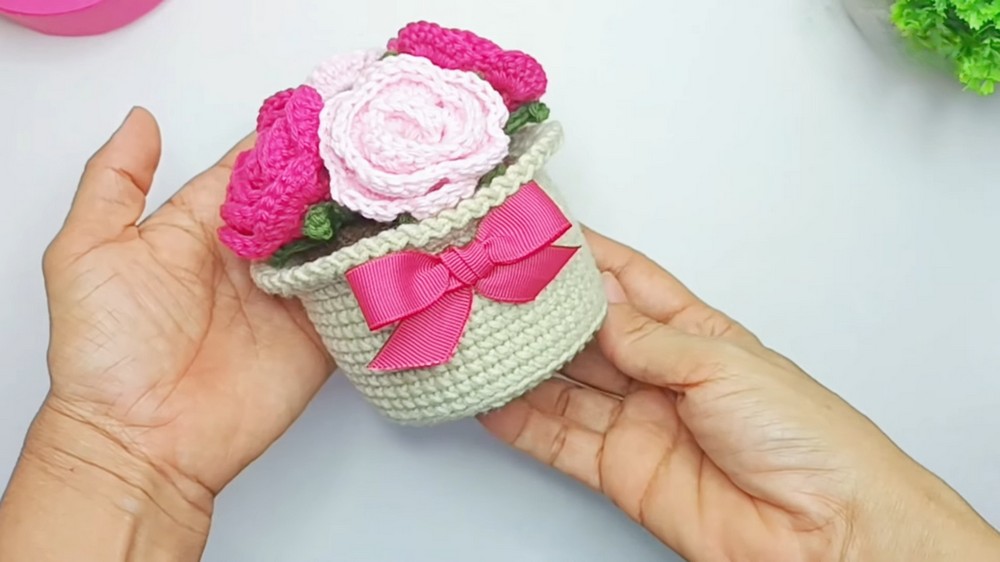
- Attach Roses: Add wooden sticks to the back side of the roses, hot gluing them in place. Insert the stems into the soil evenly, angling each slightly for natural placement.
- Finish: Optional decorations such as ribbons or stickers can be added to personalize the pot.
Conclusion and Ending Words
Congratulations, You’ve completed your adorable crocheted rose pot. The result is a charming and customizable home decoration, a perfect gift, or an elegant centerpiece. Enjoy finding ways to showcase your beautiful creation, and don’t forget to experiment with colors and decorations to make each rose pot unique.