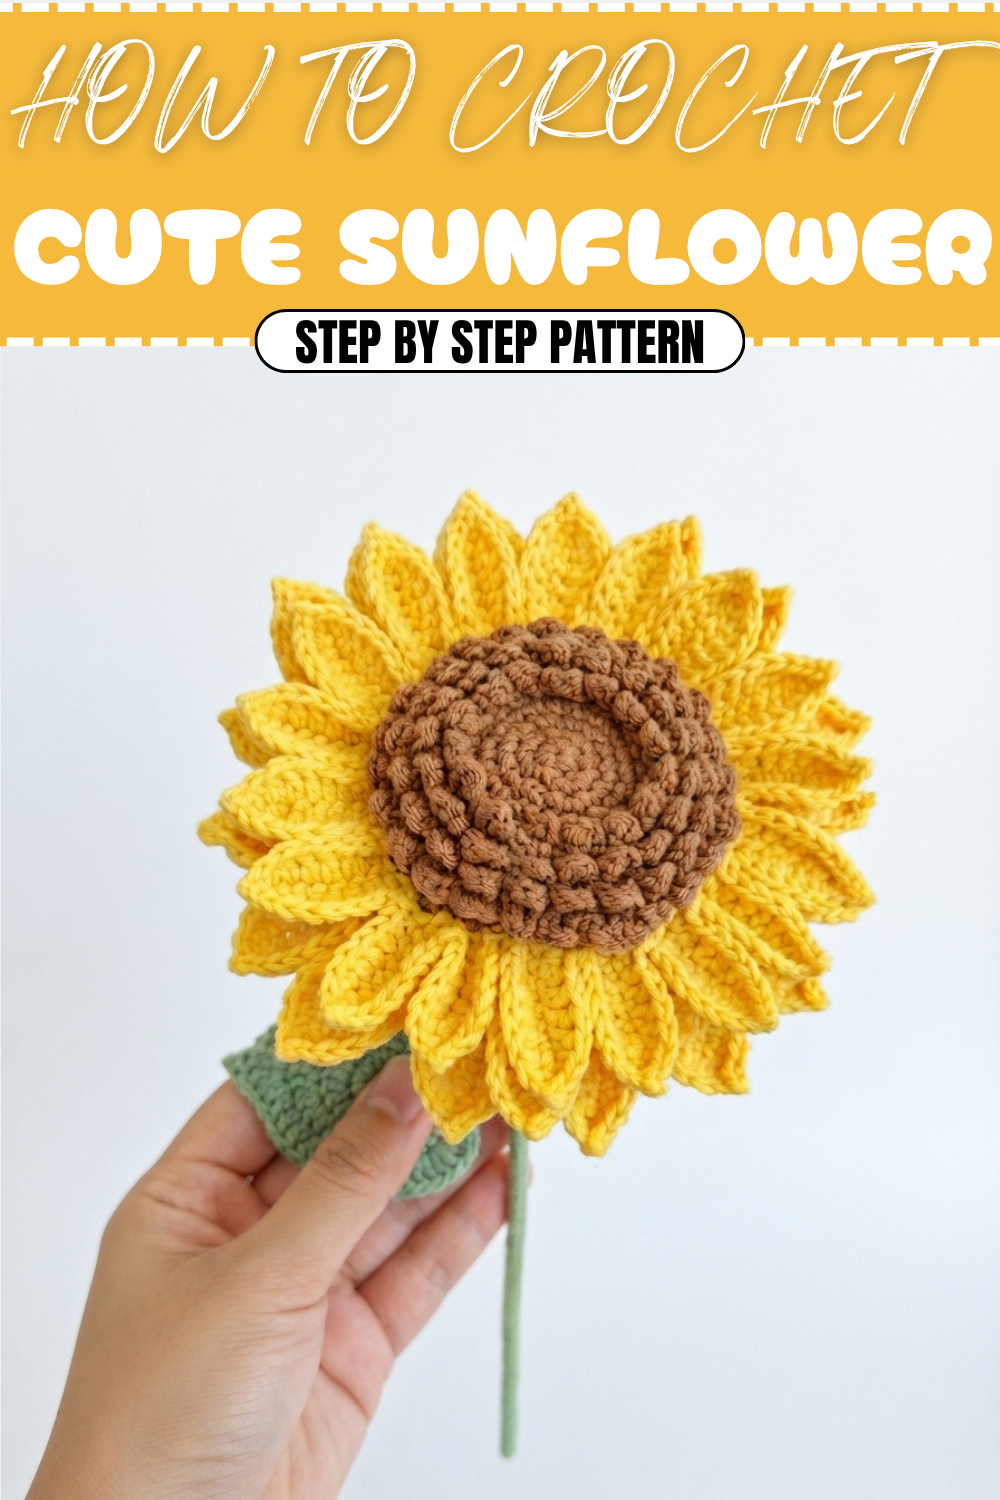
Quick Crochet Sunflower Pattern for Colorful Projects
Radiate with a cheerful crochet sunflower that lights up any room, brings a burst of color, and fills space with happiness and playful charm.
Bright and cheerful, this floral design brings a burst of sunshine to any corner, instantly lifting the mood. The Crochet Sunflower Pattern features detailed petals and a textured center, giving it a realistic and eye-catching appearance. It’s perfect for both beginners and experienced makers, allowing anyone to create vibrant decorations that never fade.
Handmade Crochet Sunflower Pattern to Impress Friends
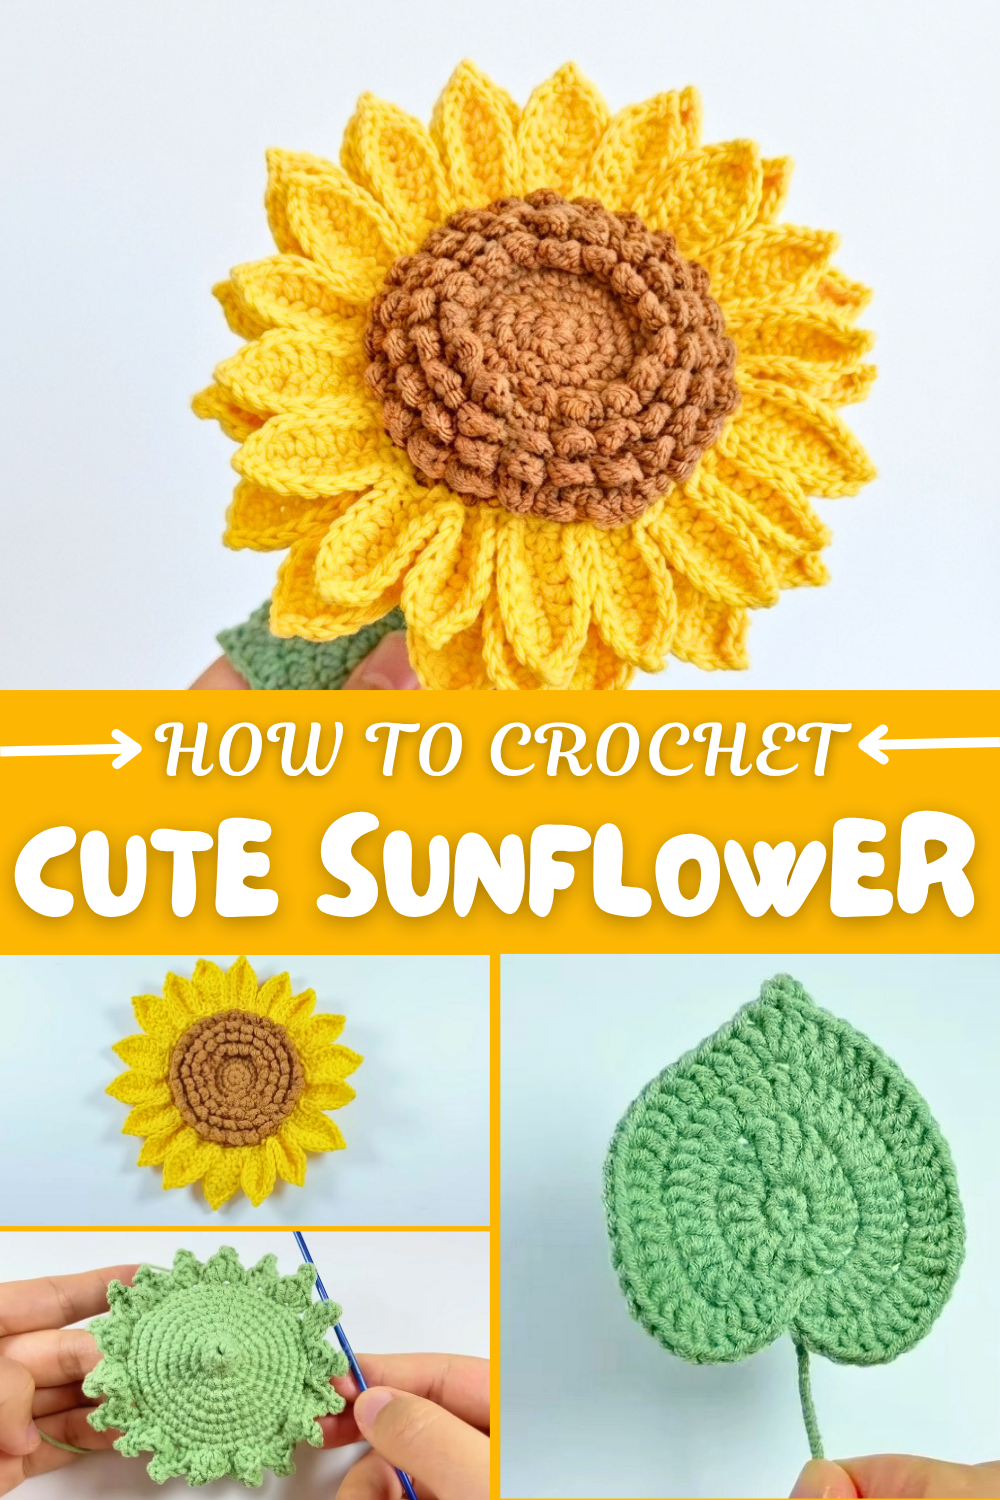
You can use it to enhance home decor, adorn gift packages, or even make unique accessories like headbands, brooches, or keychains. One of its main advantages is durability—once crafted, it lasts for years without wilting. Beyond its longevity, it promotes creativity and focus, making the process relaxing and rewarding.
Its bright, natural look suits table centerpieces, wall hangings, or playful kids’ crafts. Combining beauty, versatility, and practicality, the Crochet Sunflower Pattern is a delightful way to bring cheerful charm into everyday life.
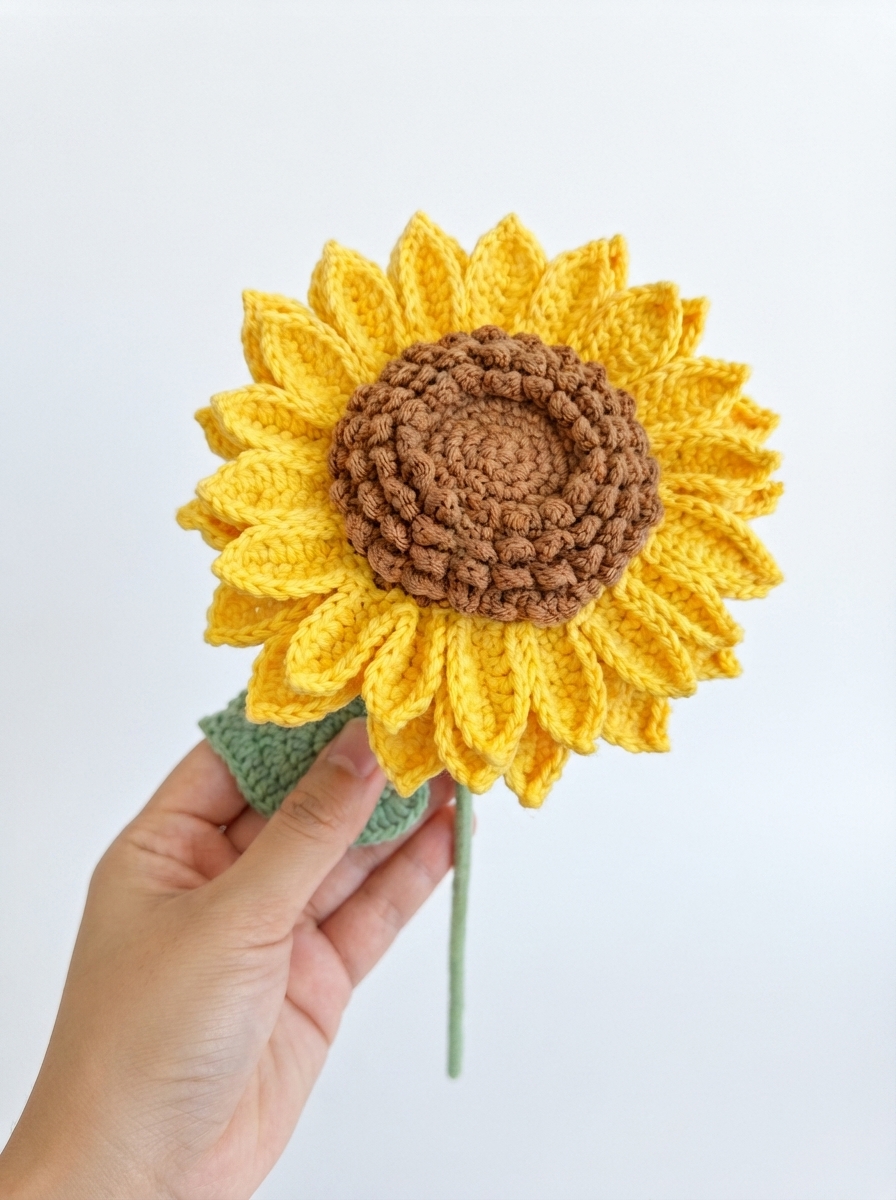
How to Crochet a SunflowerMaterials Needed
To complete this sunflower project, you will need:
- Yarn: Brown (for the flower center), yellow (for petals), and green (for torus and leaves).
- Hook Size: Select the appropriate hook based on your yarn (usually 2.5mm–4mm recommended).
- Craft Wire: Optional for structuring petals and leaves.
- Scissors: For cutting yarn ends.
- Tapestry Needle: To weave in tails neatly and assemble the flower.
- Stitch Marker: Helpful for keeping track of rounds (optional).
Special Features
- Multi-layered Petals: Two layers of petals for extra dimension and realism.
- Optional Craft Wire: Petals can either curve naturally or hold their shape with craft wire.
- Detailed Components: Includes flower heart, seeds, torus, and textured leaves for a lifelike appearance.
- Customizable: You can modify the petal size, color, or use alternative materials based on your preference.
- Beginner Tips: The tutorial adjusts for beginners with advice to pause, use markers, and control yarn tension.
Step-by-Step Crochet Process
1. Crochet the Flower Heart and Seeds (Brown Yarn)
Flower Heart (Rounds 1–10 - Brown Yarn)
- Round 1:
- Create a magic ring, chain 1, and crochet 6 single crochets (SC) into the ring.
- Pull the ring tight and secure with a slip stitch (SL ST). (6 stitches)
- Round 2:
- Chain 1 (do not count as a stitch), increase in each space by crocheting 2 SC per stitch. (12 stitches)
- Round 3:
- [SC in the first stitch, 2 SC in the next stitch]. Repeat this pattern 6 times. (18 stitches)
- Continue hiding the tail as you work.
- Round 4:
- [SC in the next 2 spaces, 2 SC in the next space (increase)]. Repeat 6 times. (24 stitches)
- Round 5:
- [SC in the next 3 spaces, 2 SC in the next space (increase)]. Repeat 6 times. (30 stitches)
- Rounds 6–10:
- From Round 6 onward, work in the half side of each stitch to create texture.
- Round 6 pattern: [SC in the next 2 spaces, 2 SC in the next]. Repeat 6 times. Continue to Round 10, gradually working more SC around without increasing.
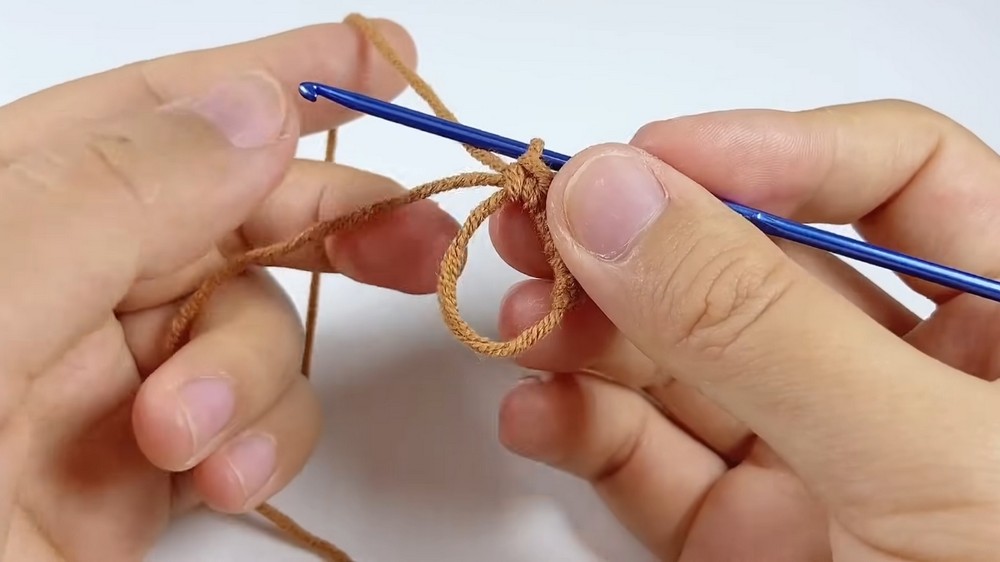
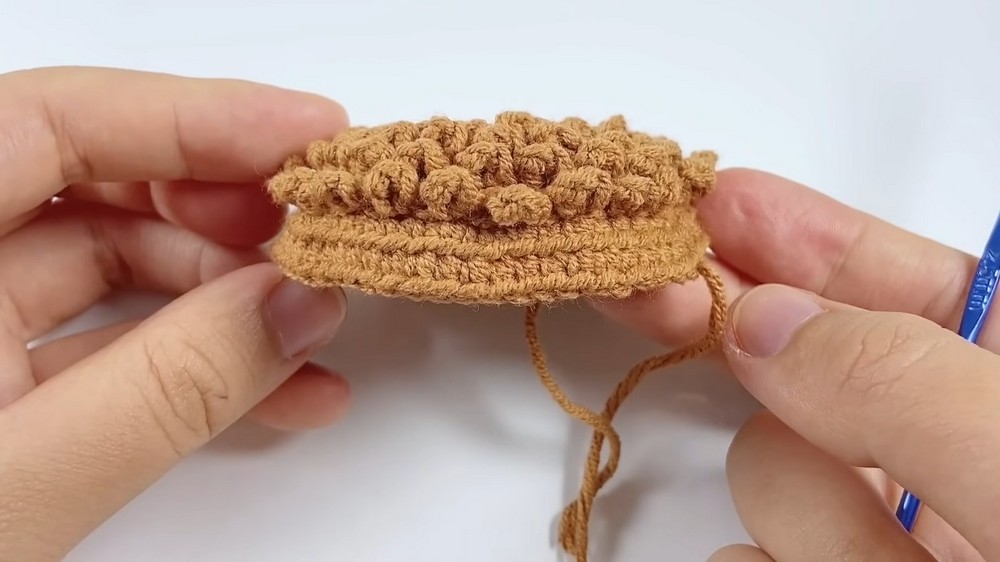
Flower Seeds
- Attach brown yarn and chain 1.
- Round 1:
- Chain 3, SL ST into the current space on the heart. Skip one stitch, SL ST in the next space. Repeat around.
- Add texture by crocheting loops of seeds in rows using this same technique.
- Complete 3–4 rounds of seeds, finishing each with a SL ST. Cut yarn and weave the tail to the back.
2. Crochet the Flower Petals (Yellow Yarn)
First Layer of Petals
- Attach yellow yarn to the flower heart and chain 1 (do not count as a stitch).
- Each Petal:
- Chain 8.
- Start in the 2nd chain from the hook and work back:
- 1 SC, 1 half-double crochet (HDC), 4 double crochets (DC), 1 HDC.
- Attach the petal by SL ST in the next space, skip one stitch, and repeat.
- Complete 18 petals in this layer and close with a SL ST.
Second Layer of Petals
- Attach yellow yarn behind the first petal layer.
- Chain 10 for each petal, making it longer than the first layer. Work back using this stitch sequence:
- 1 SC, 1 HDC, 5 DC, 1 HDC, 1 SC.
- Repeat the process for 18 petals, ensuring the outer petals extend beyond the first layer.
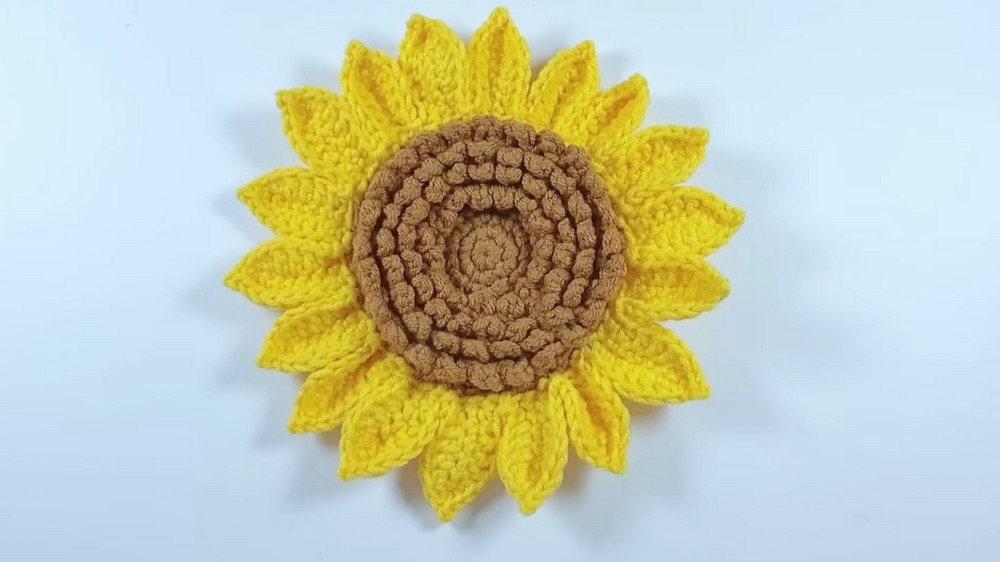
Optional: Insert craft wire inside petals for structure as you crochet.
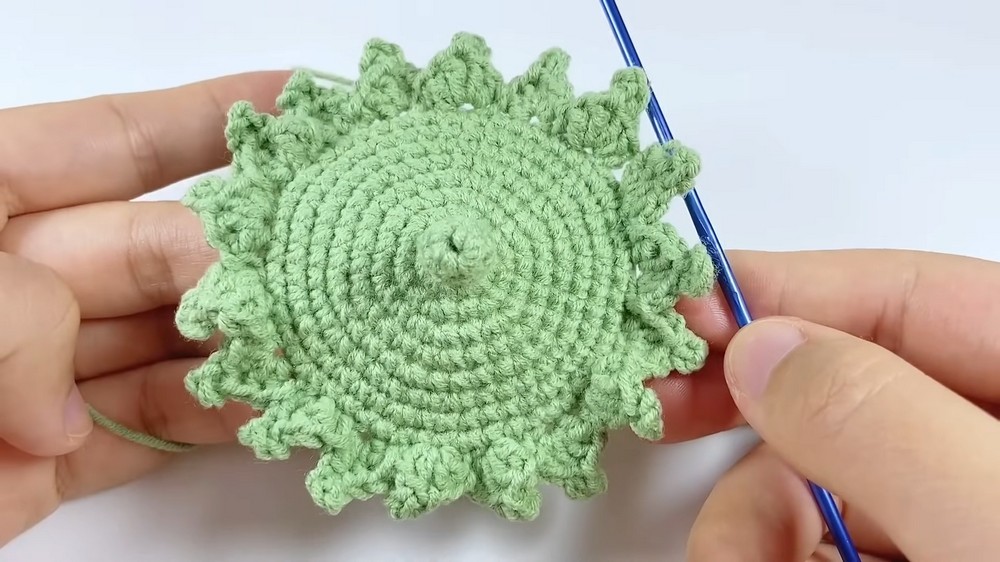
3. Crochet the Flower Torus (Green Yarn)
- Rounds 1–4: Start with a magic ring, 6 SC in the ring, and chain 1 at the end of each round. Crochet rounds with the following increases:
- Round 2: 2 SC in each space. (12 stitches)
- Round 3: [SC in 1 space, 2 SC in the next]. (18 stitches)
- Round 4: [SC in 2 spaces, 2 SC in the next]. (24 stitches)
- Rounds 5–11: Work evenly in SC, maintaining the same stitch count.
- Round 12: Switch to half-side stitches and form small petals on the torus:
- [DC, chain 3, SL ST into the same space to create a picot, DC]. Repeat for 18 petals.
4. Crochet the Leaf (Green Yarn)
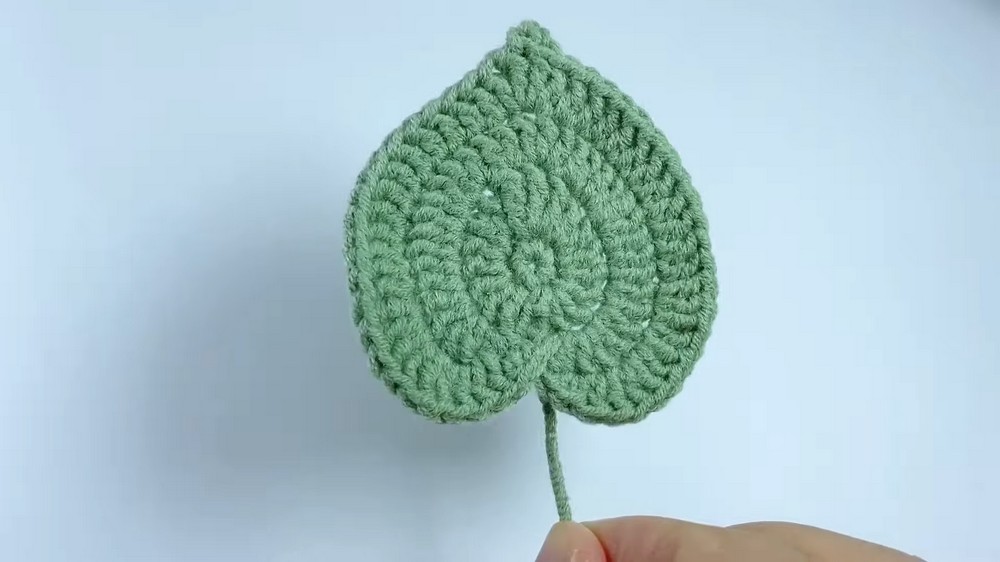
Leaf Pattern
- Create a magic ring and crochet 7 SC into the ring. Pull tight to close the circle.
- Round 2: Chain 2, double crochet (DC) in the first space, and do a DC increase (2 DC) in the next two spaces.
- Round 3: Add craft wire (optional) and work symmetrical increases:
- At the tip of the leaf, create a picot stitch ([chain 2, SL ST into the last stitch]).
- Mirror the pattern down the other side of the leaf, carefully shaping it as you go. Finish with a SL ST to close.
5. Assembly
- Attach the torus to the flower petals' base.
- Secure the leaves underneath the torus using yarn or a hot glue gun for stability.
- Twist all tails together, trim the excess yarn, and weave all tails into the back of the flower.
Level of Difficulty
- Beginner to Intermediate:
This project uses basic stitches (SC, HDC, DC, SL ST), making it beginner-friendly. However, additional techniques like the magic ring, layered petals, picot stitches, and incorporating craft wire may challenge newer crocheters.
Tutor's Suggestions
- Take It Step-by-Step: Pause between components (petals, torus, leaves) to avoid feeling overwhelmed.
- Use Markers: Beginners may benefit from marking rounds and stitch positions.
- Yarn Tension: Maintain even tension for consistent stitch sizes.
Uses of the Sunflower
- Home décor (vase filler, wall art, or table centerpiece).
- Attach to clothing, bags, or hats as an embellishment.
- Craft gifts (bouquets or pins).
Tip
To preserve the flower’s shape, lightly steam-block petals and leaves before assembling. This will flatten and smoothen the finished piece for a professional look.
Conclusion
This crochet sunflower tutorial blends creativity with skill, resulting in a gorgeous, realistic floral decoration. With detailed instructions and flexibility to customize, the project is ideal for home décor, gifts, or personal crafting satisfaction. Whether you’re a beginner or looking to expand your skills, this sunflower is a rewarding project to try.