
Free Crochet Entangled Flower Pattern That Looks Neat
Unfold floral charm with the Crochet Entangled Flower Pattern, a layered textured bloom that gives depth, elegance, and graceful detail to projects.
Inspired By: Entreganchos
Soft loops and intertwined petals give these blossoms a charming and textured look that feels both elegant and playful. The Crochet Entangled Flower pattern creates flowers with petals that seem to weave into one another, forming a rich, layered design that catches the eye from every angle.
Crochet Entangled Flower Pattern for Unique Handmade Decor
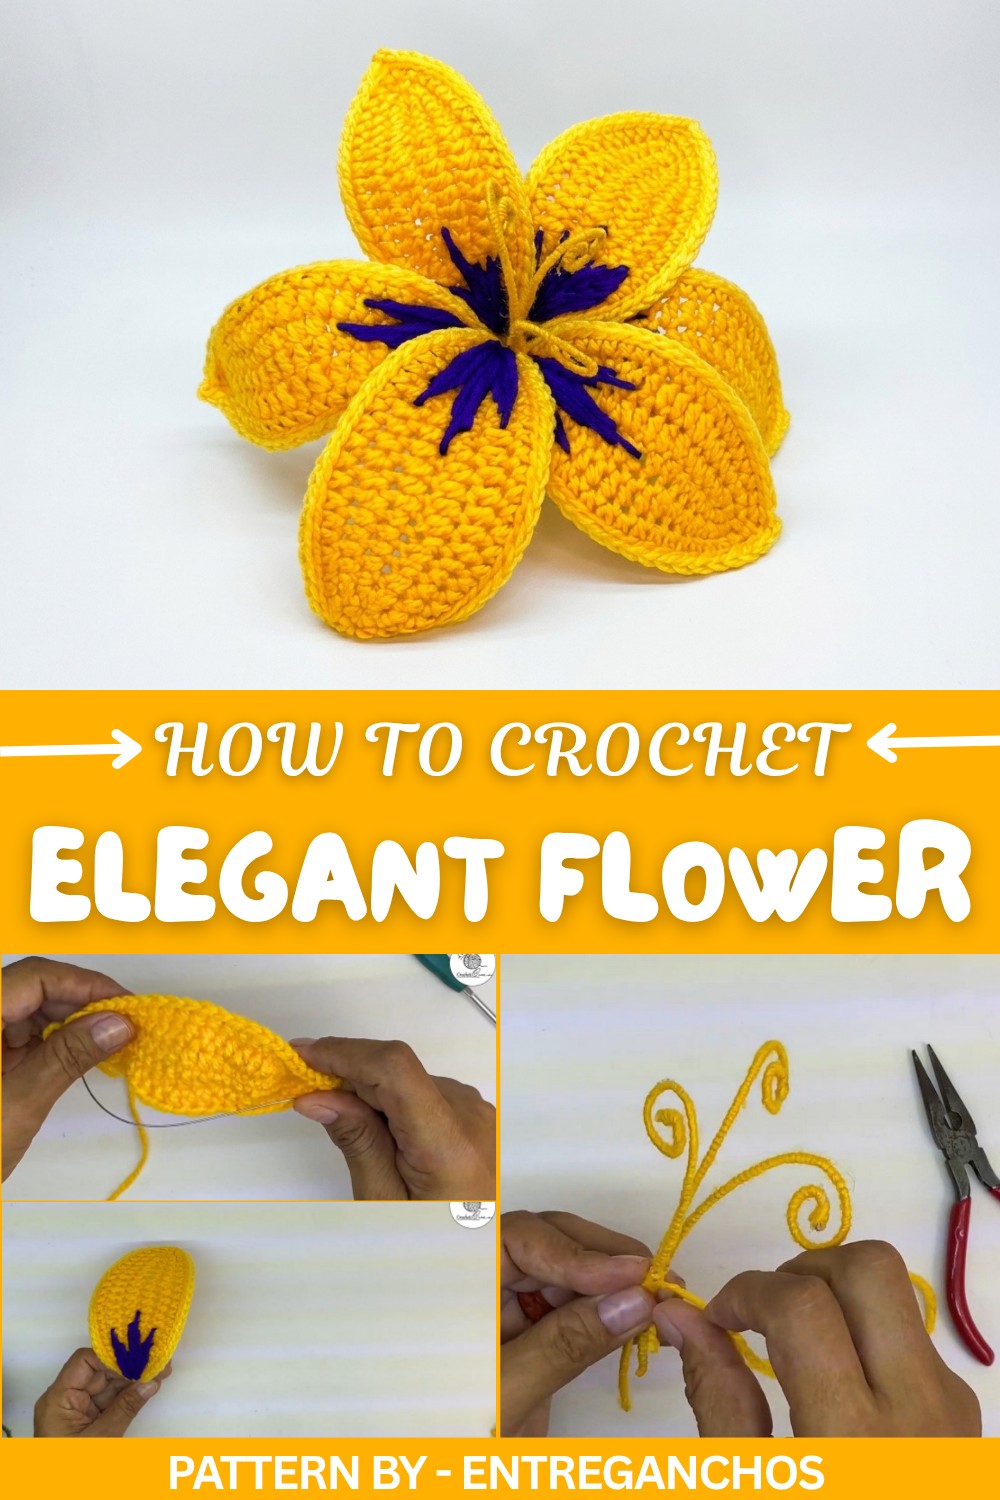
With its rich texture, beautiful layered look, and endless decorative possibilities, this crochet flower pattern brings warmth and artistic charm to every project it touches, turning simple yarn into eye-catching floral art.
Using basic stitches in creative ways builds depth and movement, making each flower look almost three-dimensional. Choosing bright or contrasting yarn colors makes the petals pop even more, while softer shades create a gentle, delicate feel. One of the best things about these flowers is how many uses they have. They make lovely embellishments for scarves, hats, bags, blankets, headbands, and other accessories, adding a handmade flourish that stands out.
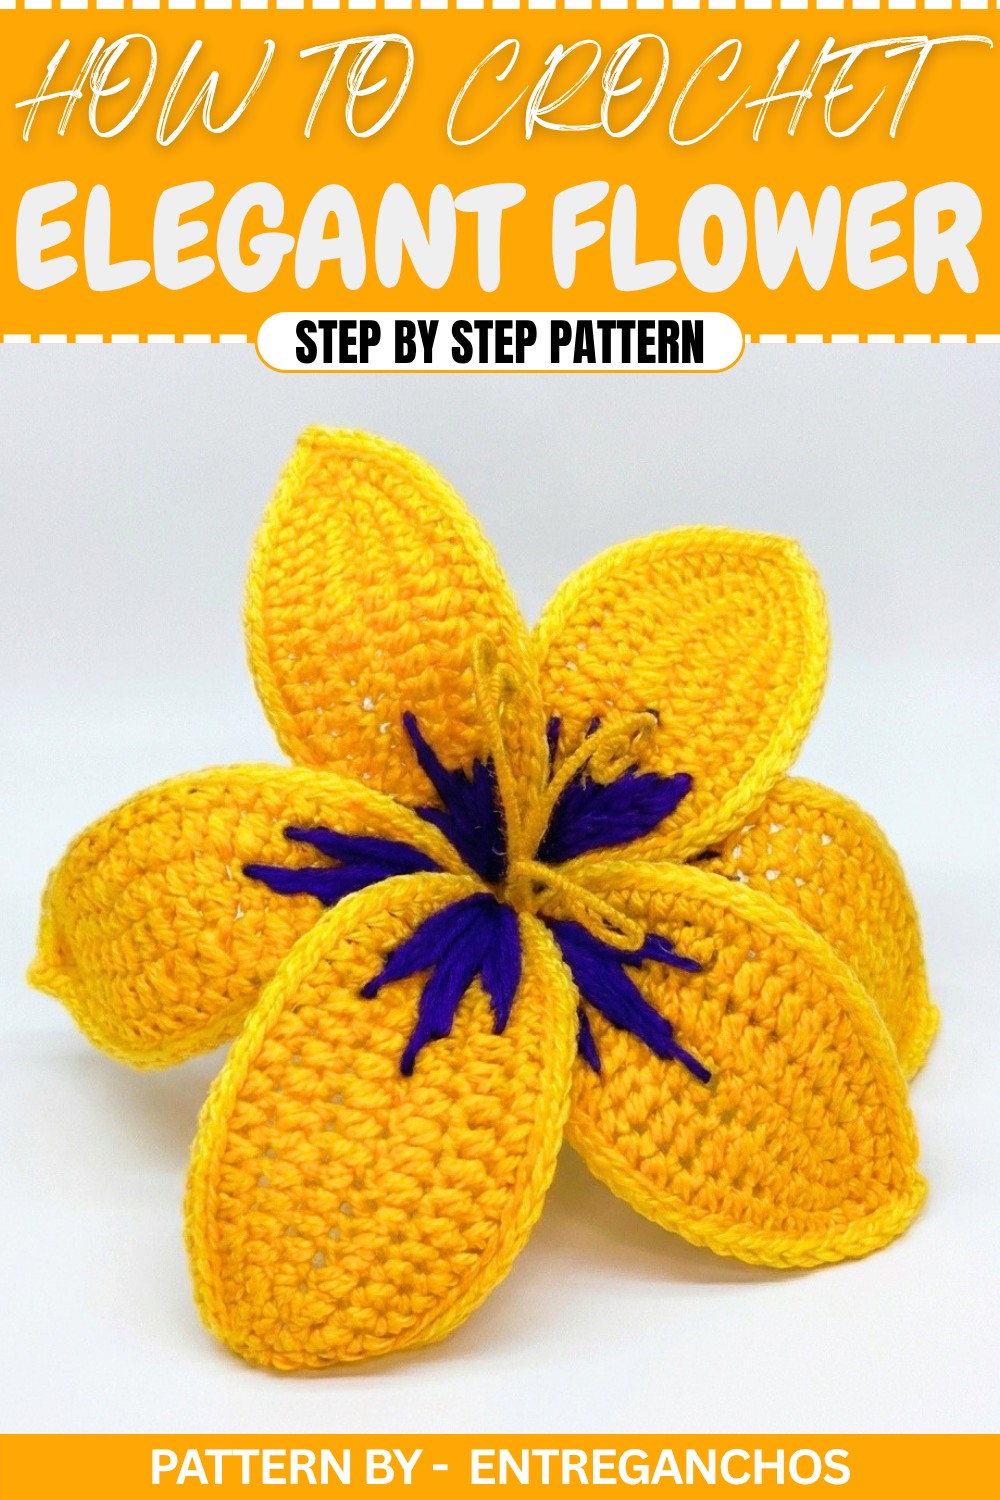
You can also group several together to make a floral bouquet that never wilts, decorate gift wraps, or turn them into brooches and clips for cheerful accessories. The creator highlights important tips like keeping stitch tension even so the loops sit neatly, working slowly through each entangled round so the pattern stays defined, and carefully counting stitches to maintain symmetry throughout the petals.
Free Crochet Entangled Flower Pattern
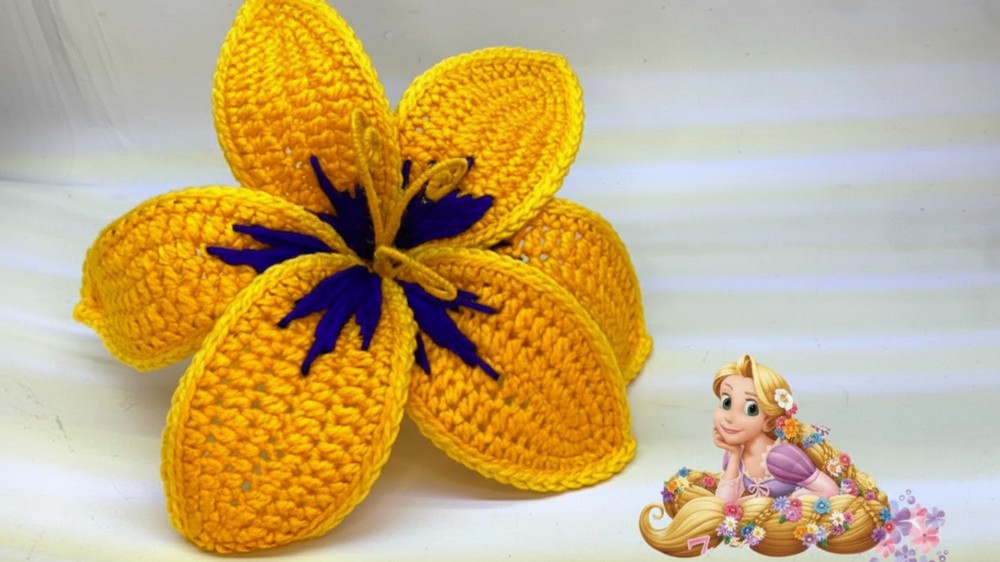
This radiant flower, inspired by the mystical bloom from Tangled, features bold, sculpted petals, detailed edging, and vibrant pistils, all supported by a sturdy, wired stem. The engaging construction process combines crochet, wirework, and finishing touches to create a showstopping decorative flower, ideal for display or gifting.
Skill Level
Intermediate
This project is suitable for crafters with basic crochet skills who are comfortable working both sides of a foundation chain, incorporating wire, and following multi-step assembly. Familiarity with half-double crochet and working decorative edges will be beneficial.
Materials
- Thick yarn in purple (petals), green (stem), light yellow (edge), and dark yellow (pistils)
Suggested: "Ángel" brand, or similar bulky-weight yarn - 5mm crochet hook
- Tapestry needle
- 20-gauge wire (floral wire or craft wire)
- Wire cutters/pliers
- Scissors
- Hot glue gun (with glue sticks)
- Optional: hair straightener (for shaping and pressing petals)
Special Stitches
- Back Bar of Chain: Inserting hook under the ridge at the back of each starting chain (gives a neat edge)
- Increase (inc): Two stitches (as specified) into the same stitch for shaping
- Half-Double Crochet (hdc): Yarn over, pull up a loop, yarn over and pull through all loops
- Slip Stitch (sl st): For joining and decorative edging
Stitch Abbreviations
- ch – Chain
- sl st – Slip Stitch
- sc – Single Crochet
- inc – Increase (work 2 stitches into one)
- hdc – Half-Double Crochet
Useful Tips
- Crocheting into the back bar of the foundation chain provides a clean bottom edge for petals.
- Use 20-gauge wire for structure that is easy to shape but strong enough to hold the petal form.
- Add edging and wire before blocking or shaping for best results.
- A hair straightener can be used carefully (on low heat) to flatten and refine the final shape of each crochet petal.
- Always handle the hot end of the glue gun and melted glue with caution.
Crochet Pattern Steps
Petals (Make 6)
Foundation:
- With purple yarn, ch 19.
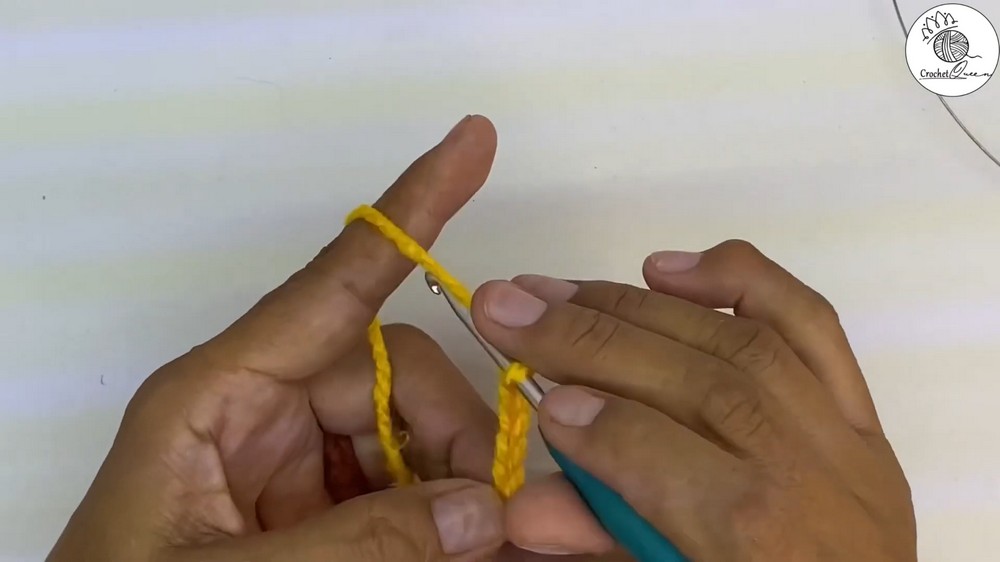
Round 1:
- Work into the back bar of each chain:
- 2 sl st,
- 6 sc,
- 5 hdc,
- 4 sc,
- 2 sc in last ch (inc).
- Do not turn. Rotate to work down the unused side of the chain:
- 2 sc in the first ch (inc),
- 4 sc,
- 5 hdc,
- 6 sc,
- 2 sl st to complete the round.
Round 2:
- ch 1, turn.
- 2 sl st,
- 4 sc,
- 8 hdc,
- 4 sc,
- 3 inc (sc) across tip,
- 4 sc,
- 8 hdc,
- 4 sc,
- 2 sl st.
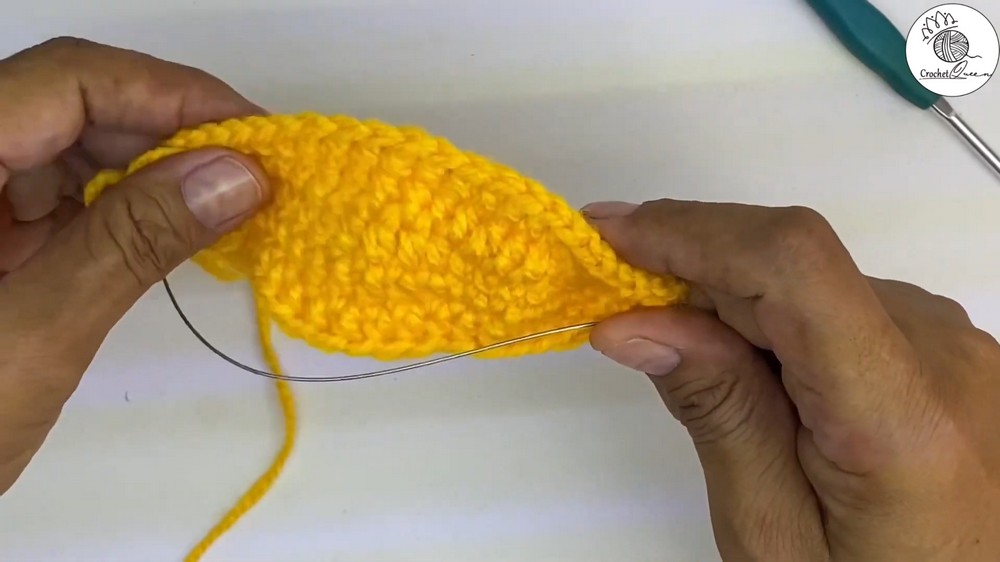
Wire Incorporation:
- Cut a length of 20-gauge wire, shaping if desired.
- Hold wire along petal edge.
- Crochet 1 sc in each stitch around (piercing through wire to anchor as you go).
- At the petal tip, work 1 ch (allows you to pivot and turn easily before continuing down the other side).
- Sl st to join when complete. Break yarn and weave in ends.
Edge Detail:
- With light yellow yarn, attach at petal base.
- Work slip stitches around the entire petal edge, traveling up one side, chaining 2 at the petal tip, and continuing down the opposite side.
- Finish at base; break yarn and weave in tail.
Shaping:
- Optionally, press petals carefully with a hair straightener or cool iron covered in cloth to refine form and achieve a smooth finish.
Pistils (Make 3)
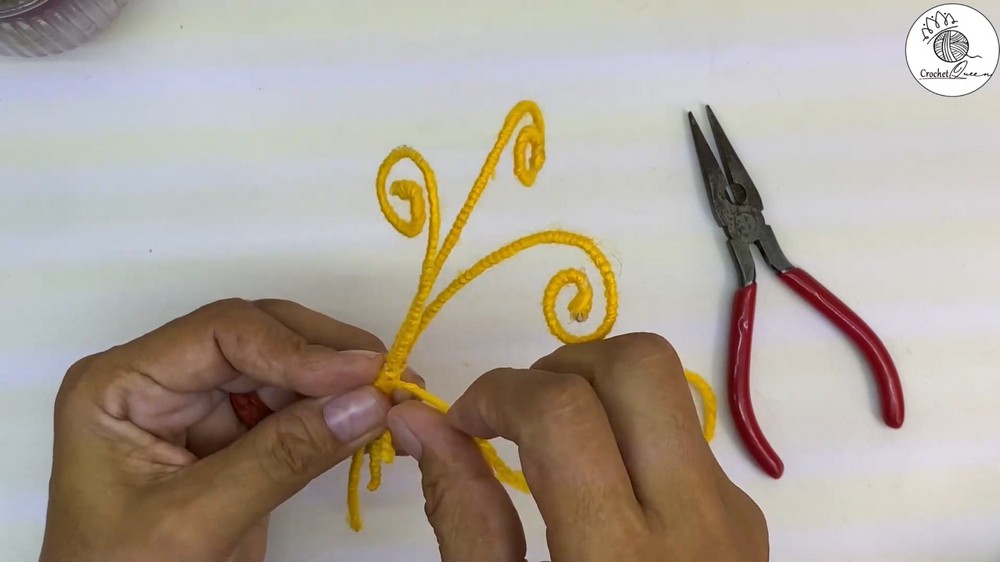
- Cut three lengths of 20-gauge wire.
- Wrap each piece of wire completely with the dark yellow yarn. Secure ends with a dab of hot glue.
- Using pliers, twist the top of each wire to create a curled or spiral form, mimicking the natural look of stamens.
Assembly
- Form Flower Center:
- Gather pistils and bind together with green yarn at their untwisted base. Use hot glue to secure.
- Attach pistil bundle to a central stem wire or a wooden skewer, securing all together at the base with hot glue covered by green yarn.
- Attach Petals:
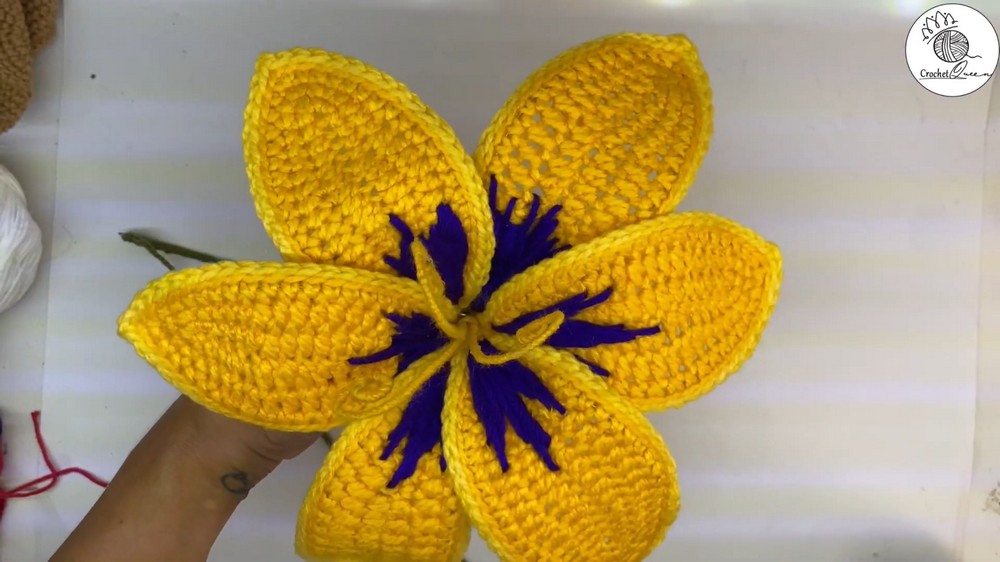
- Arrange the six completed petals evenly around the base of the pistil bundle.
- Working one petal at a time, use hot glue to affix each petal to the pistil/central stem assembly. Position slightly overlapping for fullness if desired.
- As you attach, wrap green yarn around the stem and lower base of petals to hold all components neatly together. Secure with hot glue as you go to prevent slipping or unraveling, and maintain a clean appearance.
- Final Shaping:
- Gently bend and curve the wired petals to achieve a natural, slightly arched appearance.
- Twist or spread pistils as desired within the center.
- Trim any protruding wire and cover ends with additional green yarn or glue to prevent scratches or snags.
- Adjust shape and spacing of each petal for lifelike effect.
Sizing
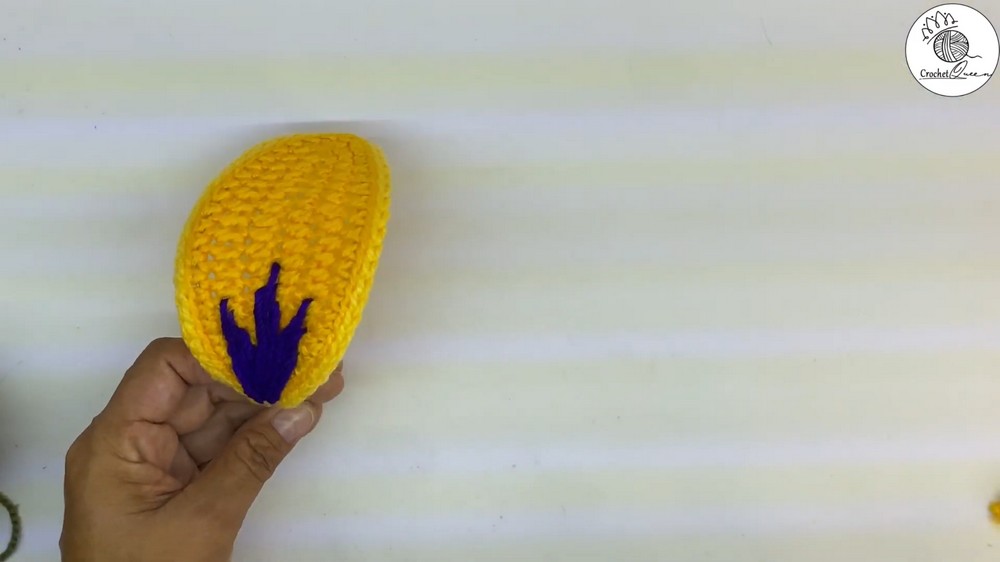
- Each petal measures roughly 15–18 cm in length, depending on yarn and tension.
- Fully assembled flower has a diameter of approximately 20–25 cm.
- Length of the central stem may be customized as preferred.
Conclusion
The “Flor que da fulgor” brings together sturdy yet elegant crochet petals, intricate edge work, and sculpted pistils for a dynamic and enchanting finished piece. The incorporation of wire provides flexibility, allowing for detailed shaping far beyond traditional crochet flowers. Edge slip-stitching in a glowing light yellow supplies a vivid highlight, and the wrapped green stem completes the realistic look. With careful assembly and finishing, this flower becomes a showpiece in any collection, capturing the essence of the iconic magical bloom. Attention to detail, along with a blend of materials and crafting techniques, ensures both beauty and durability in the final display. This pattern gives both structure and creative freedom for crafting a memorable floral centerpiece inspired by one of animation’s most beloved symbols of enchantment and life.