
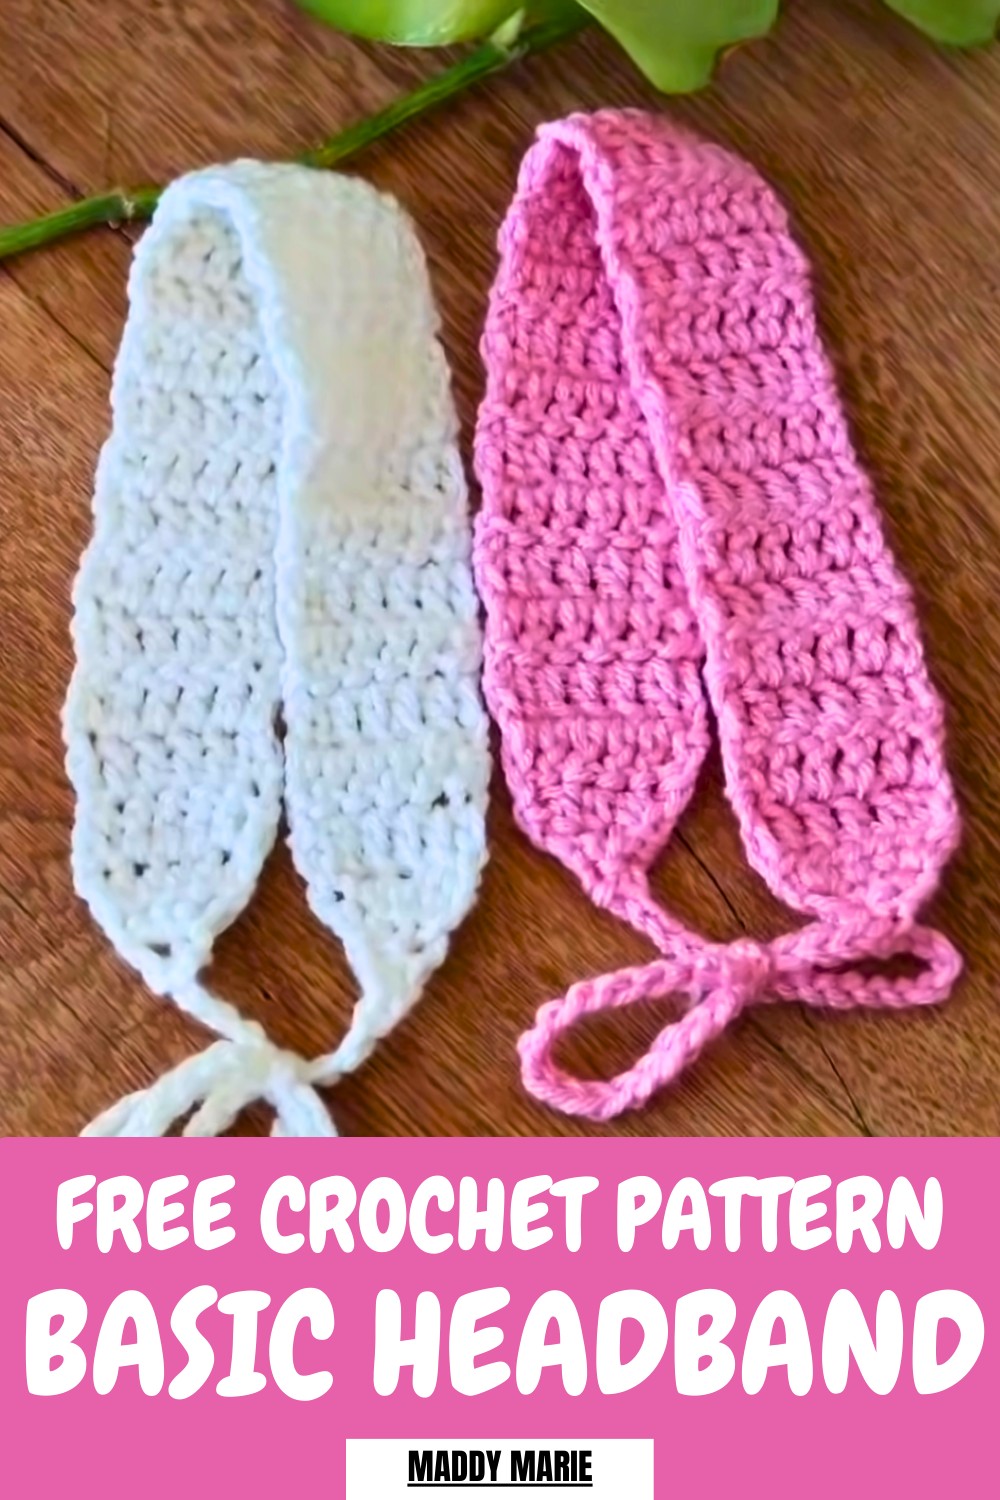
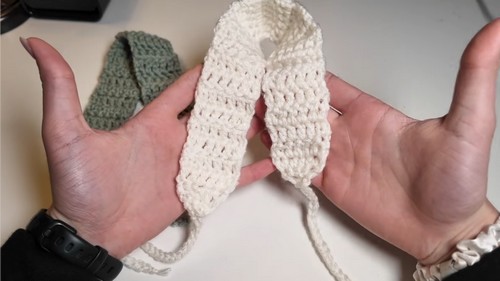
Modern Crochet Basic Headband Pattern That Looks Trendy
Style your look with this Crochet Basic Headband Pattern, featuring a simple, comfortable and perfect for everyday wear and accessorizing.
Soft textures and simple designs combine to create a versatile accessory that enhances both style and comfort. The Crochet Basic Headband Pattern is perfect for keeping hair neatly in place during casual outings, workouts, or everyday wear, offering a balance of practicality and charm. Its lightweight construction ensures it sits comfortably without slipping or causing pressure, elegant look that pairs effortlessly with different outfits and hairstyles.
Simple Crochet Basic Headband Pattern Perfect for Classic Styles
This design allows for personalization through color choices, yarn types, or subtle embellishments, making each headband unique. Beyond aesthetics, it provides functional benefits such as keeping hair away from the face, absorbing sweat during physical activities, and adding a polished touch to simple hairstyles.
Combining timeless simplicity with modern versatility, this Crochet Basic Headband Pattern creates a stylish and practical accessory that complements daily routines with ease.
Step-by-Step Details
Step 1: Gather Materials
Maddie suggests using:
- Medium-Weight Yarn: Acrylic or cotton—her favorite is "I Love This Yarn" from Hobby Lobby for its softness and ease of use.
- Crochet Hook: 5 mm crochet hook for this project.
- Other Tools: Scissors for trimming and an optional yarn needle for securing ends.
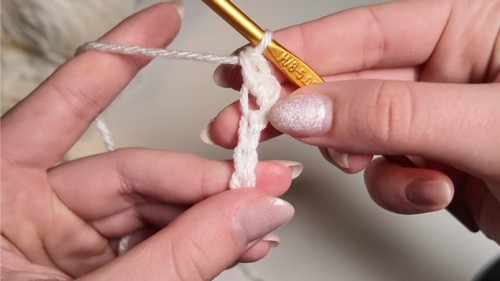
Step 2: Create a Slip Knot
- Hold the tail end of your yarn in your left hand.
- Make a loop with the yarn and insert your fingers through the loop.
- Pull the working yarn through the loop and tighten to form a slip knot.
- Place the slip knot onto your crochet hook and tighten by pulling the working yarn.
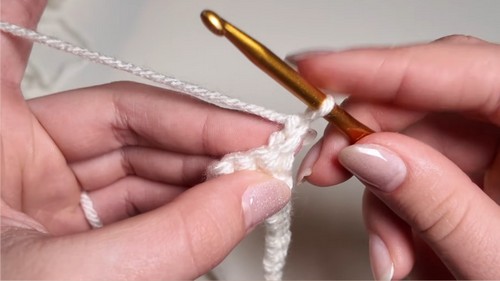
Step 3: Make Foundation Chains
- Yarn over and pull through the loop on your hook to create a chain stitch.
- Continue this process until you have a total of 27 chains to form the foundation.
4: First Row (Single Crochets)
- Skip the first chain and work two single crochets into the second chain from the hook:
- Insert the hook into the chain, yarn over, and pull up a loop.
- Yarn over again and pull through both loops to complete a single crochet.
- Continue adding two single crochets into the same chain.
- Chain one, then turn your work.
5: Second Row
- In the first stitch, add two single crochets.
- Continue this process for every stitch across the row.
- Chain one, turn your work, and proceed to the next row.
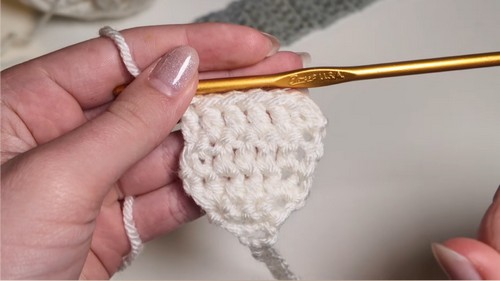
6: Third Row (Half Double Crochets)
- Add two half double crochets to the first stitch:
- Yarn over, insert your hook, yarn over, and pull through the stitch.
- Yarn over again and pull through all three loops on the hook.
- Work one half double crochet in the next two stitches.
- Add two half double crochets in the last stitch.
- Chain one and turn the work.
7: Repeat Main Row (Double Crochet and Stacked Single Crochet)
- For the following rows, create a stacked single crochet in the first stitch:
- Insert the hook into the stitch to make a single crochet as usual.
- Insert your hook into the second loop of the same stitch, yarn over, and pull through to mimic the height of a double crochet.
- Work double crochets across the rest of the row.
- Always chain one, turn your work, and repeat this row until the headband reaches the desired length. Maddie suggests making 25 rows of double crochets, but you can adjust this based on your head size.
8: Taper the Edges
To create the tapered ends:
- Work a row of half double crochet decreases:
- Yarn over and insert the hook into the front loop of the first stitch and the back loop of the next.
- Yarn over and pull through all loops on the hook.
- Repeat for the row to decrease the stitches.
- For the next row, work single crochet decreases to continue tapering.
- In the final row, create a single crochet decrease with the last two stitches.
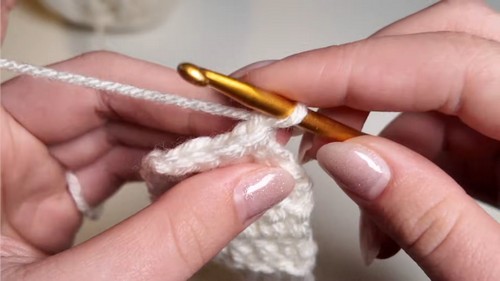
9: Add Ties
- At the end of the headband, chain 25 stitches to create one tie.
- Fasten off by trimming the yarn and pulling it through the loop.
- Repeat the process on the other side using the tail from the slip knot to make the second tie.
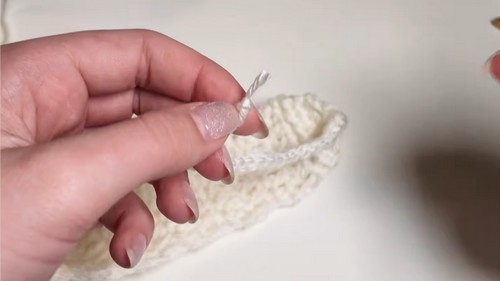
- Optionally, knot the yarn tightly and trim close to the knot or use glue (e.g., Elmer’s glue or hot glue) to secure the knot further.
Special Features
- Quick to Make: The headband takes only about 30 minutes to complete, making it ideal for those looking for a short and satisfying project.
- Beginner-Friendly: Maddie ensures her instructions are clear and slow-paced, making it accessible even for beginners with minimal crochet experience.
- Customizable: You can adjust the length and row count to fit personal preferences, and experiment with different yarn materials or colors.
- Practical and Functional: This headband is versatile and great for everyday use, especially for keeping your hair styled while adding a pop of creativity.
Level of Difficulty
This tutorial is easy and perfect for beginners. The project primarily uses basic crochet stitches, including chains, single crochets, half double crochets, double crochets, and decreases. The guided approach ensures that even first-time crocheters can successfully complete the project.
Tutor’s Suggestions
- Double-Check Row Numbers: Count your stitches at the end of each row to ensure you don’t accidentally skip or add stitches. This keeps the headband evenly shaped.
- Make Secure Knots: At the end, if you don’t want to sew in the ends for the ties, ensure your knots are very tight to prevent unraveling. Consider adding a small amount of crafting glue for extra security.
- Experiment with Yarn: While acrylic yarn is recommended for its softness, cotton yarn is especially great for summer or hot weather use. You can also try different colors for fun variations.
Uses and Materials
- Materials Needed:
- Medium-weight acrylic or cotton yarn.
- 5 mm crochet hook.
- Scissors and optional yarn needle.
- Uses:
- Wear it as a headband for everyday styling.
- Create them in multiple colors to match different outfits.
- Use them as handmade gifts for friends and family.
Conclusion
This crochet headband project is a fun, quick, and rewarding way to practice basic crochet techniques. pattern is perfect for beginners looking to complete a functional and stylish accessory in under an hour. The detailed instructions, along with the customizable pattern, allow you to create headbands in multiple sizes and colors.
Bonus Tip
When fastening off, leave a longer yarn tail and use that for one of the ties instead of creating a new one. This reduces waste and minimizes loose ends. Also, always pull tightly on your slip knots and chain ends to make sure the ties stay secure during use.
https://youtu.be/xNYCpJb1Luw