
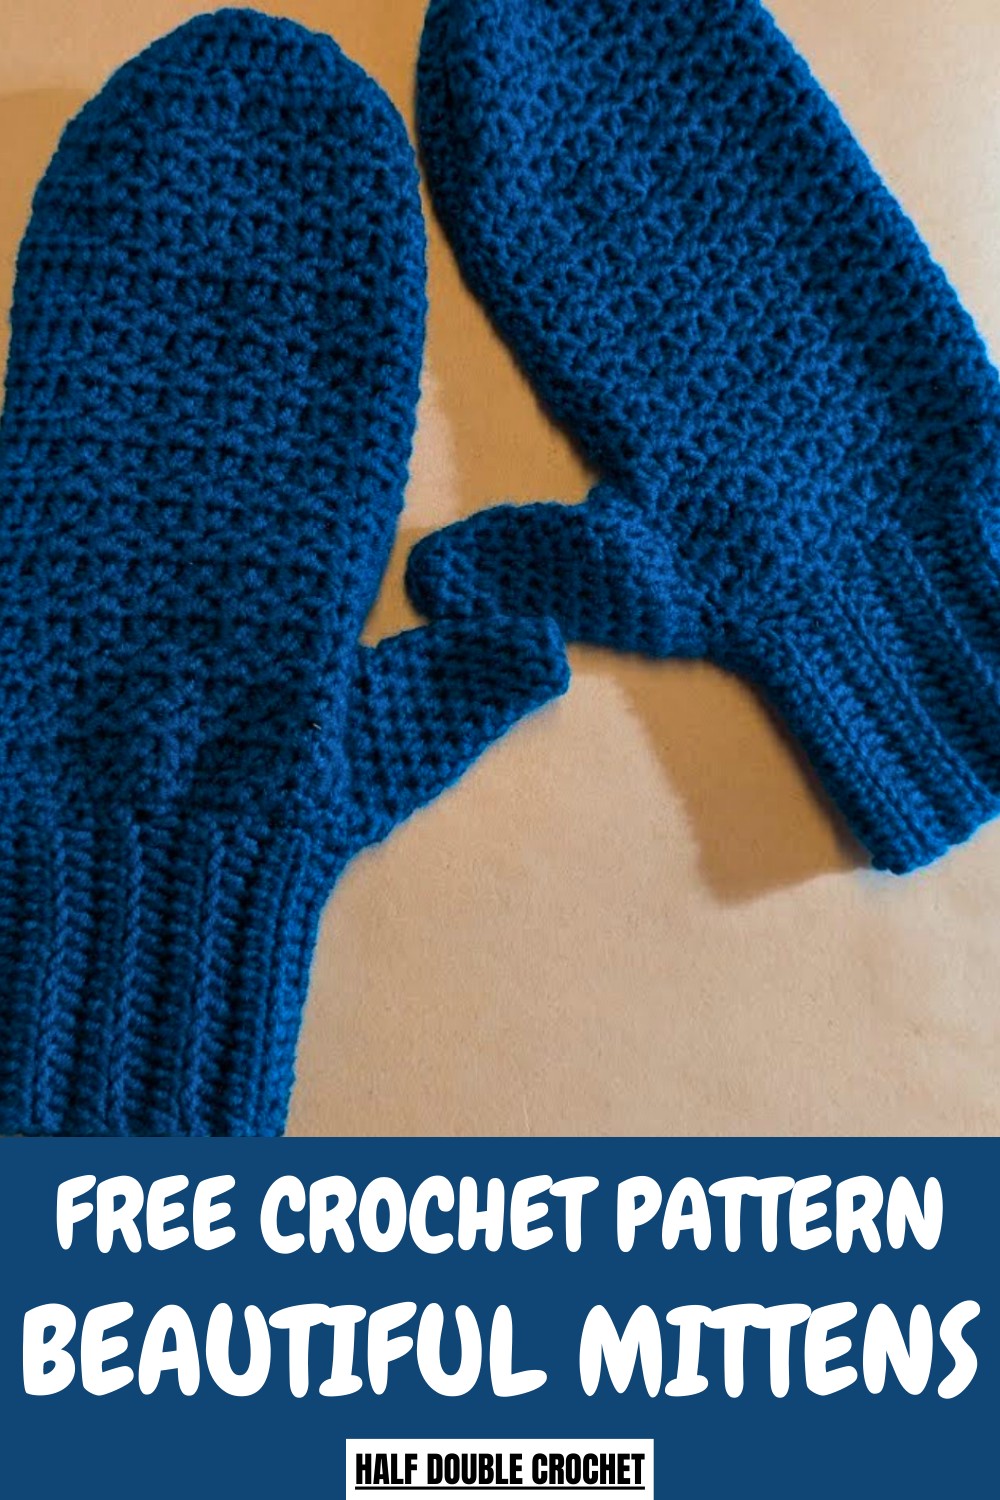
Cozy Crochet Mittens Pattern Perfect for Winter Warmth
Stay warm and stylish with this Free Crochet Mittens Pattern, featuring a cozy, comfortable design perfect for cold days and winter wear.
Bringing warmth and charm to every winter ensemble, these mittens offer both beauty and practicality. The Crochet Mittens Pattern showcases intricate stitch details that create texture and a polished look while ensuring a comfortable, flexible fit for all-day wear. Perfect for outdoor strolls, festive occasions, or everyday use, they elevate any outfit with subtle elegance.
Whimsical Crochet Mittens Pattern Perfect for Holiday Gifts
Lightweight yet insulating, the design feels gentle on the skin while maintaining a structured, refined shape. Vibrant colors, yarn choices, and decorative touches allow each pair to reflect personal style, making them unique and eye-catching.
Ideal for gifting or adding a handmade touch to seasonal wardrobes, these mittens combine functionality with aesthetic appeal. Blending classic charm with contemporary design, the Crochet Mittens Pattern results in a timeless accessory that celebrates warmth, style, and craftsmanship, turning a simple winter essential into a versatile and delightful statement piece.
Step-by-Step Instructions
Step 1: Gather Materials
- Yarn: The tutor used 75 g of Hobby’s "Kind Feather" in blue. You can choose any soft and warm yarn of your liking.
- Crochet Hook: 4 mm hook.
- Stitch Markers (2): To mark the palm and thumb sections.
- Darning Needle: Used for sewing and finishing the mittens.
- Scissors: For trimming excess yarn.
Step 2: Create the Wrist Section
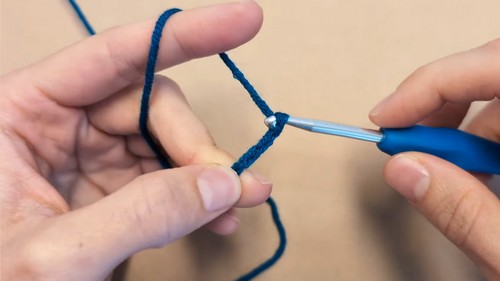
- Slip Knot and Chain Foundation:
- Start with a slip knot.
- Chain 17 stitches (or adjust to fit your wrist).
- This length will determine the size and fit of the wrist area.
- First Row – Half Double Crochets:
- Yarn over, skip the first two chains, and insert your hook into the third chain from the hook.
- Pull the yarn through the stitch (3 loops on your hook), yarn over, and pull through all 3 loops to complete a half double crochet (HDC).
- Continue working HDC stitches in each chain until the end of the row.
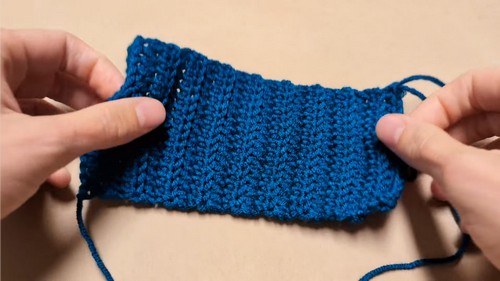
- Subsequent Rows – HDC in the Back Loop:
- Chain 2, turn your work, and crochet into the back loop only of every stitch. This creates a ribbed texture.
- Repeat until you complete 18 rows, measuring approximately 15 cm. Adjust the number of rows to fit snugly around your wrist.
- Joining the Wrist Section:
- Wrap the ribbed section around your wrist to test the fit. If it fits snugly, you’re ready to move on.
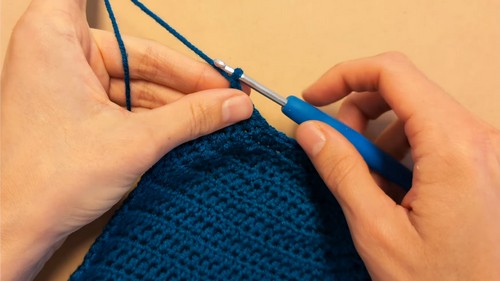
3: Build the Mittens
- Single Crochets on Edge:
- Work single crochet stitches along the edge of your crochet piece to create a base. Space these stitches tightly, aiming for approximately double the number of your rows (e.g., 18 rows = 36 single crochets).
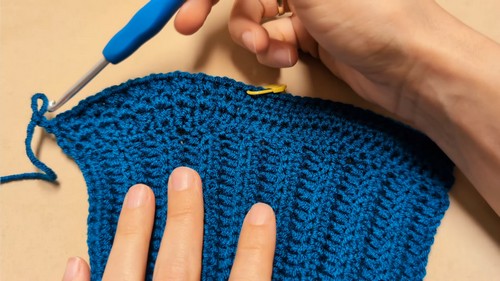
- Mark the Palm:
- Count 21 single crochets from the left edge, then mark the 21st stitch with a stitch marker. This sets the palm and back of the hand sections.
- Begin Half Double Crochets:
- Chain 2, then turn your work. Work half double crochets (HDC) into each single crochet until you reach the stitch marker, then mark that stitch as you continue working.
- V-Stitch Row (Back of Hand):
- After reaching the palm section, begin creating V stitches for decorative texture.
- Yarn over, skip one stitch, and work one HDC, chain 1, and another HDC into the same stitch (V shape).
- Skip one stitch and repeat this pattern until the row ends.
- For the next rows, stack new V stitches on top of the previous row by working into the center space between the two HDCs that form the V.
- After reaching the palm section, begin creating V stitches for decorative texture.
- Alternate Rows:
- For each row, alternate between HDC rows for the palm section and V-stitch rows for the back of the hand. Use the stitch marker to distinguish between these sections.
- Complete the Main Part:
- Continue this pattern for 24 rows (or 24 cm in length), ensuring your hand nearly fits the mitten shape. Test fit as needed.
4: Shape the Mitten
- Decreasing Rows:
- After completing 24 rows, work four more rows with decreases to taper the mitten:
- Create four HDCs, then work a decrease (yarn over, pull through two stitches, then pull through all loops).
- Repeat this pattern (4 HDCs + 1 decrease) for the row.
- After completing 24 rows, work four more rows with decreases to taper the mitten:
- V-Stitch Area:
- Decrease across V-stitch rows by placing HDCs into both the V stitches themselves and the spaces between them, then use a decrease as needed after every four stitches.
- Repeat Decreasing Rows:
- Crochet four rows in total with decreases to shape the mitten’s top.
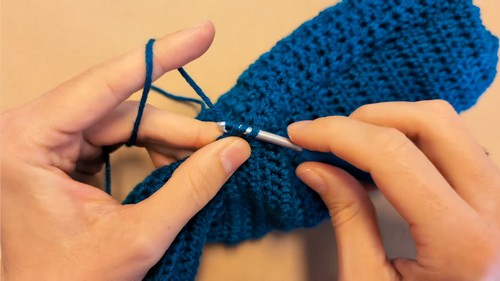
5: Assemble the Mitten
- Sew the Edges:
- Fold the crochet piece in half (right side inward). Use a darning needle to sew along the side to close the mitten. Leave a 5 cm gap at the top for the thumb hole.
- When the stitching is complete, flip the mitten inside out.
- Close the Top of the Mitten:
- Use a zigzag stitch along the top edge of the mitten. Pull the loops tightly to close the opening, securing with a knot.
6: Create the Thumb
- Add Half Double Crochets:
- Working on the thumb section with your 4 mm crochet hook, attach your yarn via a slip knot and begin creating HDCs around the opening for the thumb. Space the HDCs evenly around without leaving gaps.
- Shape the Thumb:
- In the second row, place a decrease after every 2 HDCs.
- Continue working up the thumb for 8 additional rows, skipping the first stitch of every row.
- This gradual tapering will create a snug fit for the thumb.
- Close the Thumb Tip:
- Flip the mitten inside out, sew the top of the thumb closed using a zigzag pattern, then pull the yarn tight. Secure with extra stitches.
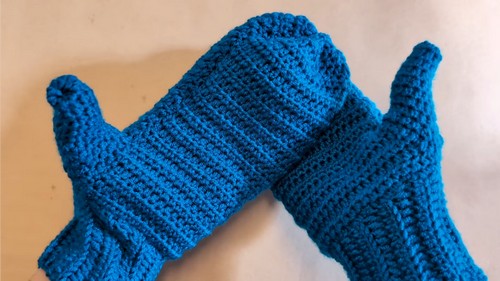
Special Features
- Dual Texture: These mittens feature a ribbed, snug-fitting wrist section and elegant V stitches on the back of the hand for a stylish look.
- Custom Fit: The tutorial enables you to customize the size to perfectly fit your hand by adjusting the number of rows.
- Practical Yet Beautiful: The design prioritizes both warmth and appearance, making it a great winter accessory.
Level of Difficulty
This project is beginner-friendly but leans toward moderate difficulty due to features like V stitches, custom fit adjustments, and shaping with decreases. If you’re familiar with basic stitches like half double crochet and slip stitches, this project will be manageable.
Tutor’s Suggestions
- Test Fit Around Your Wrist: Before moving to the next section, ensure the ribbed cuff fits snugly around your wrist. Adjust the number of rows if needed.
- Use Stitch Markers: Marking critical stitches (e.g., palm and thumb sections) ensures easier navigation and consistent results.
- Maintain Even Tension: Work tightly for the wrist section and thumb area to achieve a clean and structured finish.
- Yarn Choice: Use a soft but durable yarn like the Hobby “Kind Feather” for a warm and comfortable finish.
Uses and Materials
Materials:
- 4 mm crochet hook
- 75 g of Hobby “Kind Feather” yarn (or similar medium-weight yarn)
- Darning needle
- 2 Stitch markers
- Scissors
Uses:
- Winter Mittens: Warm, comfortable mittens are perfect for cold weather.
- Gifts: Handmade mittens make a thoughtful gift for family and friends.
- Customizable Accessory: You can create mittens in different sizes and colors to match your personal style.
Conclusion
This crochet mitten pattern is the perfect project for staying warm and cozy during the winter months. With its elegant design, snug fit, and functional thumb section, these mittens are both highly practical and visually appealing. The tutorial’s clear steps ensure that even beginners can tackle this project with ease.
Bonus Tip
When sewing the thumb or wrist sections, leave a generous yarn tail for stitching. This allows you to complete the seams without repeatedly attaching new yarn pieces, resulting in fewer knots and a cleaner finish.