
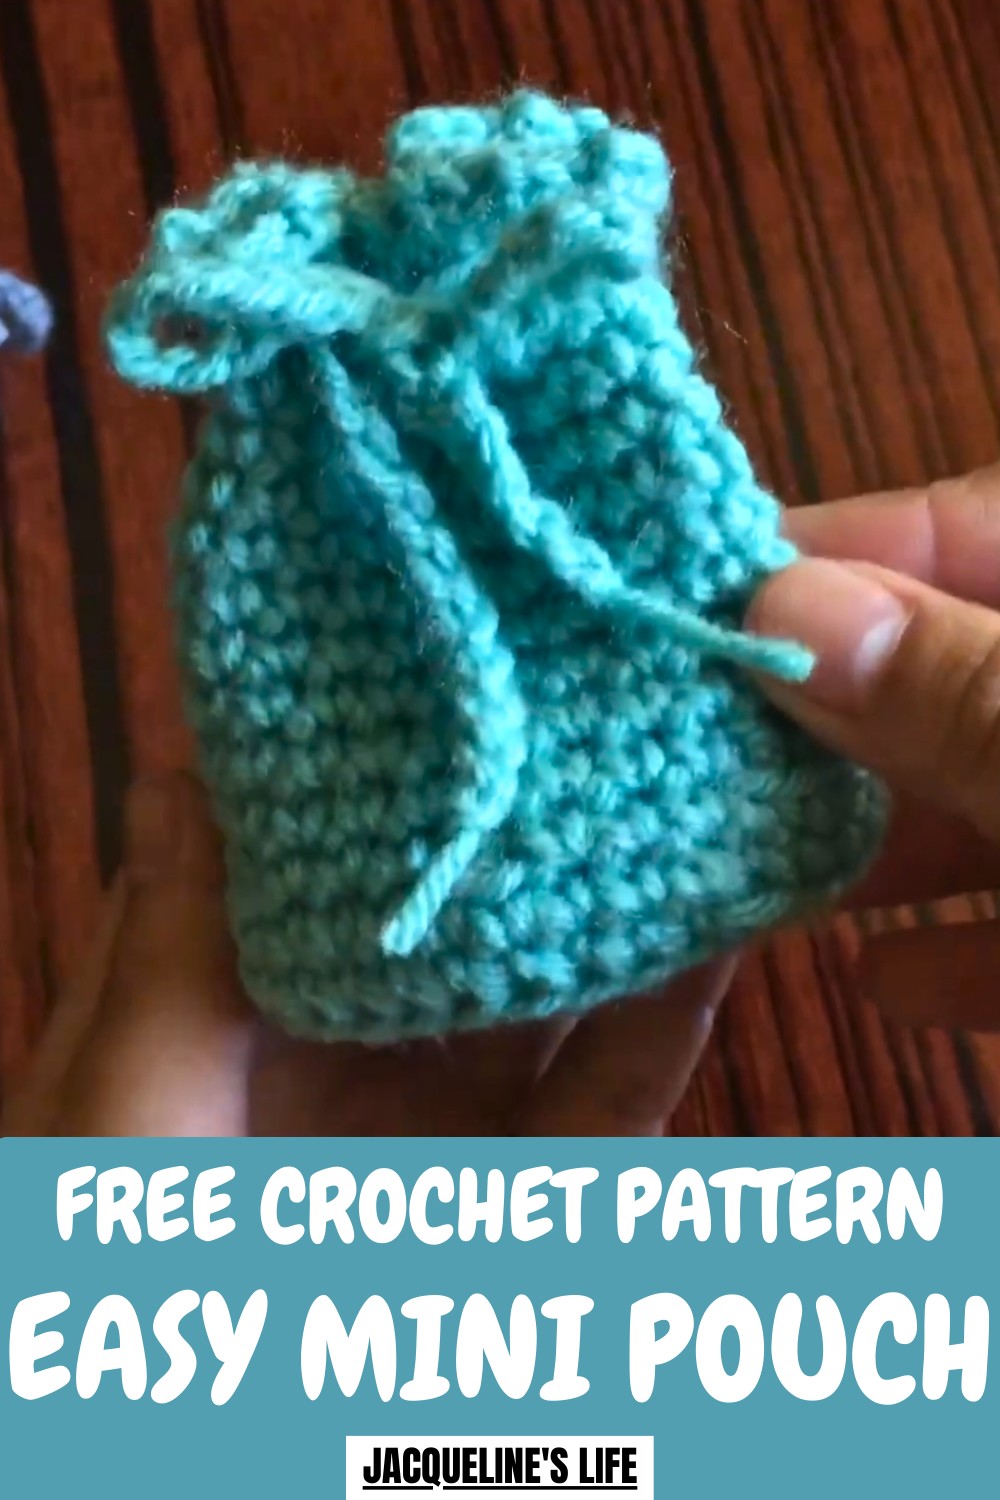
Tote small essentials in style with this Free Crochet Mini Pouch Pattern, adding a cute, handy touch to your accessories or handmade gifts.
Carrying small essentials becomes easier and more stylish when you make them yourself. A Crochet Mini Pouch Pattern allows you to craft compact, durable pouches perfect for coins, makeup, or keys. Handmade pouches offer complete control over size, color, and design, making them practical and personalized gifts or everyday accessories.
Playful Crochet Mini Pouch Pattern for Everyday Use
Crocheting this pouch also encourages creativity and focus, turning a simple project into a relaxing, rewarding activity. Unlike store-bought options, crocheted pouches are customizable, long-lasting, and made with care, ensuring quality and uniqueness. Crocheting your own mini pouch combines functionality, style, and personal satisfaction in a small, handy accessory.
How to Crochet a Little Pouch – Step-by-Step Guide
Materials Used
To create this adorable pouch, you'll need:
- Yarn:
- 1-pound yarn (recommended by the creator, but you can use any medium-weight yarn you have).
- Hook and Tools:
- 5.5mm Crochet Hook
- Stitch Marker: To keep track of stitches at the end of each round.
- Scissors: For trimming yarn.
- Optional Accessories:
- Decorative Buttons or Beads: To add flair to the final pouch.
Uses of the Little Pouch
- Storage: Perfect for holding coins, jewelry, keys, or any small items.
- Gifting: A practical and thoughtful handmade gift.
- Crochet Practice: Great for beginners wanting to learn key techniques like creating a magic circle, increasing stitches, and making clean borders.
- Decorative Item: Adds a touch of charm to your desk or bag collection.
Special Features of the Little Pouch
- Compact and Portable: Small enough to fit into a bag or pocket while being stylish.
- Adjustable Size: You can easily increase or decrease the size of the base and the height to suit your needs.
- Drawstring Closure: Creates a practical and secure way to close the pouch, making it more functional.
- Customizable Design: Add wavy edges, unique yarn colors, or even embellishments to make it one-of-a-kind.
Level of Difficulty
Beginner-Friendly
- You’ll need to know basic crochet stitches such as single crochet (SC), magic circle creation, and slip stitches.
- Slight familiarity with increasing, invisible decreasing, and crocheting into back loops will help.
Tutor’s Suggestions
- Start with the Magic Circle: Practicing the magic circle technique is essential to begin with—a neat start will ensure the base of the pouch looks polished.
- Keep Track of Rounds: Use a stitch marker to mark the last stitch of each round to avoid losing count.
- Customize the Size: Adjust the number of rounds for the base and the height to make a smaller or bigger pouch.
- Experiment with Borders: Add a simple chain for a flat border or a wavy edge for a fun, decorative effect.
- Finish Securely: Make sure all yarn ends are tightly secured to avoid unraveling later.
- Be Creative with the Tie: Use a chain for the drawstring or incorporate ribbons, beads, or other decorations to personalize your pouch.
Step-by-Step Instructions
Step 1: Create the Magic Circle (Base of the Pouch)
- Start with a magic circle:
- Wrap the yarn around your fingers to form a loop.
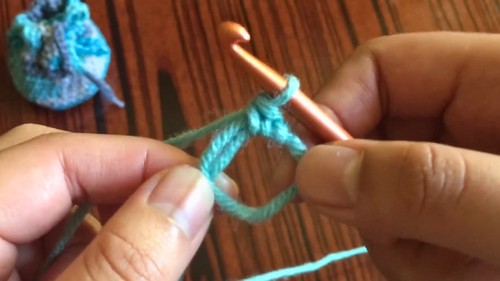
- Insert your hook into the loop, pull up the yarn, yarn over, and pull through the loop to tighten into a circle.
- Wrap the yarn around your fingers to form a loop.
- Round 1:
- Single crochet (SC) 7 times into the magic circle.
- Pull the tail of the circle to tighten fully, then connect the round by making a slip stitch (SS) into the first stitch of the round.
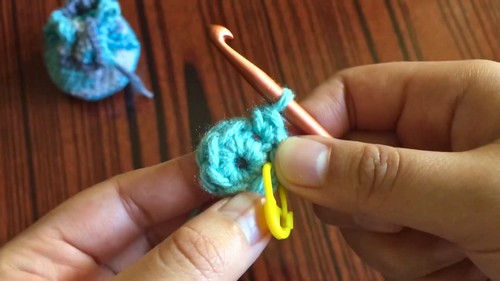
- Place your stitch marker in the final stitch to mark the end of the round.
Step 2: Expand the Base
- Continue crocheting in rounds, increasing the number of stitches in each round as follows:
- Round 2: Increase in every stitch (2 SC in each stitch), ending with 14 stitches.
- Round 3: Alternate between 1 SC in the first stitch and 2 SC in the next, until you have 21 stitches.
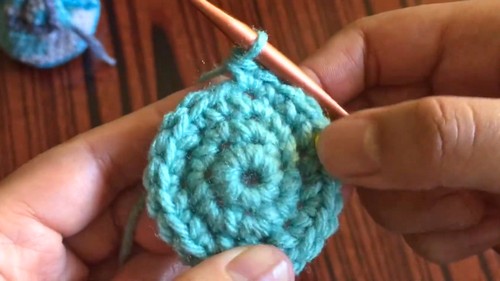
- Round 4: Single crochet into the first 2 stitches and increase in the third stitch, totaling 28 stitches.
 Round 5: Single crochet into the first 3 stitches and increase in the fourth stitch, ending with 35 stitches.Tip: If you want a larger pouch, keep increasing by adding one extra SC between increases per round.
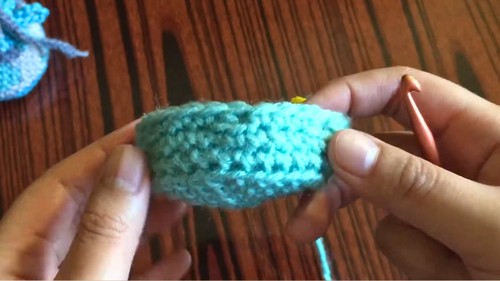
Step 3: Add Depth to the Sides
- Round 6: Work 1 SC into the back loops only for every stitch. This creates the base edge and helps the sides of the pouch rise upward.
- Round 7–8: Continue single crocheting as normal (no increases or changes). Keep the stitch marker in place to track the rounds.
Step 4: Decrease to Shape the Pouch Top (Optional)
- Invisible Decrease (optional for shaping): Crochet into the front loops of the next two stitches, yarn over, and pull through.
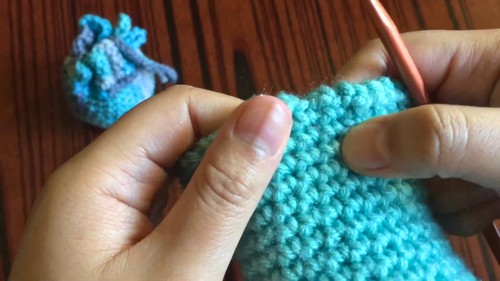
- For example: SC into the next 3 stitches, then decrease.
- Repeat for several rows if you want to taper the top slightly.
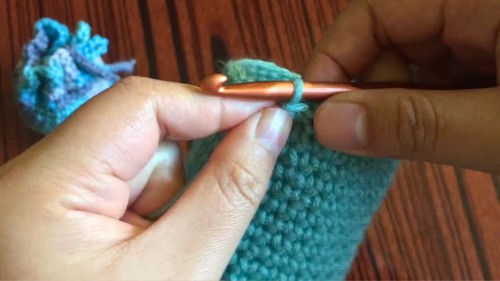
Step 5: Add Height
- Crochet rows of single stitches until your pouch reaches your desired height.
- Do 10–11 rounds for a medium-sized pouch.
- You can experiment with taller or shorter designs.
Step 6: Create the Border
- Flat Edge: Cut and secure the yarn if you prefer a straight edge.
- Wavy Border (Optional): For a decorative top:
- Chain 2, single crochet into the next stitch, and repeat around the top.
- This will create an elegant wave-like effect on the pouch’s border.
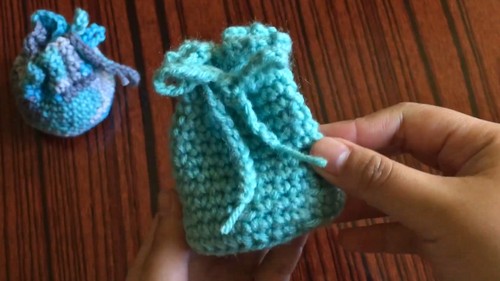
Step 7: Add the Drawstring
- Make the Chain:
- Chain 60 stitches (or more, based on pouch size). Fasten off and tighten the ends.
- Weave the Drawstring:
- Insert the chain into every third stitch along the pouch’s top using your crochet hook, alternating between inside and outside. This creates an even drawstring effect.
- Tie Off:
- Fasten the drawstring into a bow at the front of the pouch.
- Fasten the drawstring into a bow at the front of the pouch.
Conclusion
You’ve completed your handmade crochet pouch! This simple yet versatile project is fun to make and leaves room for creativity, whether you're changing its size, adding decorations, or experimenting with different borders. The drawstring closure ensures a secure seal, making it both practical and beautiful.
Pro Tip
When creating the drawstring, consider adding decorative beads to the ends of the chain for an extra touch of personalization. This will also prevent the drawstring from slipping into the pouch.