
Quirky Crochet Christmas Tree Pattern Which Makes Holidays Fun
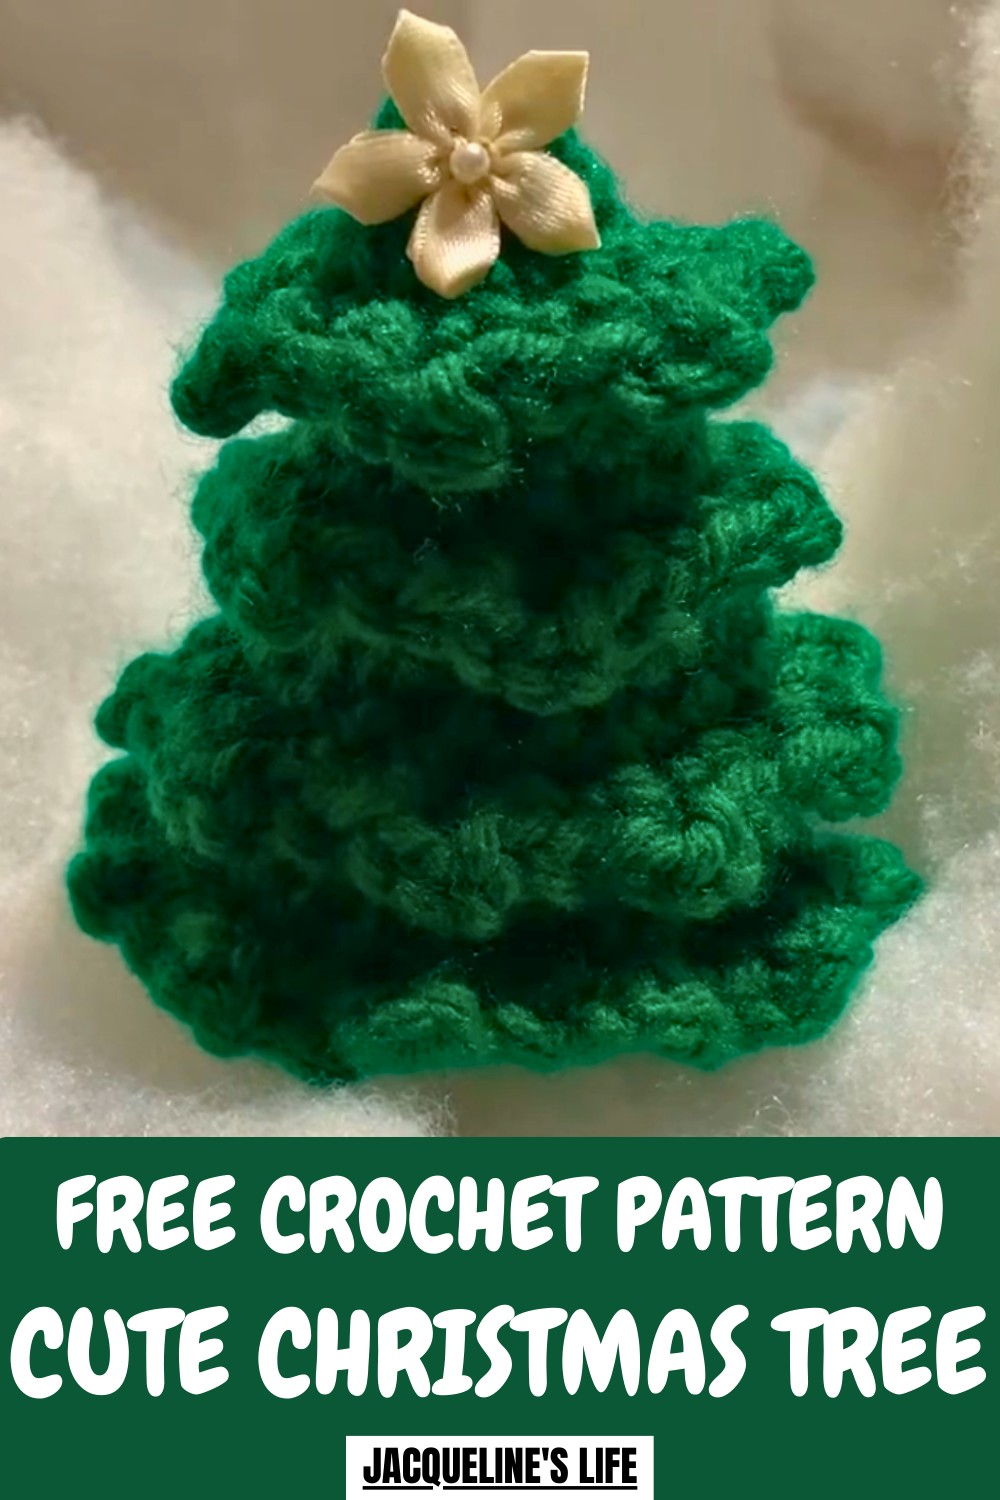
Deck your space with holiday cheer using the Free crochet Christmas Tree Pattern, making a cute and festive tree perfect for gifts, decor, or seasonal fun.
Nothing brings a smile quite like a tiny, cozy holiday accent that radiates charm and cheer. This little tree catches the eye with its layered, textured stitches that feel lively and full of character, almost like a miniature forest on your table. Perfect for brightening a shelf, adding to a mantel, or surprising someone with a handmade gift, it mixes festive spirit with a playful, soft touch.
Cute Crochet Christmas Tree Pattern That Sparks Joy
Beyond its looks, working on it can be surprisingly calming, offering a moment of focus and satisfaction while your hands bring yarn to life. Its versatility makes it easy to place anywhere, from a centerpiece surrounded by twinkling lights to a cute addition in a holiday-themed display.
With its cheerful presence, durability, and handmade warmth, this small tree isn’t just decoration, it’s a reminder that the little things can carry the biggest holiday magic.
How to Crochet Mini Christmas Trees: Step-by-Step Guide
Materials Needed
To make your mini Christmas trees, you’ll require:
- Yarn: Weight-4 yarn such as Caron’s One Pound (preferred) or Red Heart Super Saver. Examples include dark green, light green, and white.
- Crochet Hook: 5mm crochet hook.
- Stuffing: Fiberfill or leftover yarn scraps.
- Mini Pom-Poms: Purchase from Dollar Tree or similar craft stores.
- Decorative Flowers: Scrapbooking flowers for the tree topper (available at stores like Joann’s or Michael’s).
- Stitch Marker: To track your stitches.
- Scissors: For cutting yarn neatly.
- Glue Gun: For attaching decorations securely.
Uses
Mini crochet Christmas trees can serve as:
- Holiday Décor: Place them on mantels, tables, or window sills.
- Handmade Gifts: Give these unique creations to loved ones during the festive season.
- Charity Projects: Donate trees to holiday craft fairs or community events.
- Custom Collectibles: Make a variety of trees for personal holiday displays, swapping colors and ornamentation.
Special Features
- Customizable Design: You can choose different yarn colors, alternate chain patterns, and add embellishments such as pom-poms or ornaments.
- Beginner-Friendly Techniques: Despite the detailed design, all the concepts—such as single crochet, increases, and decreases—are accessible for beginners.
- Realistic Layers: Alternating chains create lifelike leaf patterns.
- Compact Size: The mini trees are ideal for small spaces or tabletop decorations.
- Durable Options: The choice of yarns (Caron One Pound or Red Heart Super Saver) ensures long-lasting results.
Level of Difficulty
Easy-to-Intermediate
While beginners can easily follow the basic techniques, paying close attention to counting stitches and working in both front and back loops requires focus.
Tutor’s Suggestions
- Yarn Recommendation: The tutor prefers Caron’s One Pound yarn for its smooth finish and ease of use. While Red Heart Super Saver works, it tends to be rough and sheds more.
- Color Choices: The trees look festive in alternating shades of green and white, but the tutor encourages experimentation for a personalized look.
- Chain Options: Alternate between chains of 1 and 3 or 2 and 3 to create distinctive tree layers.
- Counting Stitches: Focus on counting your stitches accurately when working in front and back loops to avoid errors.
- Decoration: Experiment with pom-poms, flowers, or tinsel. A plain tree also has a clean, minimalistic charm.
Step-by-Step Instructions
1. Create the Base
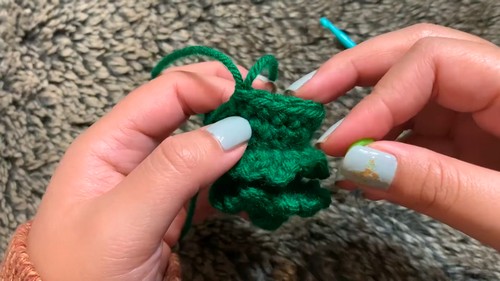
- Magic Circle: Wrap the yarn around your fingers to create an “X,” insert your hook into the circle, and pull through the working yarn. Chain and tighten to form the base.
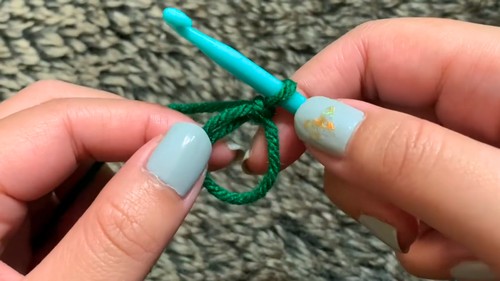
- Round 1: Single crochet six times into the magic circle. Close the circle by pulling the tail yarn tight. Use a stitch marker to track your last stitch.
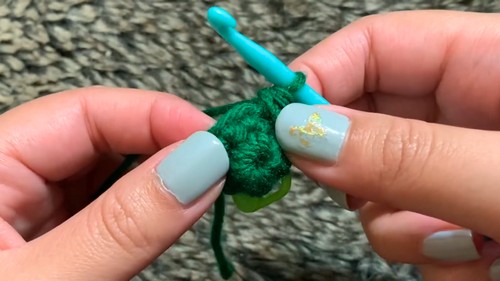
- Round 2: Single crochet into each stitch (total: six stitches).
2. Begin Tree Layers
- Round 3: Increase in each stitch (two single crochets per stitch). You’ll have a total of 12 stitches.
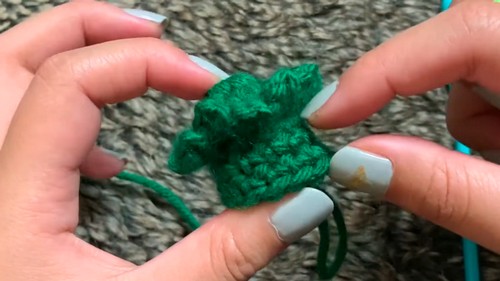
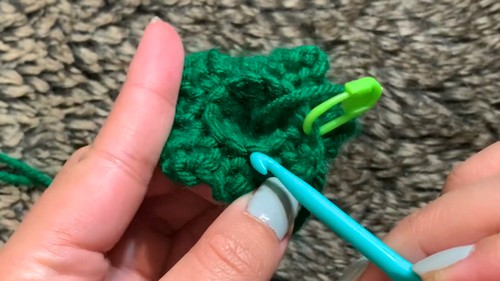
- Round 4: Work front loop only. Chain 2, then single crochet into the front loop of the next stitch. Alternate with a chain of 3 and single crochet into the front loop. Repeat until the layer finishes. Use a stitch marker for the last stitch.
3. Build the Tree Structure
Round 5: Work back loop only, single crocheting into 12 stitches in total.
- Round 6-7: Single crochet normally into each stitch (12 stitches).
Round 8: Repeat the alternating chain-2 and chain-3 pattern, working into the front loop only.
4. Shape the Tree Top
- Continue adding layers by working into front and back loops, alternating chain patterns to create leaf shapes. Gradually increase the number of stitches in each new round (e.g., 18 stitches in Round 10, 24 stitches in Round 14).
- Round 16: Close with the alternate chain pattern (chain-2 and chain-3).
5. Decorate the Tree
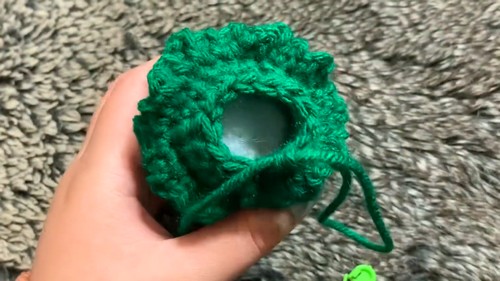
Once the tree is completed, stuff the interior with fiberfill or leftover yarn scraps. Decorate the exterior with mini pom-poms, flowers, or tinsel using a glue gun. Consider leaving the tree plain for a clean, minimalist design.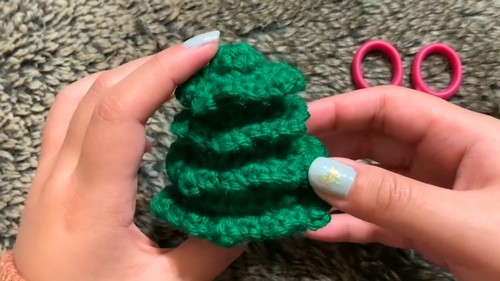
Conclusion
By following this tutorial, you can create cute, intricate mini Christmas trees that showcase your crochet skills while adding festive cheer to your holiday celebrations. The design allows for creative variations in color, layers, and decorations, making each tree unique. Whether you’re a beginner or an experienced crocheter, this project offers a fun challenge. Display your crochet creations proudly or gift them to someone special this season!
Pro Tip
Make counting stitches easier by placing stitch markers in both front and back loops as you alternate rounds—this helps prevent confusion and keeps your project neat!