
Playful Crochet Tiger Rattle Pattern That Babies Will Love
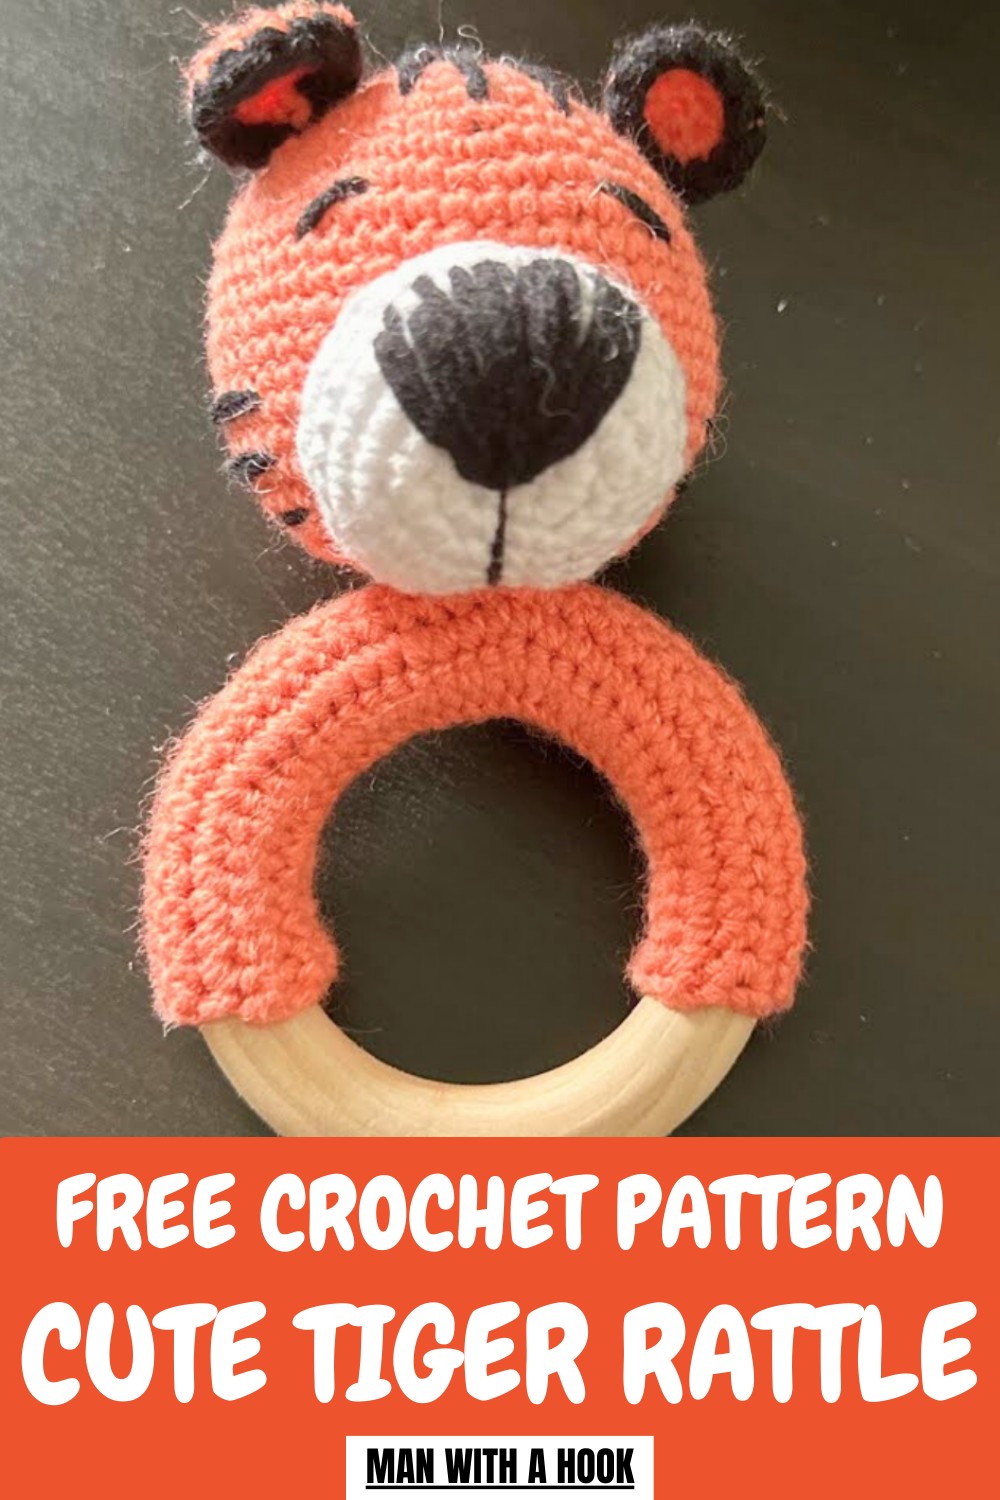
Roar into fun with this Free Crochet Tiger Rattle Pattern, perfect for playful babies and adding a cute, handmade touch to nursery décor.
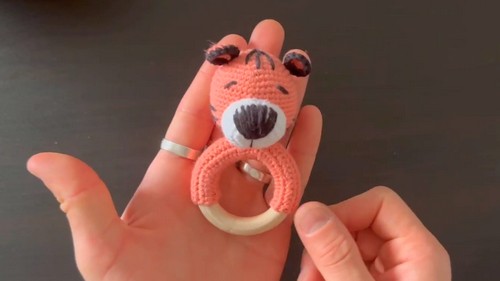
Soft, thoughtfully made toys can bring both joy and comfort to little ones, combining fun with early learning. The Crochet Tiger Rattle Pattern lets you create a gentle, engaging toy that captivates babies with soothing sounds and varied textures. Its lightweight and safe design is perfect for tiny hands, encouraging grasping, shaking, and developing fine motor skills.
Fun Crochet Tiger Rattle Pattern That’s Simply Purr-fect
Handmade crochet adds durability and a unique, personal touch that mass-produced rattles often lack, making each piece truly special. Crocheting this rattle is also a relaxing and rewarding experience, helping to improve crochet skills while creating something practical and meaningful.
Beyond playtime, it works beautifully as a thoughtful gift for newborns or baby showers, reflecting care and creativity. With its charming tiger design, soft yarn, and functional rattle feature, this creation combines playfulness, safety, and artisanal appeal, turning a simple toy into a memorable keepsake.
How to Crochet a Tiger Rattle for Kids – Step-by-Step Guide
Materials Needed
To make the tiger rattle, gather the following materials:
- Yarn: Orange, black, and white yarn (preferably "Jeans Yarn," which is lightweight and easy to crochet). Exact specifications are not provided, but pick a durable and soft yarn.
- Crochet Hook: Size 2 mm hook.
- Wooden Ring: For the base of the rattle. The exact size is not specified, but it should match the project scale.
- Ping Pong Ball: Used for creating the jingling sound inside. Alternative suggestions include popcorn, dry peas, or beans.
- Scissors and Sewing Needle: For cutting yarn and sewing the pieces together.
- Polyester Fiberfill: For stuffing the head and other components.
- Stitch Marker (Optional): To mark your rounds during crocheting.
Uses
- Baby Toy: Ideal for infants, offering a soft toy with a gentle rattling sound.
- Decorative Piece: Can also be used as a handmade gift for baby showers or nursery decorations.
- Child-Safe Design: Features secure stitching and no detachable components that could pose a choking hazard.
Special Features
- Custom-built Rattle Sound: The ping pong ball, filled with small dry items, creates a pleasant noise.
- Durable Wooden Ring Base: Acts as a sturdy handle for little hands to grip.
- Creative Tiger Design: Embroidered facial features and crochet ears give it a playful character.
- Safe Construction: Avoids the use of small, hazardous parts like plastic safety eyes.
Level of Difficulty
This project is suitable for beginners, though parts like assembling the head and decreasing stitches for closures may challenge absolute novices. With patience and attention to detail, beginners can complete this tutorial successfully.
Step-by-Step Instructions
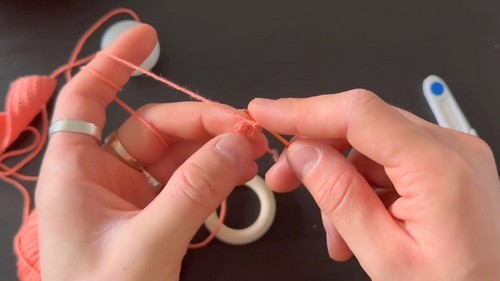
1. Covering the Wooden Ring
- Start with a Chain of Loops: Crochet a chain that is long enough to wrap tightly around the wooden ring.
- Wrap the chain around the ring to measure its length. It should not be too loose, as tightness ensures stability during use.
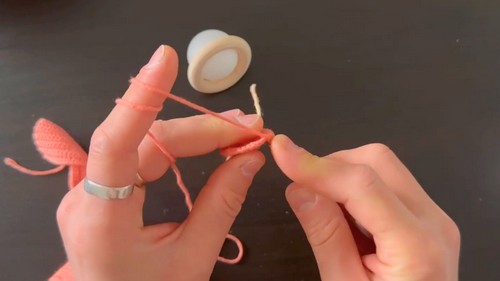
- Work Back and Forth: Crochet back and forth along your chain to create rows. In the tutorial, 10 rows were used, but your number may vary depending on the size of the ring.
- Add one extra turning loop at the end of each row.
- Attach to the Ring: Once complete, wrap the crochet piece around the ring and stitch it together securely.
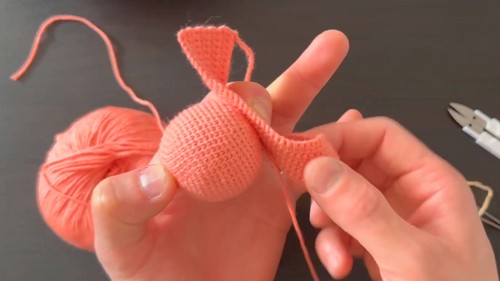
2. Crocheting the Head
- Start with a Magic Ring: Create a magic ring and crochet 6 single stitches into it. Close the ring.
- Increase Rows (6 to 48 Stitches):
- Row 2: 6 increases (12 stitches total).
- Row 3: Alternate 1 single crochet and 1 increase (18 stitches).
- Row 4: Alternate 2 single crochets and 1 increase (24 stitches).
- Row 5: Alternate 3 single crochets and 1 increase (30 stitches).
- Continue increasing stitch counts until the head has 48 stitches in total.
- Work Upward Rows: Crochet 13 rows without any increases. This forms the main portion of the round head.
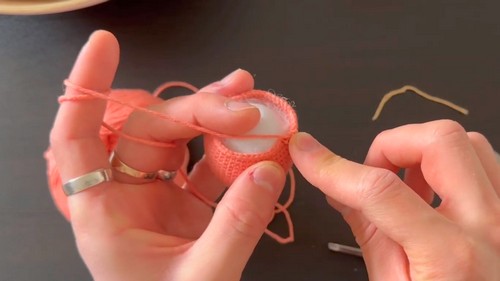
- Insert the Ping Pong Ball: Cut a small hole into the ping pong ball. Fill it with popcorn, dried peas, or beans. Adjust the amount of filler to achieve your preferred sound. Seal the hole.
- Add a Layer of Fiberfill: Place a small amount of fiberfill around the ball to make the head soft. Evenly distribute the stuffing to maintain a symmetrical shape.
- Decrease to Close the Head (48 to 12 Stitches):
- Begin decreasing the stitch count row by row. For example:
- Row 1: 6 stitches, 1 decrease (repeat).
- Row 2: Continue decreasing evenly until you have only a few stitches left.
- Once only a few stitches remain, use a sewing needle to make a smooth, secure closure.
- Begin decreasing the stitch count row by row. For example:
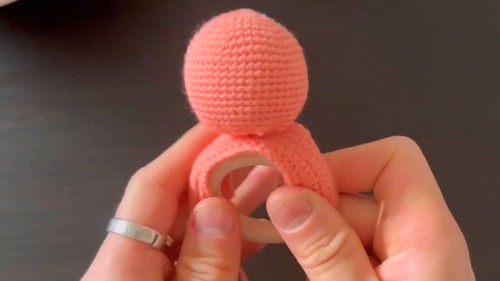
3. Attaching the Head to the Ring
- Position the Head: Center the head at the top of the ring, then sew it securely in place. Ensure it is balanced and sits firmly on the ring without wobbling.
- Reinforce Stitching: Sew all around the base of the head to prevent it from loosening over time.
4. Making and Attaching the Ears
- Crochet Two Outer Ears (Orange):
- Start with a magic ring. Make 6 stitches into the ring.
- Row 2: 6 increases (12 stitches total).
- Do not finish the last stitch. Switch to black yarn for the border.
- Row 3: Crochet 12 stitches around in the black yarn, ensuring neat joins.
- Finish with a closing slip knot.
- Attach the Ears:
- Position the ears between the 4th and 5th rows from the top of the head.
- Sew securely in place on both sides. Adjust positions to ensure symmetry.
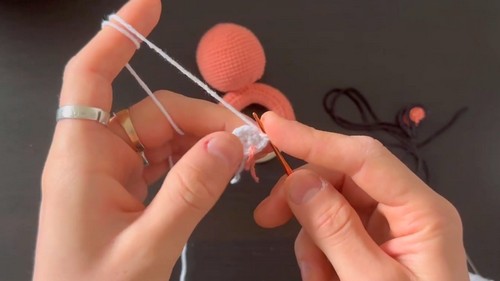
5. Crocheting the Mouth and Nose
- Create the Mouthpiece:
- Start with a magic ring. Make 6 stitches in the ring.
- Alternate increases and additional stitches in each round: 6, 12, 18, 24, up to 30 stitches. End with 2 rows of 30 stitches with no increases.
- Add filler before sewing onto the head.
- Sew the Mouthpiece: Attach it securely to the center-bottom of the head.
- Add the Nose: Using black yarn, embroider a triangle for the nose and fill it in by sewing back and forth.
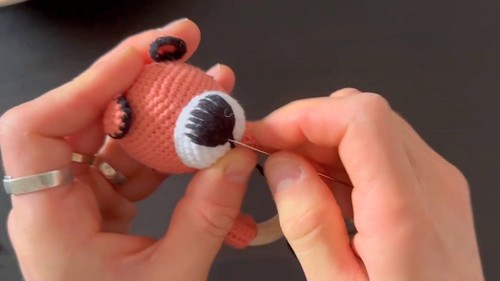
6. Adding the Facial Features
- Tiger Stripes: Sew dark lines on both sides of the face starting 2-4 stitches away from the mouth. Make 2-3 lines on each side.
- Eyes: Embroider black "sleepy" eyes slightly above and to the sides of the nose. Create semi-closed shapes for a cute expression.
Tutor’s Suggestions
- Keep the Design Safe for Kids: The tutor avoids using small parts like safety eyes to eliminate choking hazards.
- Work with Tight Stitches: Ensure your stitches are tight to prevent the stuffing or noise-making components from slipping out.
- Balance the Shape: Stuff evenly to avoid a lopsided head. Adjust the fiberfill as needed.
- Reinforce Your Stitching: Use extra passes while sewing components to make them secure and durable for kids.
Conclusion
With its charming and safe design, this tiger rattle is both fun and practical. The process walks you through covering the wooden ring, crocheting the tiger head and ears, assembling the toy, and adding delicate finishing features. It’s a unique, handmade gift perfect for loved ones. This project helps you practice foundational crochet skills while creating something meaningful and functional.
Pro Tip
To ensure safety and durability, double-knot and hide your yarn ends securely inside the stitched work. This will prevent the toy from unraveling after extended use.