
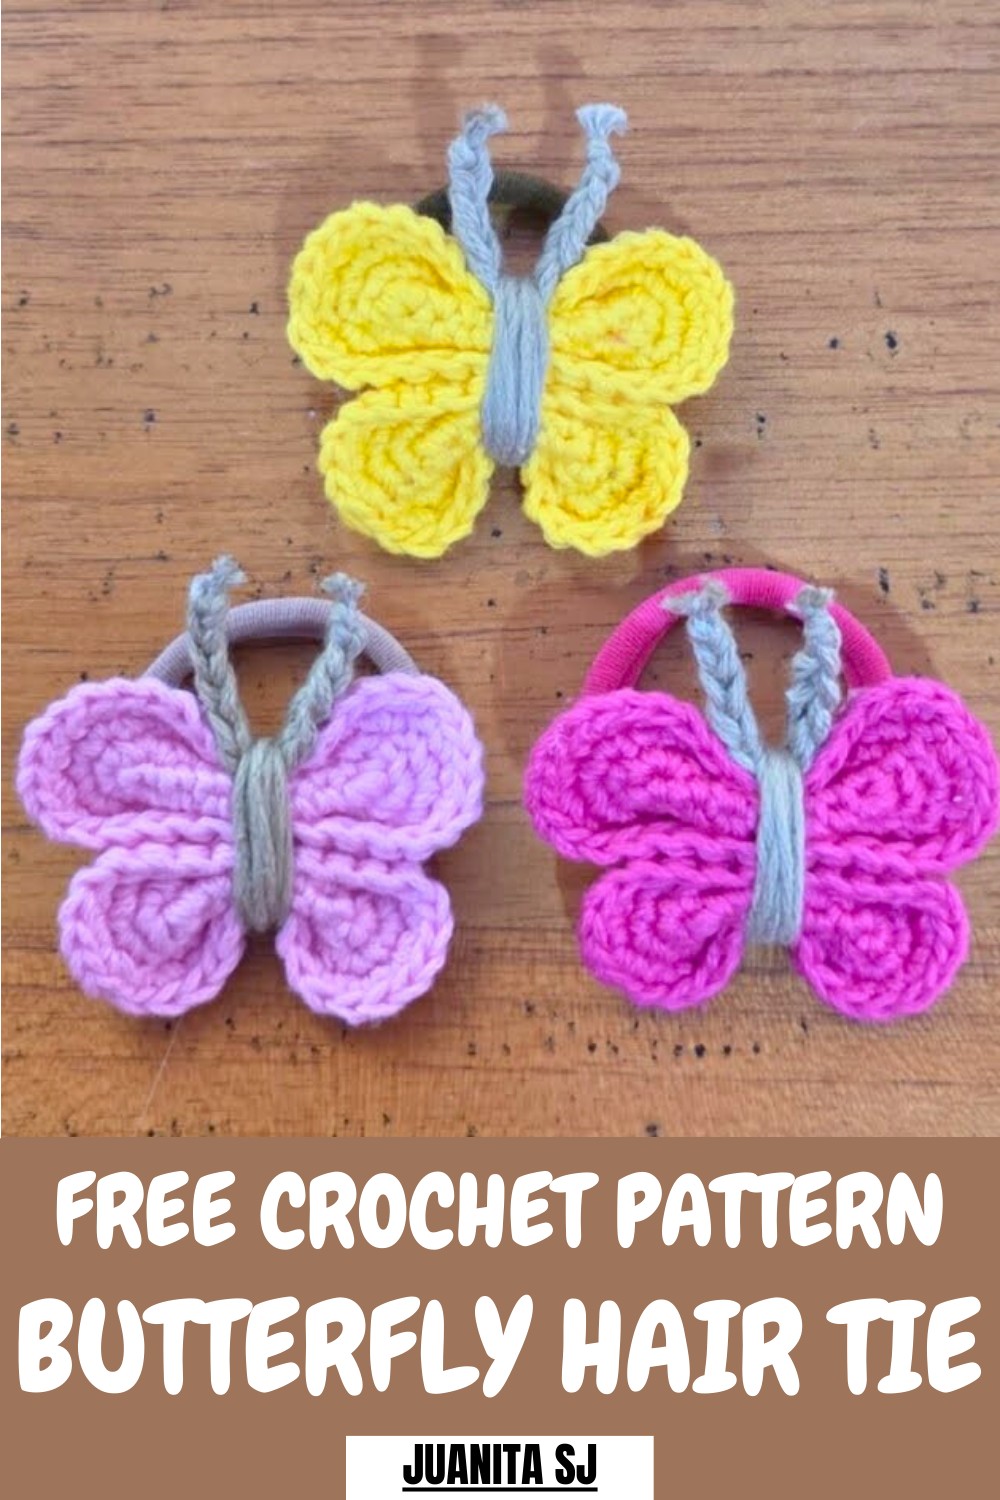
Trendy Crochet Butterfly Hair Tie Pattern to Accessorize Easily
Style your hair with a Free crochet Butterfly Hair Tie Pattern featuring easy stitches to create a cute, playful accessory perfect for any hairstyle.
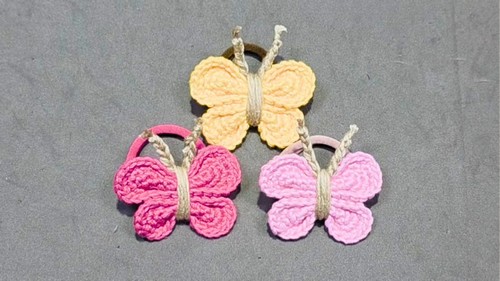
Little bursts of handmade charm can transform an ordinary hair tie into something truly special, adding personality to any hairstyle. The Crochet Butterfly Hair Tie Pattern creates delicate butterfly wings from soft yarn, offering a playful and sweet accent whether tied around a ponytail or worn as a wrist accessory.
Soft Crochet Butterfly Hair Tie Pattern for Comfortable Styling
Its lightweight texture and intricate design make it perfect for casual wear, gifting, or as a thoughtful handmade present. The crocheted fabric is gentle on hair, stays light, and can be customized with endless colors and sizes for different ages.
Materials
Gather these items to begin crocheting:
-
Yarn: Small amounts of cotton thread (you can use leftover yarn scraps).
-
Hook: A 2.5 mm crochet hook.
-
Tool: A tapestry needle for weaving in ends.
-
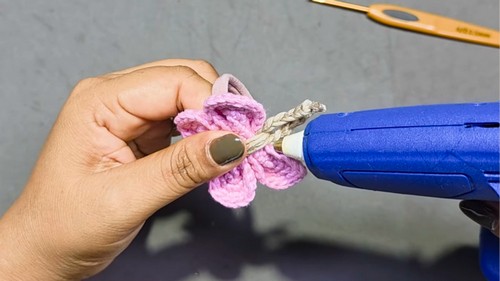
Adhesive: A little bit of silicone or hot glue for securing the antennae.
-
Base: One hair tie (elastic).
Uses
This tutorial guides you in making a beautiful butterfly applique, which you then securely attach to a hair tie to create a personalized hair accessory. It is an excellent item to crochet for gifting or selling.
Special Features
-
Minimal Yarn Use: The project requires a very small amount of yarn, making it an ideal choice for utilizing small leftover scraps from other projects.
-
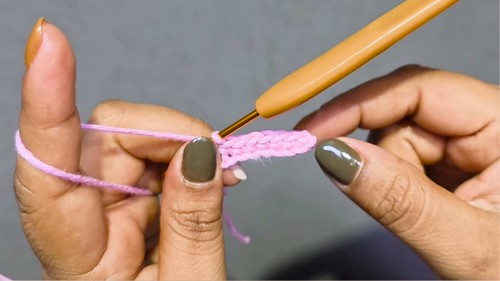
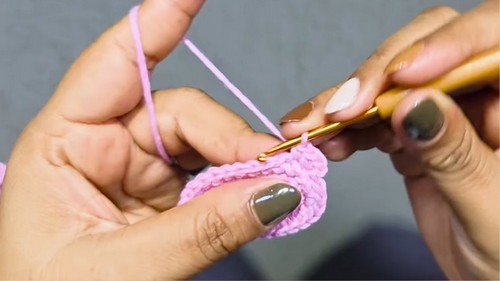
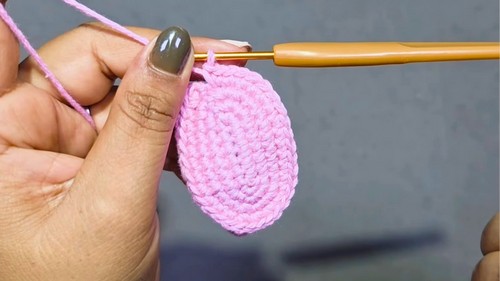
Simple Shaping: You achieve the elegant, tear-drop wing shape through straightforward increases along the curves of a flat piece, using only the basic single crochet stitch.
-
Seamless Finish: The technique for finishing the final row ensures a clean, hidden join that maintains the continuous look of the border.
-
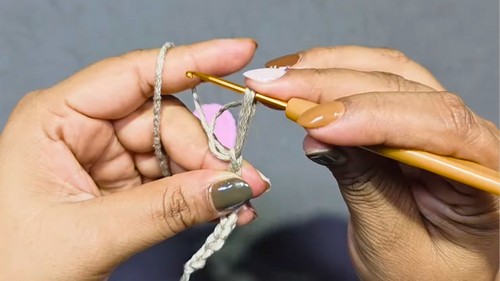
Structured Antennae: The antennae are created using a tightly worked double-strand chain, providing them with the necessary stiffness and shape.
Level of Difficulty
Very Easy
This project is exceptionally easy. It primarily uses the single crochet (SC) stitch and simple, repeating increase steps. A beginner who knows how to chain and make a single crochet can complete this butterfly successfully within minutes.
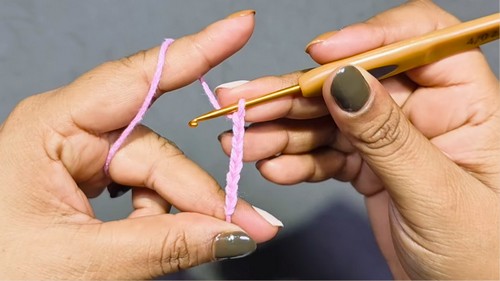
To crochet one, start with a simple elastic band suitable for hair. Using thin cotton yarn and a small crochet hook, make a magic ring, then crochet a series of stitches — often double or half-double crochet — to form one side of the butterfly wing.
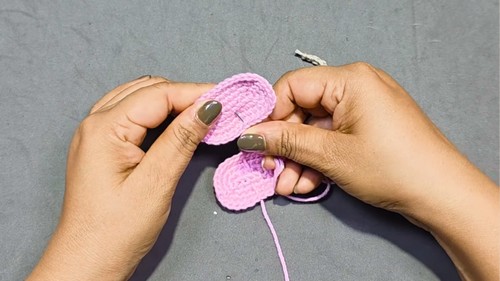
Repeat for the second wing and join them at the center over the elastic.
Tutor's Suggestions
-
Use Up Scraps: Actively use small remnants of yarn from other projects, as you need only a tiny amount for each butterfly.
-
Keep Chains Tight: Work the chains for the antennae as tightly as possible, as this tension helps them stand up and hold their shape after you attach them.
-
Weave Ends Neatly: After finishing the last round, use the tapestry needle to correctly weave the final yarn end through the closing stitch. This creates an invisible finish that hides where the round ends.
-
Secure the Shape: Use a dab of silicone or hot glue to secure the antennae to the top center of the butterfly after assembly. This prevents them from moving and keeps the piece looking tidy.
Add small decorative stitches or contrasting yarn to define the butterfly’s body or wing edges.
Finally, ensure the wings sit symmetrically, weave in all loose ends carefully, and secure the yarn for durability.
Conclusion
You have successfully crocheted an adorable butterfly hair tie. By repeating simple Single Crochet rows and using strategic increases, you created two distinct wings and combined them into a beautiful, wearable accessory. Enjoy your quick, charming, and fun-to-customize creation!
Tip
When you work the increases along the curved ends of your wing pieces, remember that you must always work an increase (2 SC) into the three stitches that define the curve. This is the only way to ensure the piece lays flat and grows into the necessary tear-drop shape.