
Bring home a Free crochet Baby Grinch Pattern with cute, easy stitches to create an adorable holiday-themed decoration or playful gift for little ones.
There’s a special charm in small handmade creations, and this project captures it perfectly. The Crochet Baby Grinch Pattern turns soft yarn and carefully crocheted stitches into a delightful, character-filled figure that appeals to both kids and collectors.
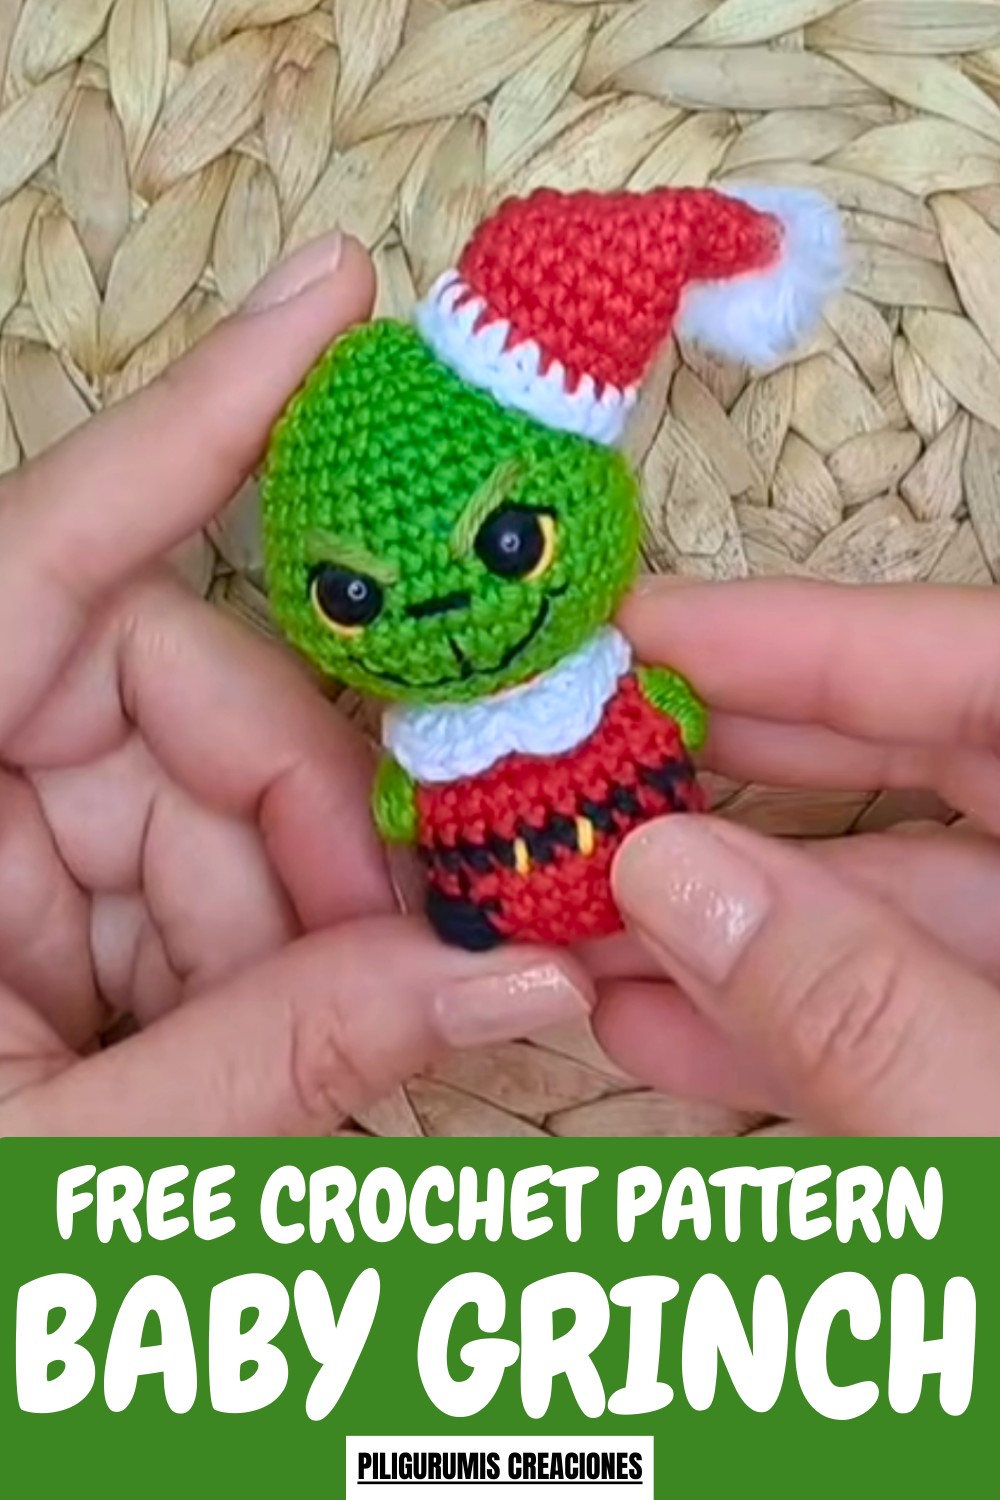
Crochet Baby Grinch Pattern That’s Full of Charm
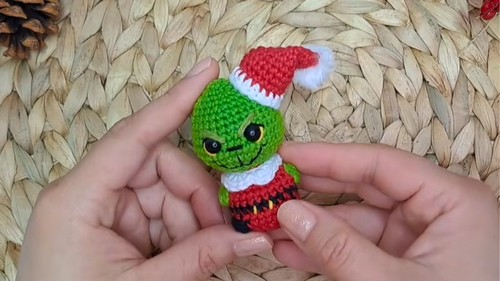
Its compact size and lightweight design make it ideal as a decorative piece, a holiday gift, or a fun keepsake. Beyond its playful look, the project demonstrates important crochet techniques such as working in spiral rounds, shaping with increases and decreases, and creating textured details that bring personality to the figure.
Materials
-
Yarn: Fine weight yarn (approx. 1 mm thick) in Red, Green (Grinch skin tone), Black, and White. Yellow yarn is used for embroidery.
-
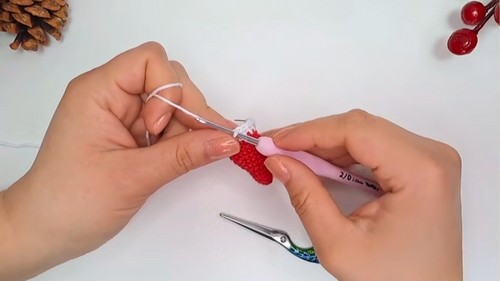
Crochet Hook: 2.0 mm.
-
Eyes: Safety eyes (7 mm).
-
Tools: Tapestry needle, scissors, stitch marker, pins, and a pet brush (for the pompom).
-
Stuffing: Synthetic fiberfill.
-
Adhesive: Glue (optional, for securing the hat or eyes).
Uses
-
Holiday Decoration: Perfect as a Christmas tree ornament.
-
Keychain: The small size makes it ideal for hanging on bags or keys (the tutor includes a loop for a metal ring).
-
Gift: A handmade seasonal gift for fans of the Grinch.
Finally, tidy the figure with a neat edging to complete the Baby Grinch.
Special Features
-
One-Piece Limbs: The arms and legs are crocheted directly into the body using bobble stitches, eliminating the need to sew them on separately.
-
Brushed Pompom: The pompom on the hat is made from yarn and brushed out to create a fluffy, fur-like texture.
-
Expressive Face: Detailed embroidery gives the Grinch his characteristic grumpy yet adorable expression.
Level of Difficulty
Intermediate.
The project involves working with small pieces, frequent color changes (sometimes mid-row), and specific stitch clusters (bobbles) for the limbs. The facial embroidery also requires a steady hand to capture the character's look.
Tutor's Suggestions
-
Check the Playlist: Look for the "Christmas Minis" playlist in the pinned comment for related tutorials.
-
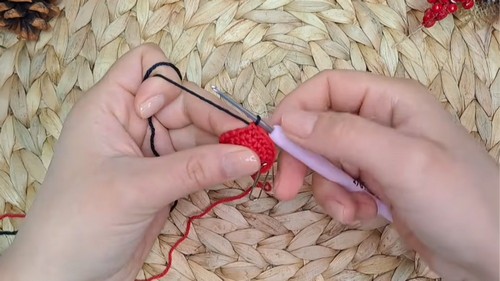
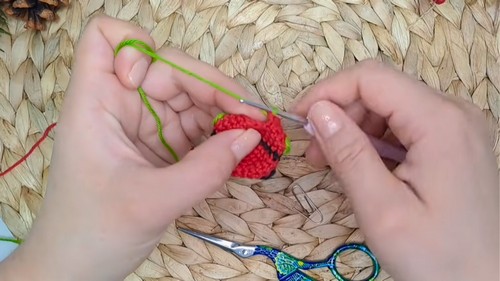
Yarn Management: When making the belt (black row), leave the red yarn waiting rather than cutting it, as you will pick it back up immediately after.
-
Limb Construction: Tie the loose yarn ends together inside the body after creating the bobble limbs to secure them firmly.
-
Pompom Texture: Use a pet brush (slicker brush) to vigorously brush the yarn bundle for the pompom until it separates into fluff.
This pattern is beginner-friendly yet engaging enough for experienced crocheters who enjoy amigurumi projects.
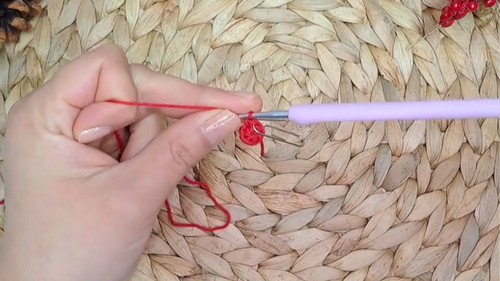
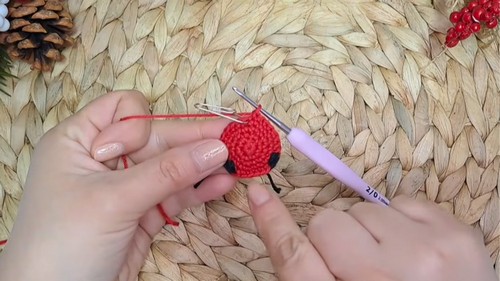
To make it, start with the body using single crochet in spiral rounds.
It teaches precision, consistency, and attention to detail while resulting in a finished toy that is sturdy, well-shaped, and visually appealing.
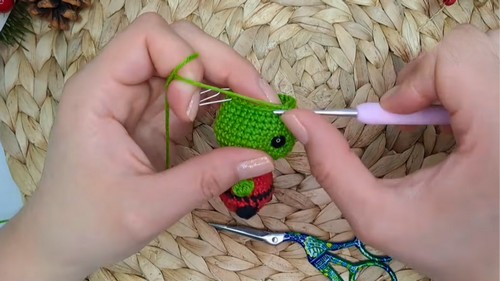
Create limbs and the head, either attached or separately, then stuff them carefully.
The Baby Grinch’s recognizable features—tiny limbs, expressive face, and signature hat—showcase how small touches can transform yarn into a character with personality.
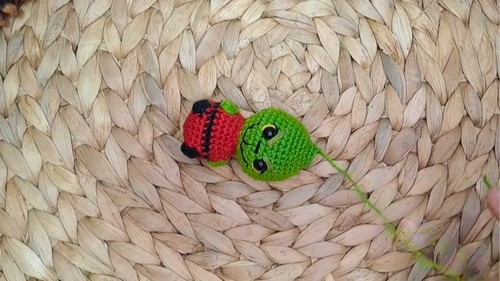
Assemble the pieces, stitch them together securely, and add finishing touches such as eyes, facial features, and the hat.
Conclusion
The tutorial concludes with the assembly of the collar and hat. The final result is a complete Baby Grinch figure ready to be used as a festive keychain or decoration. The tutor encourages sharing your creation on social media and tagging her channel.
Tip
Use the "Invisible Color Change" technique. When switching between Red and Green for the limbs or Red and Black for the belt, complete the last step of the previous stitch with the new color. This creates a seamless transition without jagged edges in your amigurumi.