
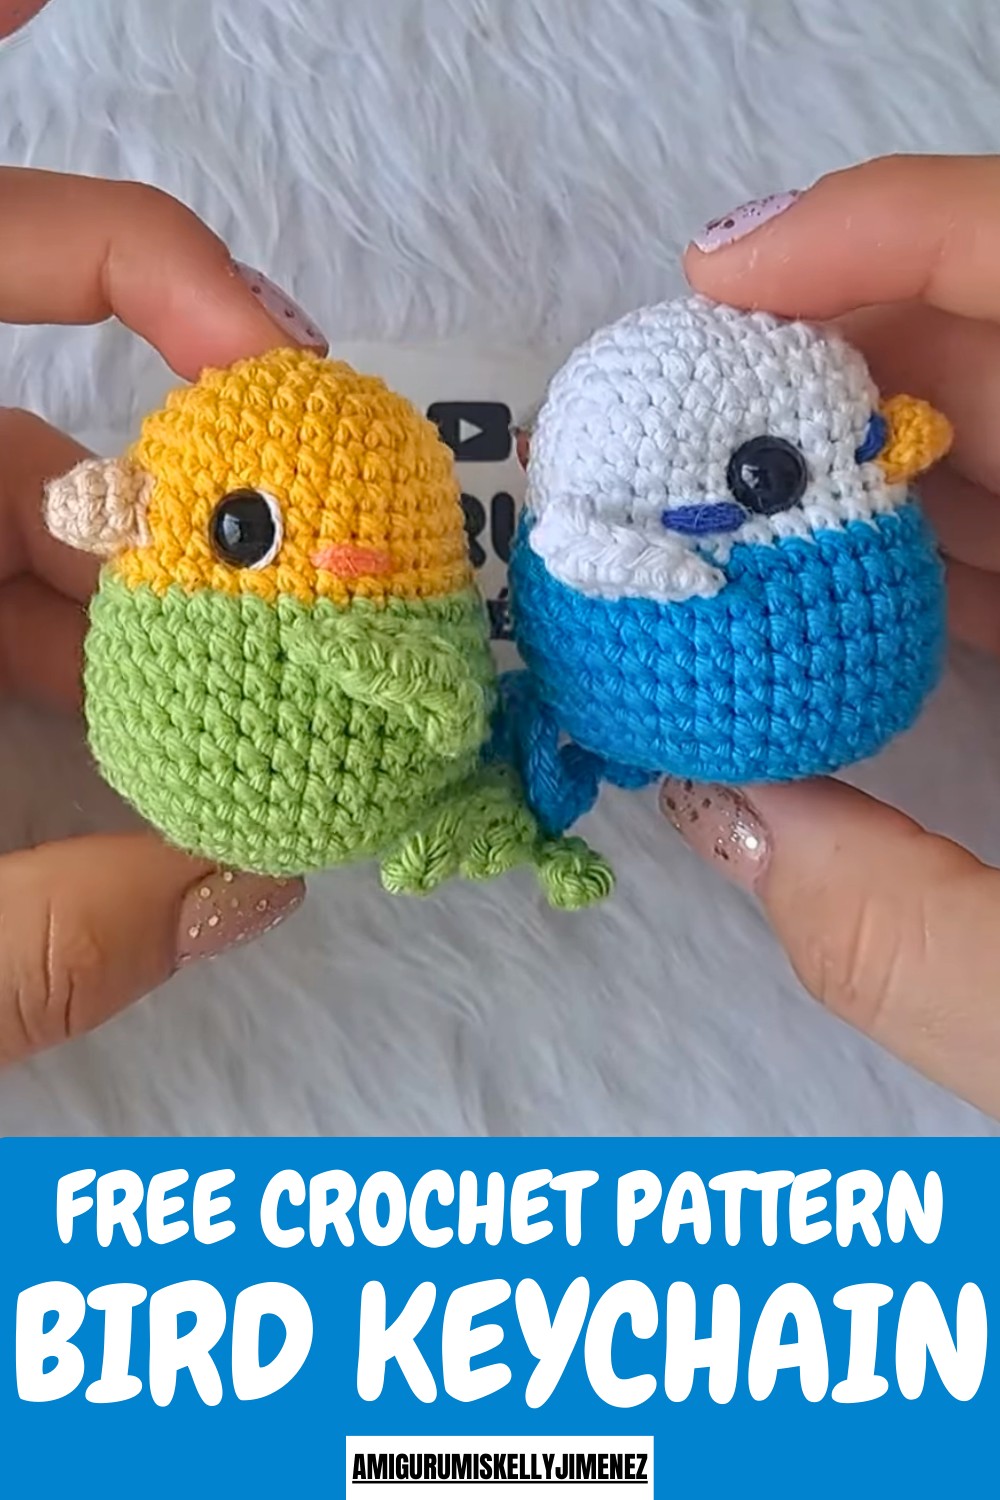
Whimsical Crochet Bird Keychain Pattern for Everyday Fun
Charm nature lovers with the Free Crochet Bird Keychain Pattern, a cute, playful, and quick project perfect for adding whimsy to any set.
A tiny, cheerful bird sits lightly on your keys, adding color and charm to everyday essentials. This pattern walks you through creating a delightful keychain using simple crochet techniques such as single crochet, slip stitch, and invisible decreases. Attaching a durable keyring completes the piece, transforming it into a practical accessory that enhances keys, bags, or zippers.
Project Specifications
-
Materials:
-
Yarn: Cotton yarn in your choice of two colors (plus yellow for the beak).
-
Hooks: Two sizes—a larger one for the body and a smaller one for the beak.
-
Safety Eyes: 8 mm size.
-
- Notions: Fiberfill stuffing, stitch markers, tapestry needle, and scissors.
-
Level of Difficulty: Intermediate. While the stitches are basic, the wing attachment and facial sculpting require careful attention to detail.
-
Uses: Keychains, backpack charms, nursery mobile pieces, or "worry birds" for stress relief.
Easy Crochet Bird Keychain Pattern to Spark Creativity
Lightweight and easy to carry, the bird’s vibrant colors and smooth texture make it both playful and visually appealing. Each stitch contributes to its structure and charm, resulting in a functional yet decorative piece that brings a subtle, whimsical touch to everyday life.
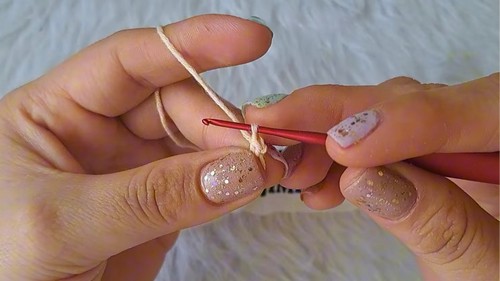
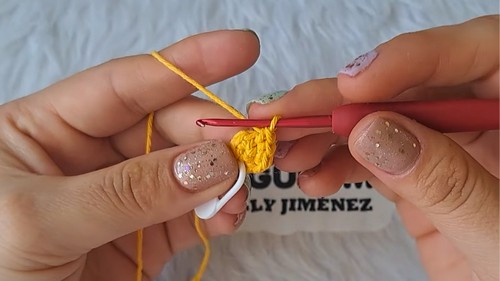
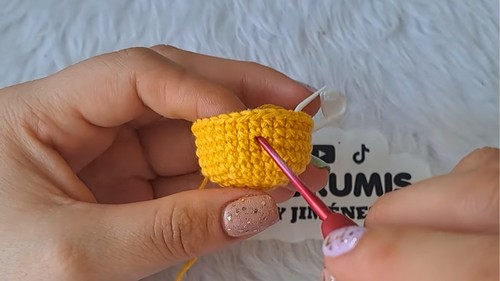
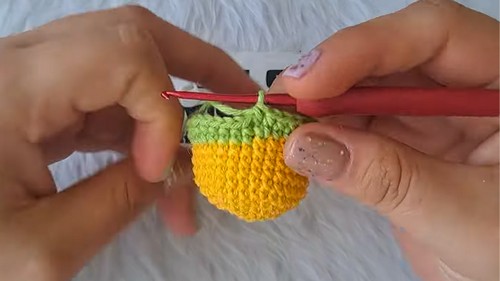
Starting with a magic ring, the plump, round body gradually forms with increasing stitches, providing a sturdy foundation.

Tutor's Suggestions
-
Marker Usage: Always mark the first stitch of every round. Since the bird is small, losing track of your count by even one stitch can make the eyes or wings look asymmetrical.
-
Stuffing Tip: When stuffing, focus on the bottom of the body to ensure the bird can sit upright without tipping over.
-
Color Choice: The tutor encourages choosing bright, contrasting colors for the head and body to make the bird pop.
Special Features:
-
-
Integrated Wings: The pattern uses "Front Loop Only" stitches during the body construction to create an easy attachment point for wings later.
-
Eye Depth Technique: The tutor uses manual sculpting to give the face more character and dimension.
-
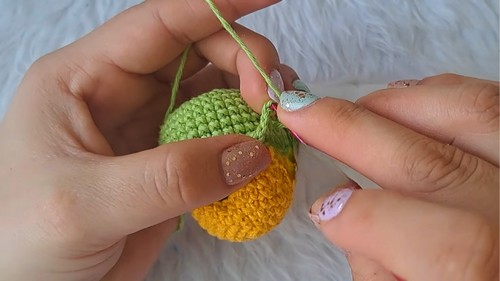
In the midsection, careful stitch placement shapes wings and a petite tail, adding personality and dimension, while the head is seamlessly formed.
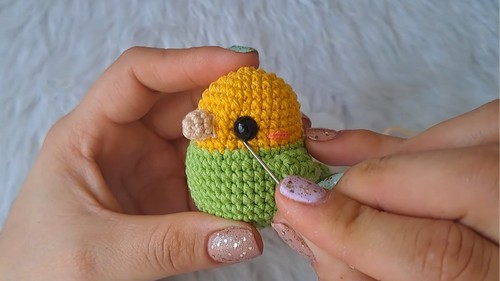
Features like eyes or a beak are added with embroidery or safety beads, giving the miniature companion character. From start to finish, the process blends simple steps with thoughtful detail, creating a miniature accessory that is as delightful to make as it is to use.
Conclusion
This Amigurumi Bird project is a masterclass in small-scale construction. By using clever techniques like loop-specific stitches and facial sculpting, you can turn a simple round shape into a characterful bird. It is a rewarding project that allows for endless color combinations and serves as a perfect introduction to more advanced amigurumi techniques.
Final Tip
When attaching the safety eye backings, turn the washers backward (concave side facing out). The tutor suggests this because it leaves more room for the facial sculpting thread to pass through, allowing you to pull the eyes deeper into the head for a cuter expression.
Step by Step Guide
Create a delightful and compact accessory with this "Crochet Bird Keychain" tutorial. This project yields a small bird, approximately 5 cm tall, featuring a distinctive beak, wings, and a feathered tail. Its small size and customizable colors make it an excellent project for gifting or personalizing your belongings.